A “dev” or staging site’s main purpose is to allow the web developer to build out and ensure that all elements deployed are working as intended before they are published to the live website. By using a staging site and testing everything before deploying to a live website, you will also be able to show a client build progress with a private link, as opposed to their website’s permanent domain.
WarningThis article is deprecated and no longer used with website development on LiteSpeed web servers.
Name: xyz (Ex. sightlink for SightLink / Keep it short and lowercase. This is what shows up before “.gromarketing.site”.
Under IPv4 address, add the IP address of which cPanel server the website will live on. You find this on the homepage of the server not the right hand side under Shared IP. Keep cPanel tab open.
Add a comment. Ex. SightLink dev site.
Click Save
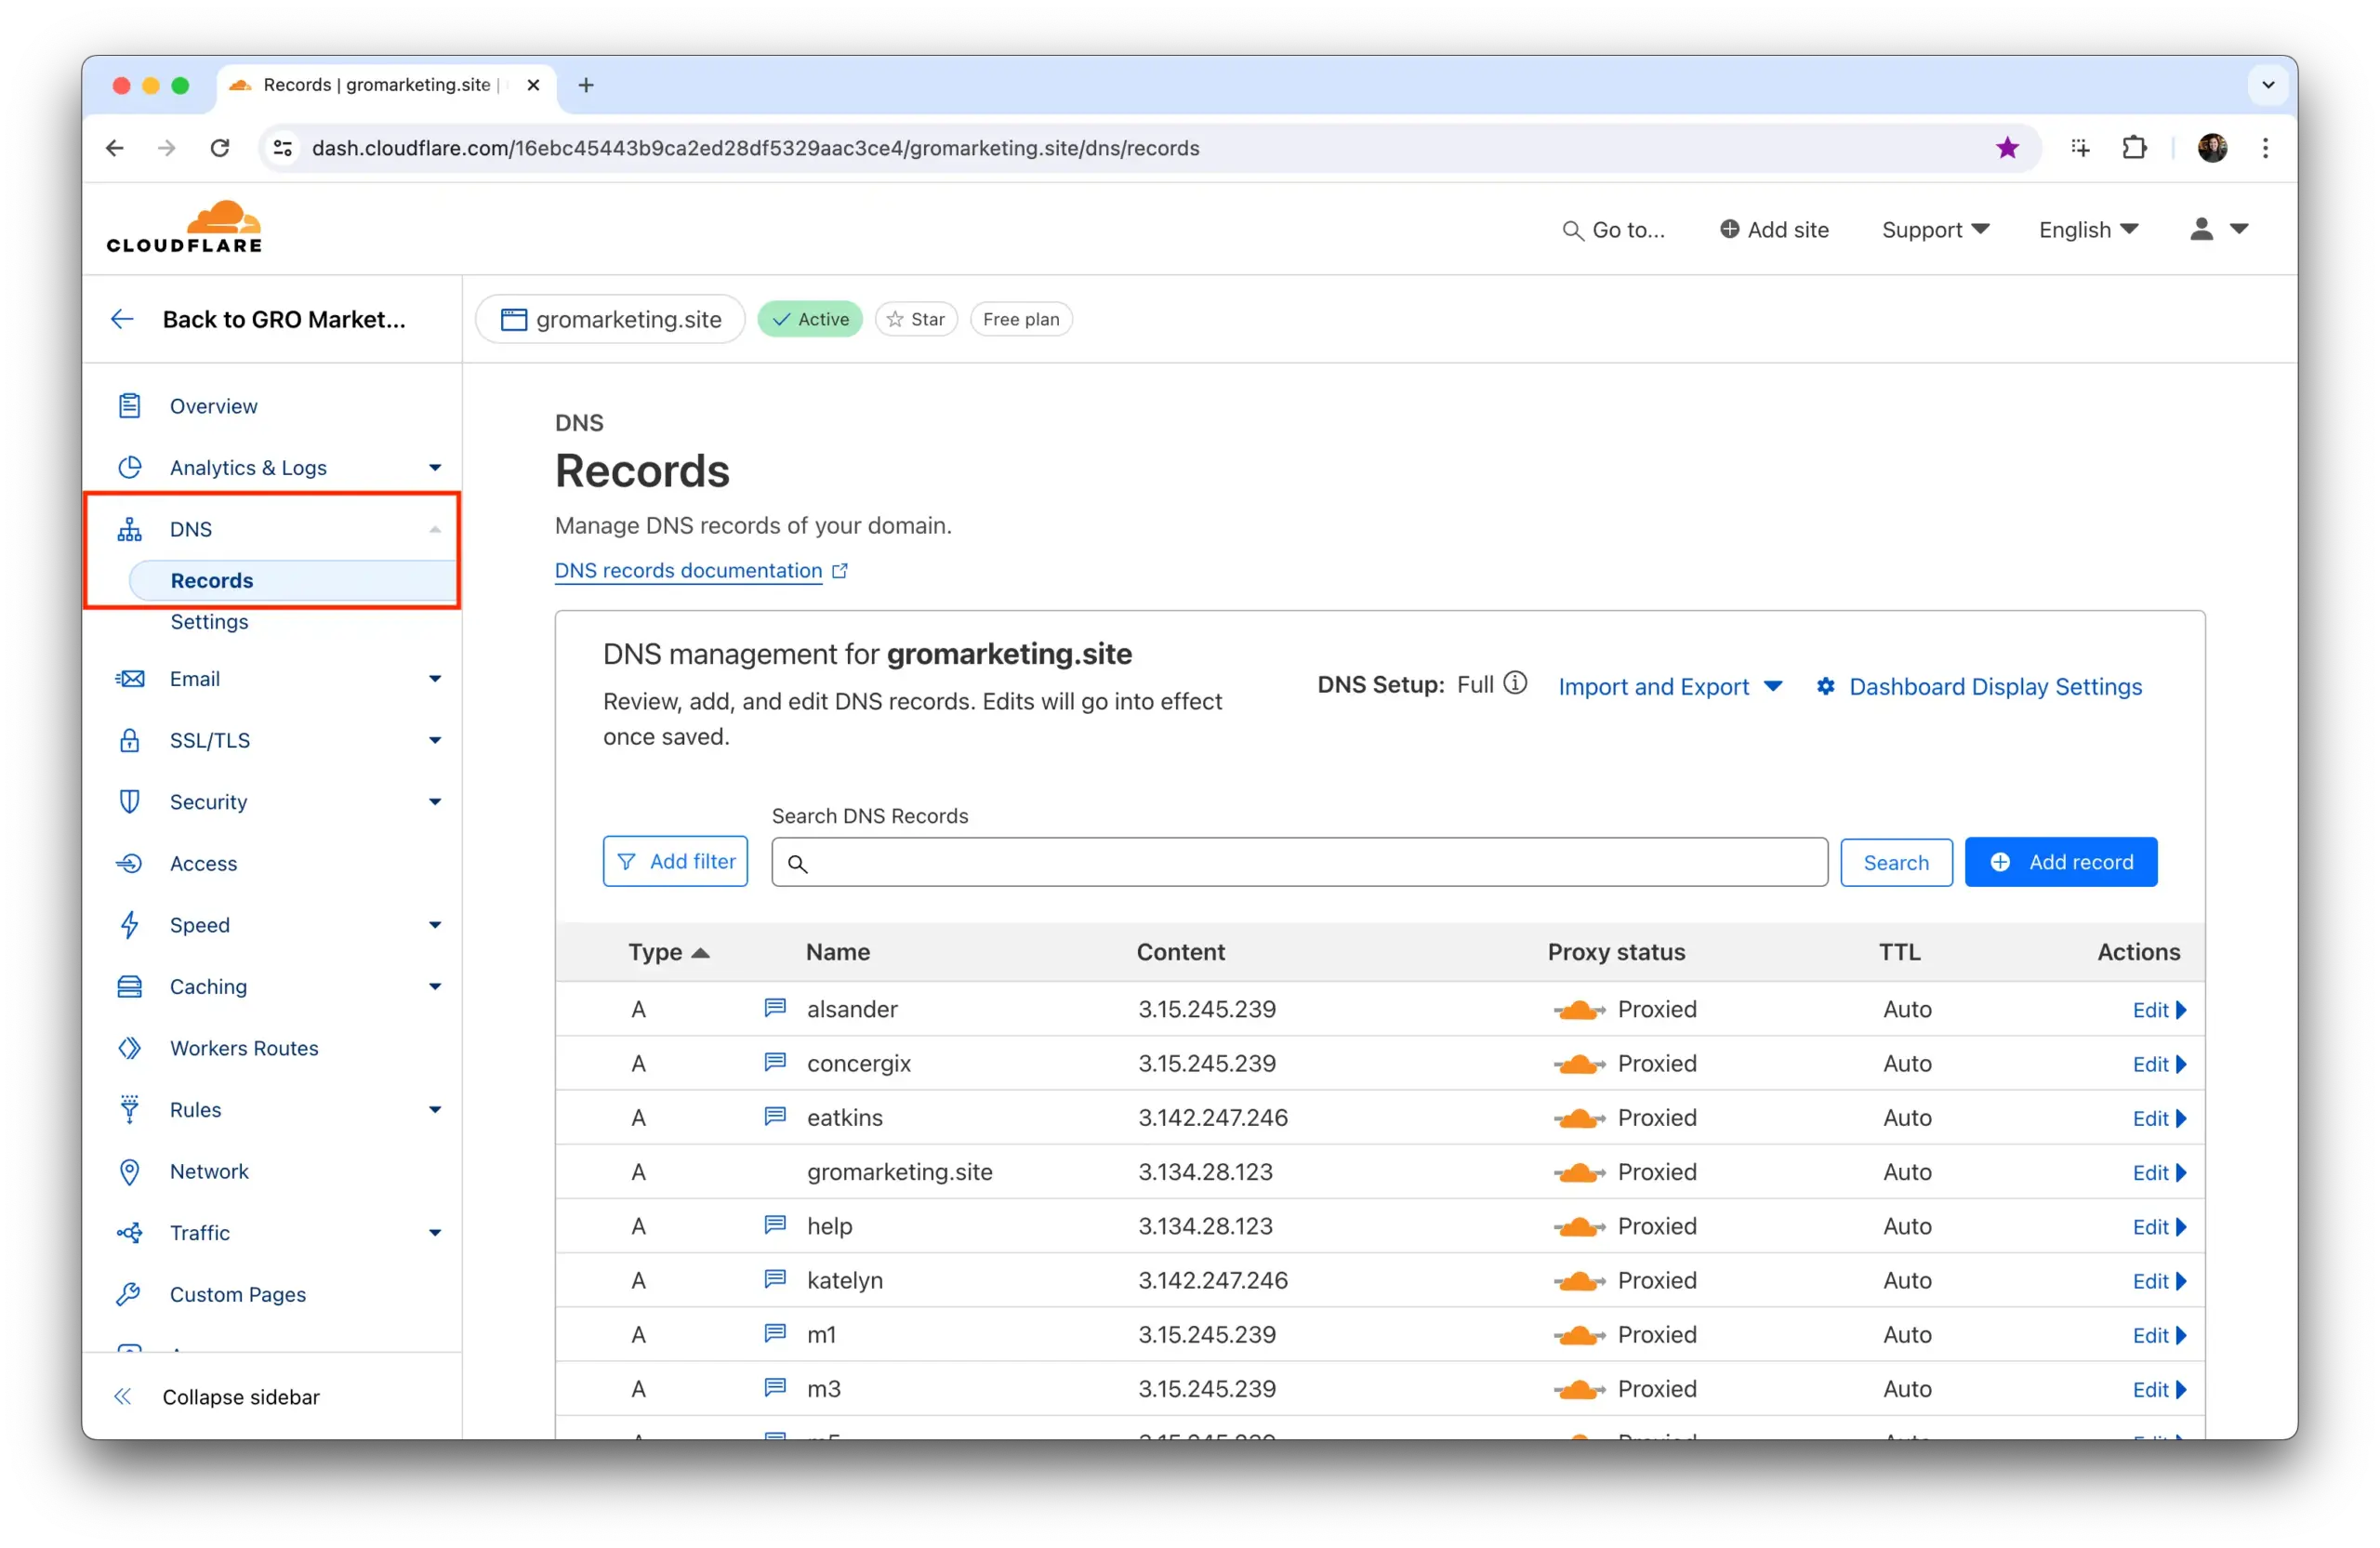
Step 2 – cPanel Domain Setup
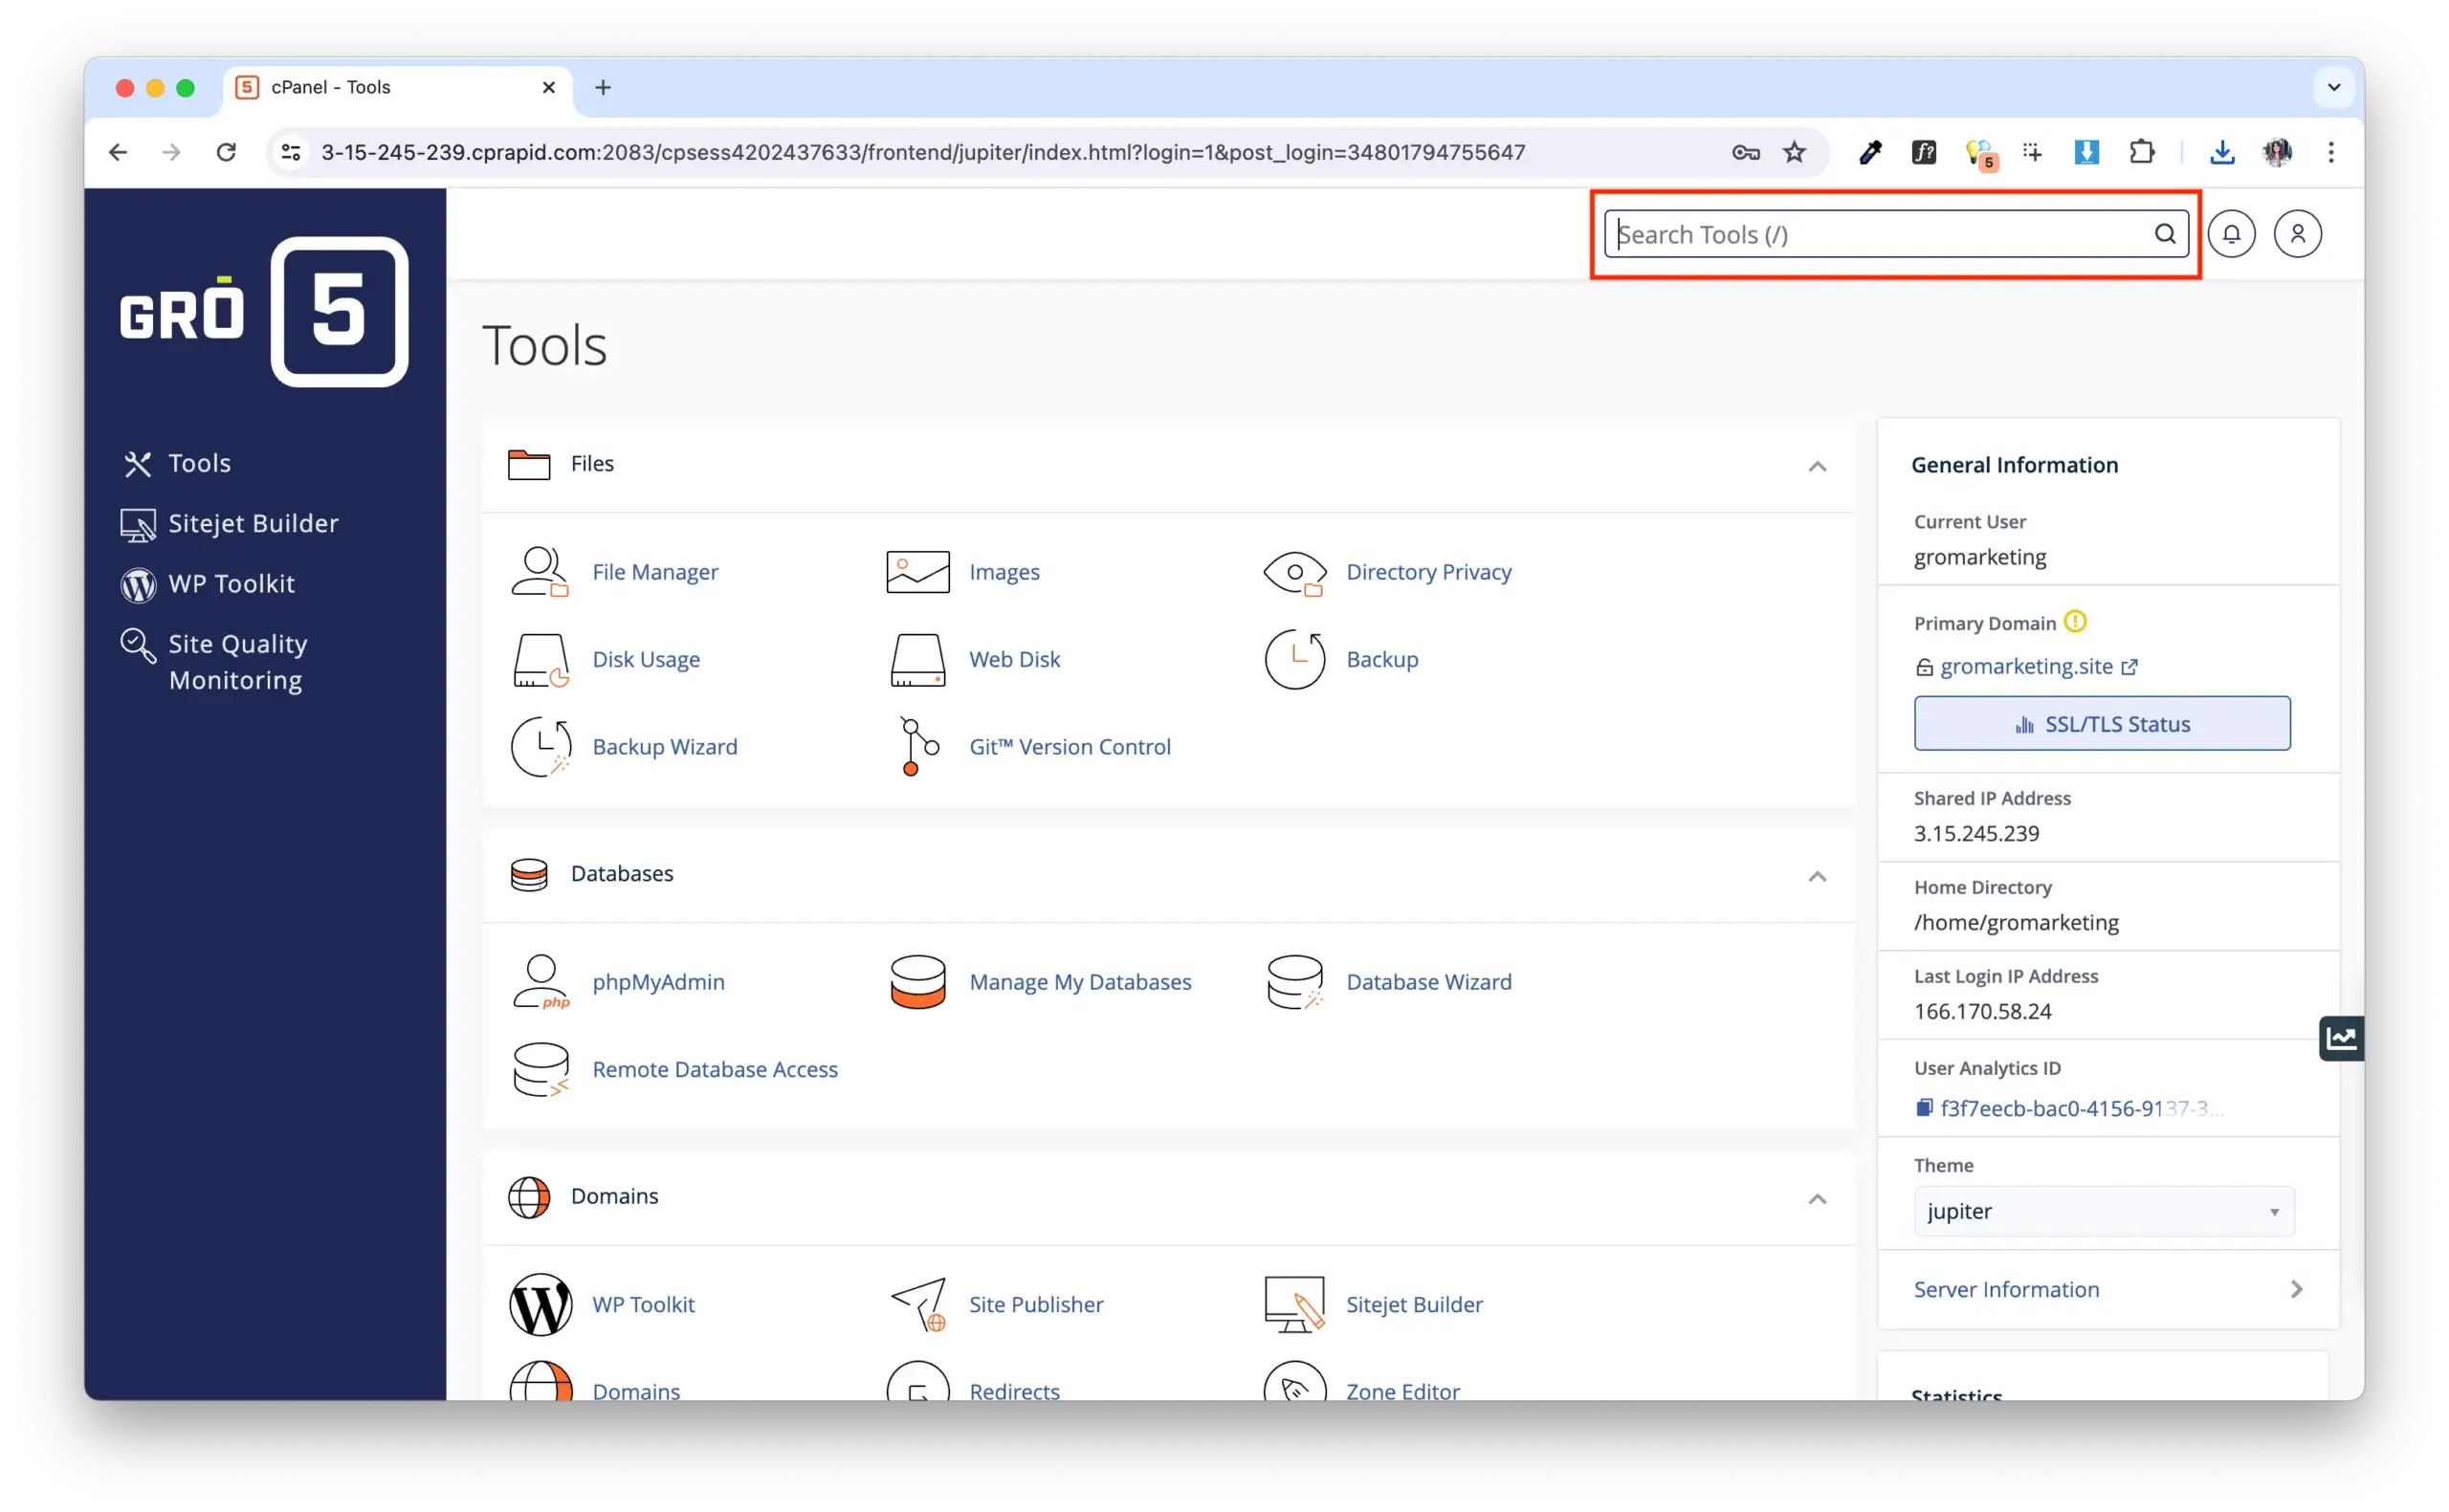
Go back to the cPanel server you'd like to create a dev environment on.
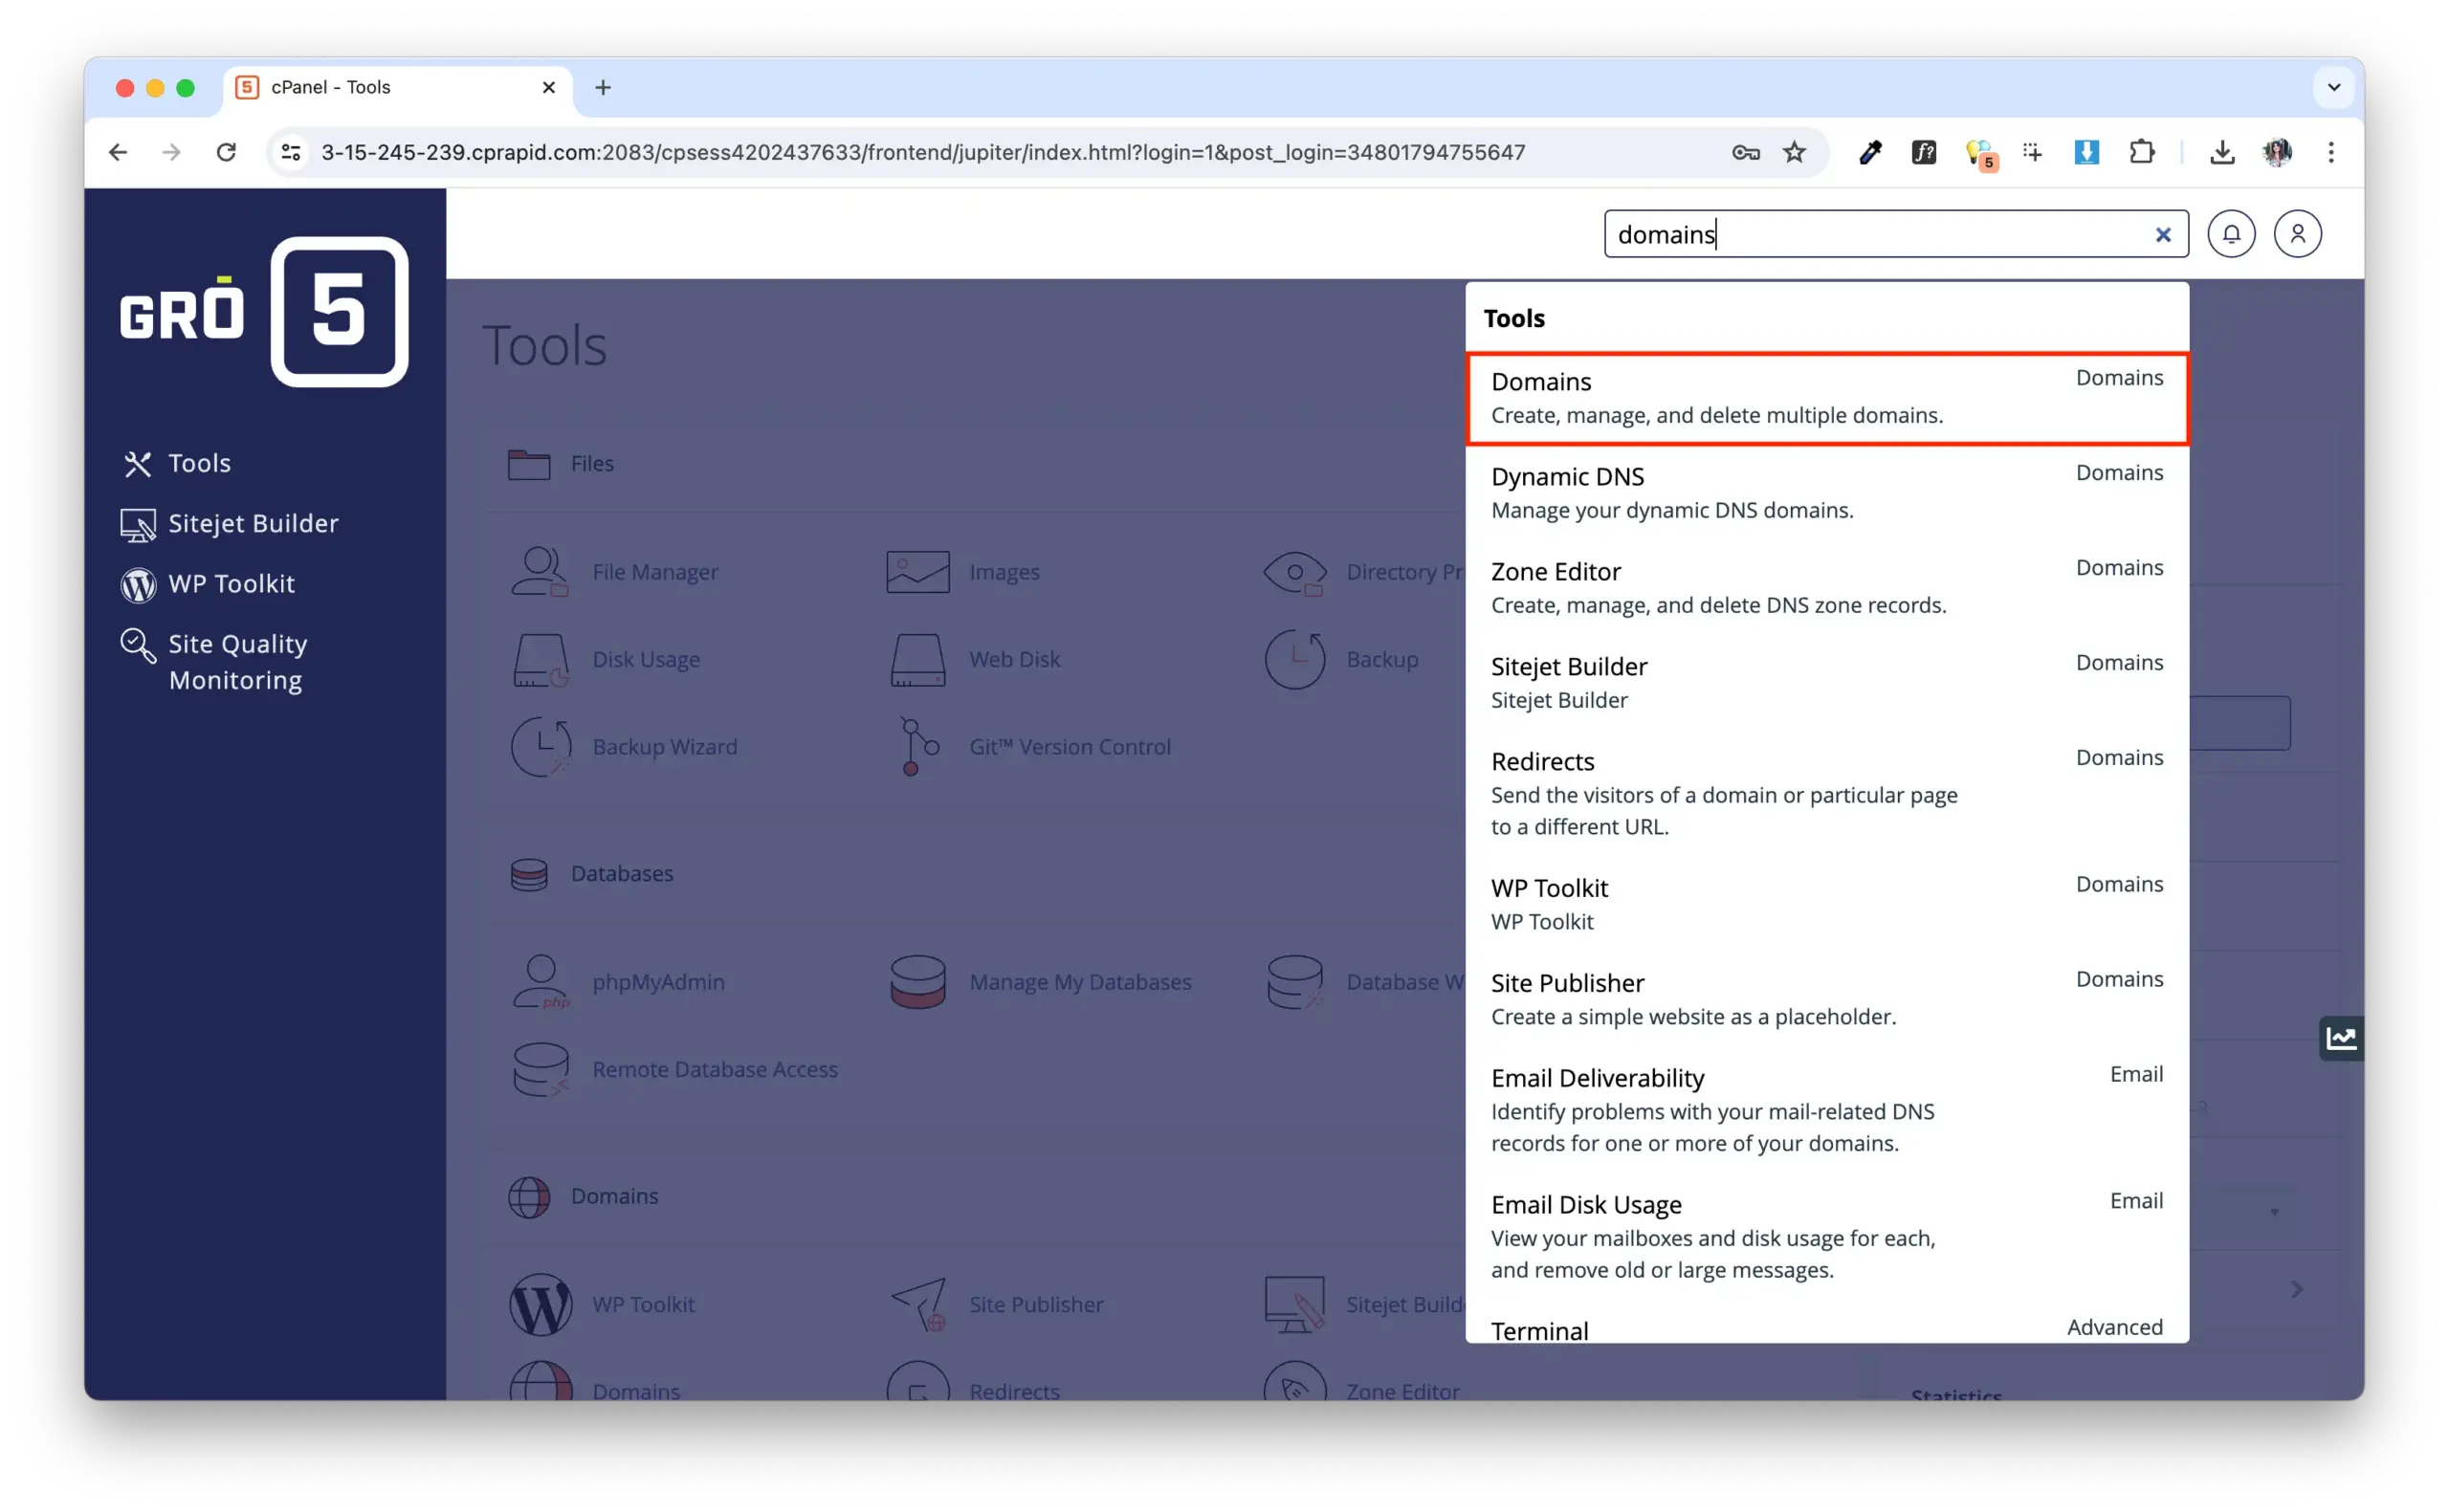
Search for Domains
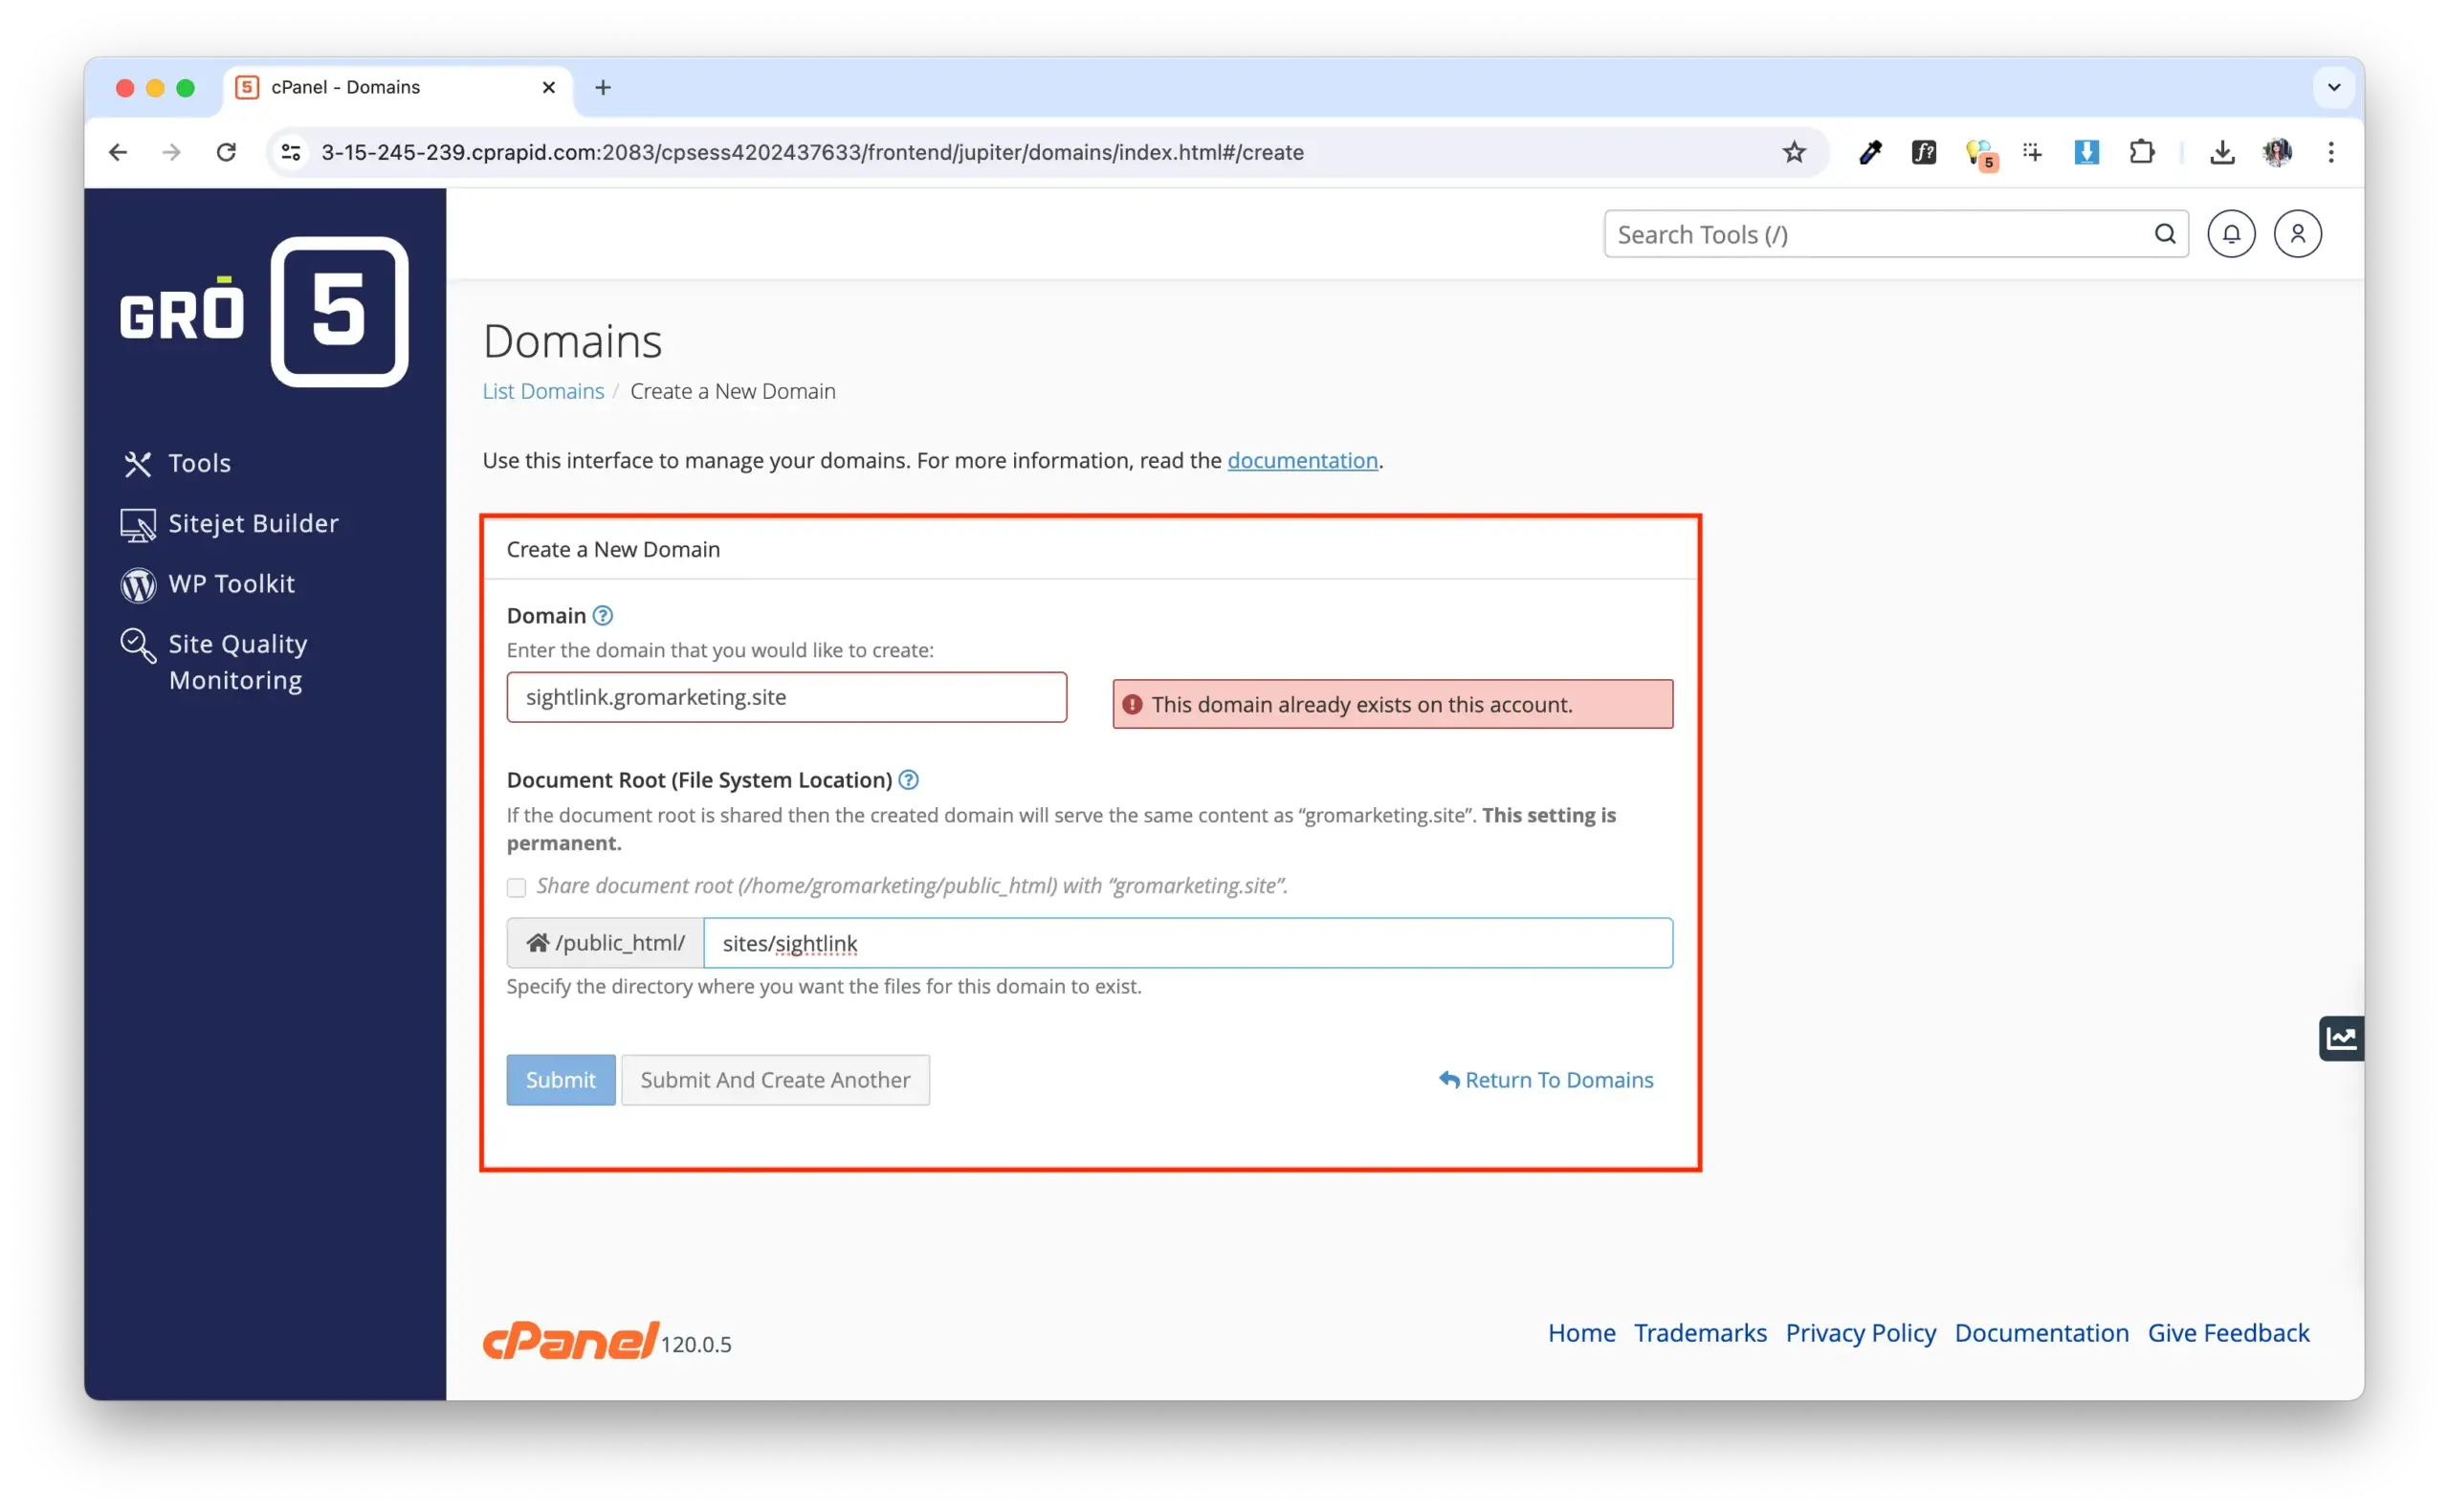
Click Create a new domain (blue button)
Under domain, enter xyz.gromarketing.site (ex. sightlink.gromarketing.site)
Under document root, add “sites” after /public_html/. Then after “sites”, add “/xyz”. Example: /public_html/sites/sightlink
Click Submit
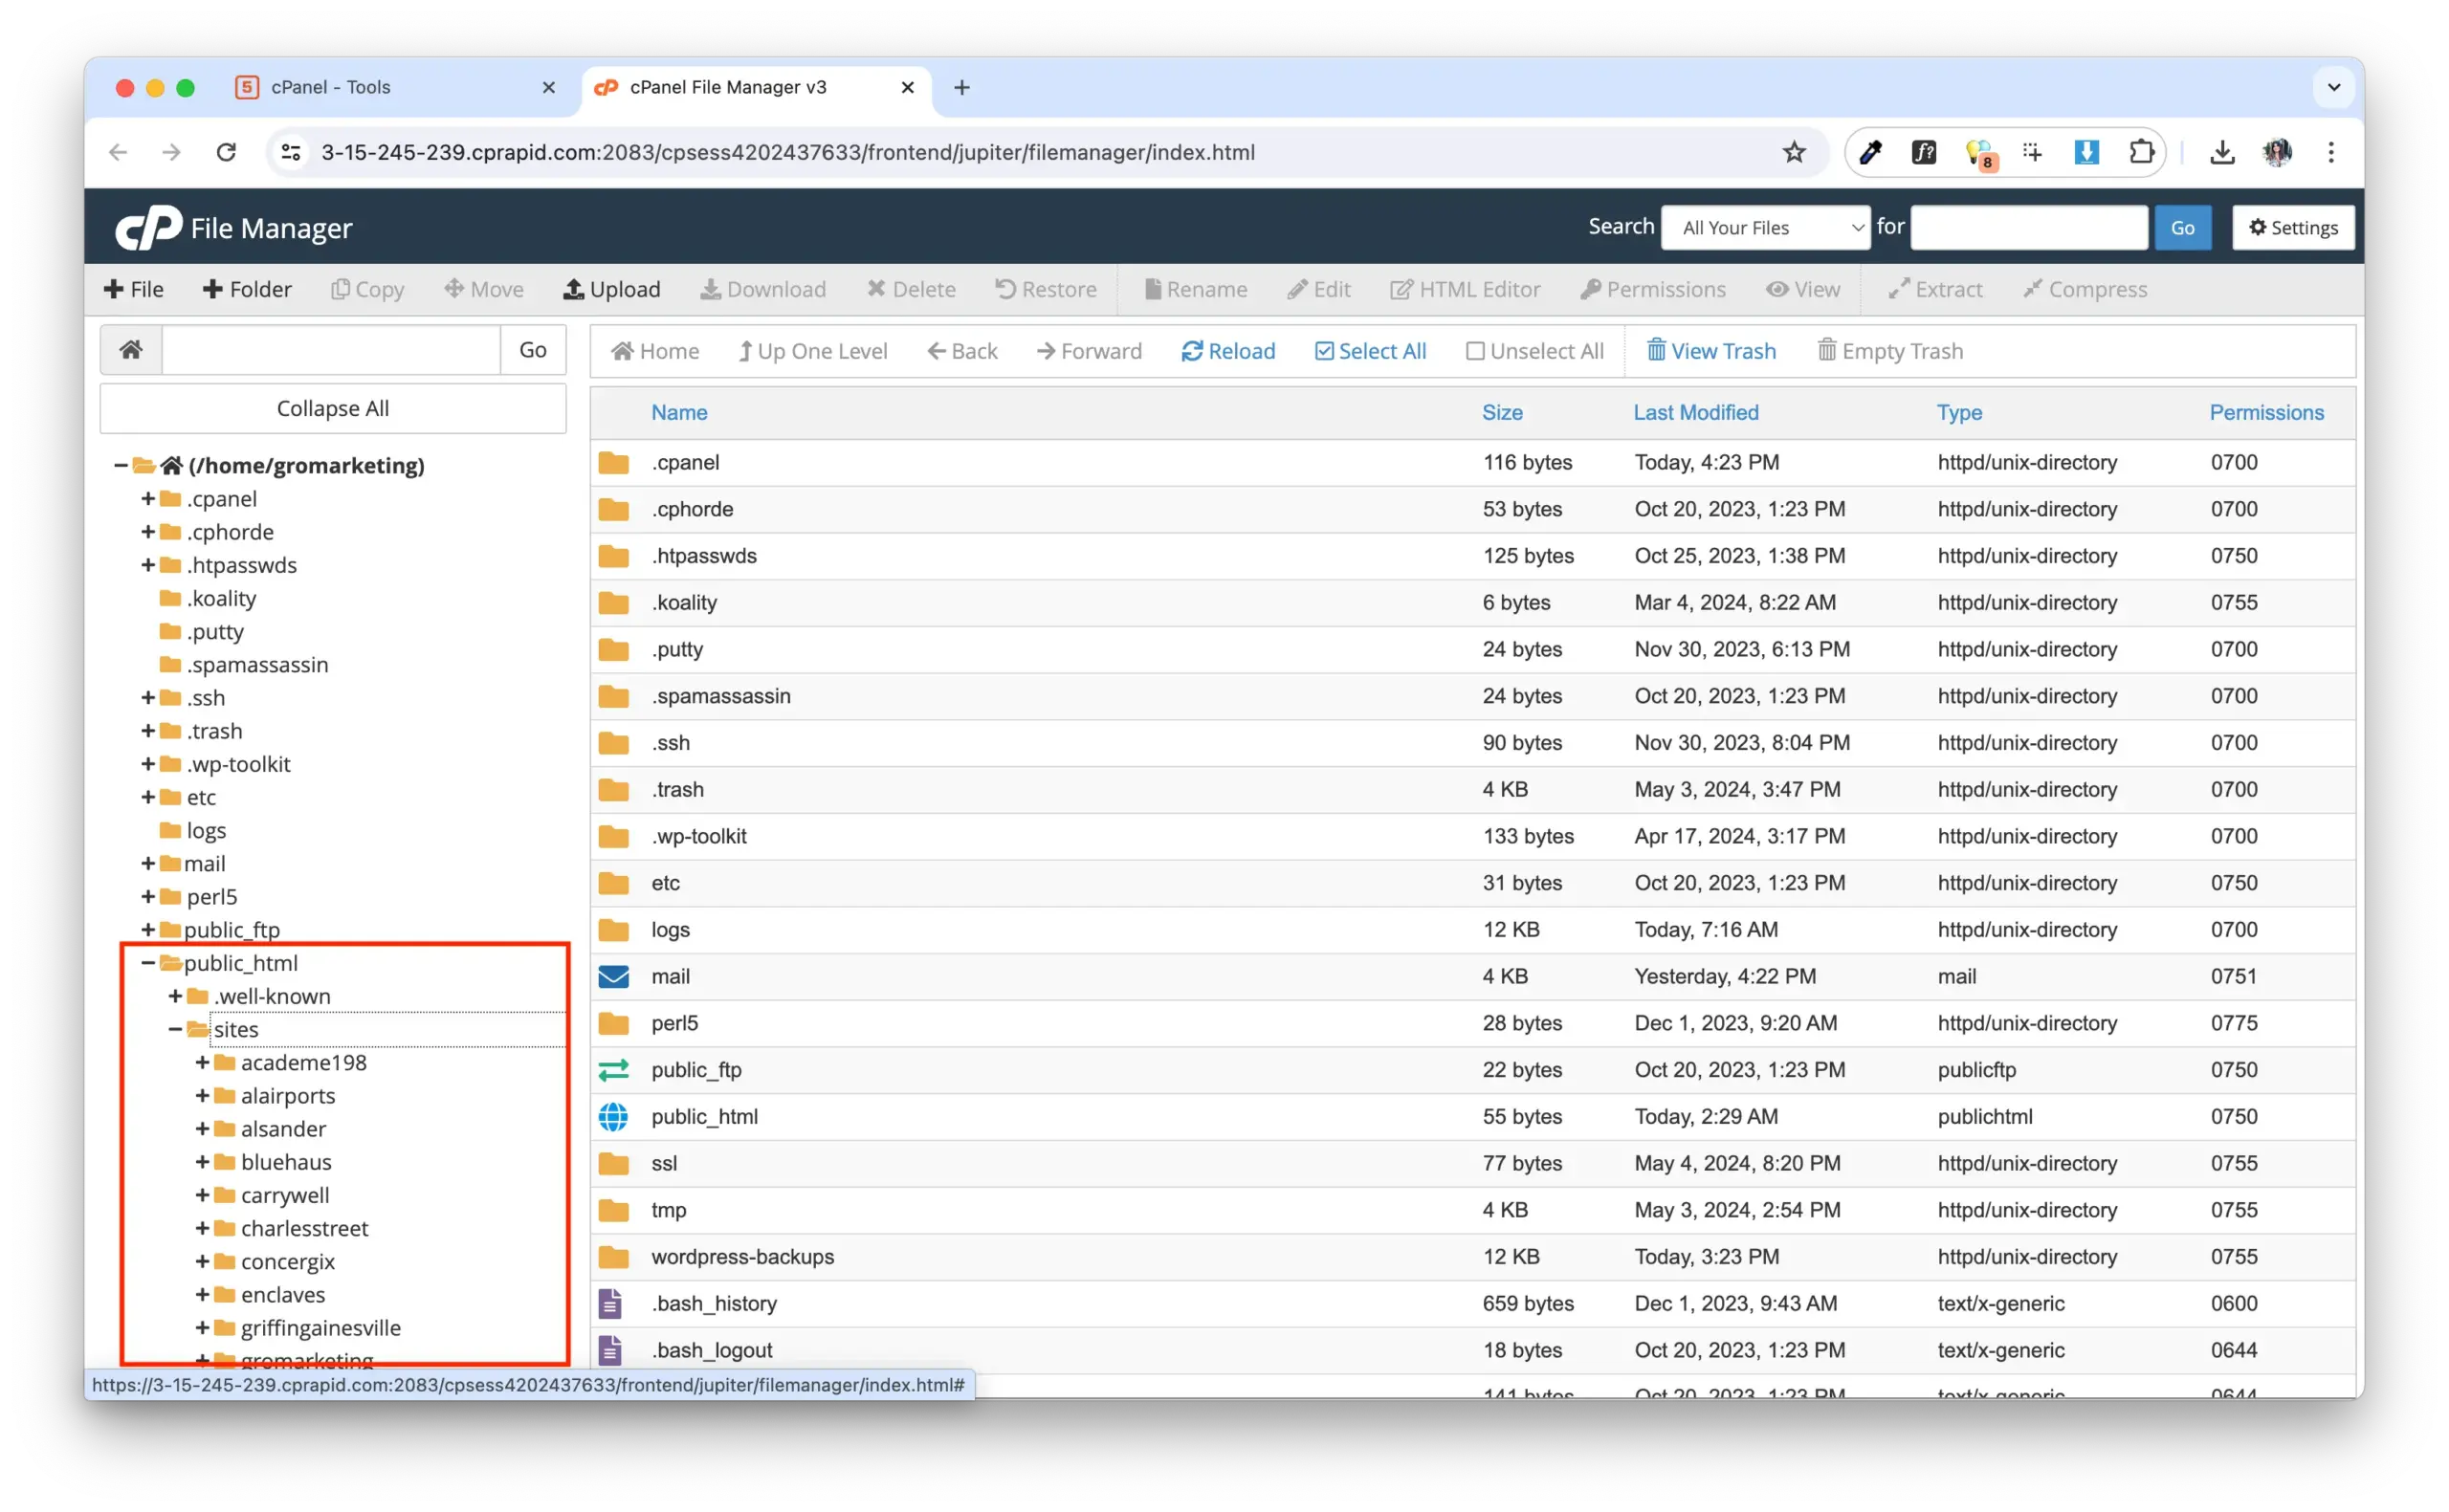
Go back to the dashboard and go to File Manager . Confirm the new document root folder is under public_html > sites
Note: The Name / Subdomain will become the subdomain for the dev site – example: xyz.help.gromarketing.site (see below). This is temporary and should be a simple, easy to remember and easy to type (for your own sake). Once development ends and the website goes live, this subdomain will be deleted.
Step 3 – Cloning a Website
From the dashboard, go to WP Toolkit and find the website you want to clone.
Select the website and click Clone
Select Existing Domain
Remove Staging
Database: “GRO_xyz” Lowercase. (Example: GRO_sightlink) This will live under phpMyAdmin.
Click Start
Once the cloning process is complete, rename the website title in WP Toolkit.
If the cloned website does not appear, click “Scan”.
To check if you have a login, click Setup under the new website dropdown. If you don’t have a log in, reach out to a creative team member.