Post-Launch Checklist
After a website is launched, it’s important to make sure all settings are correct, old dev links are replaced, forms function properly and all dev elements are cleaned up.
Software Licenses - Update All
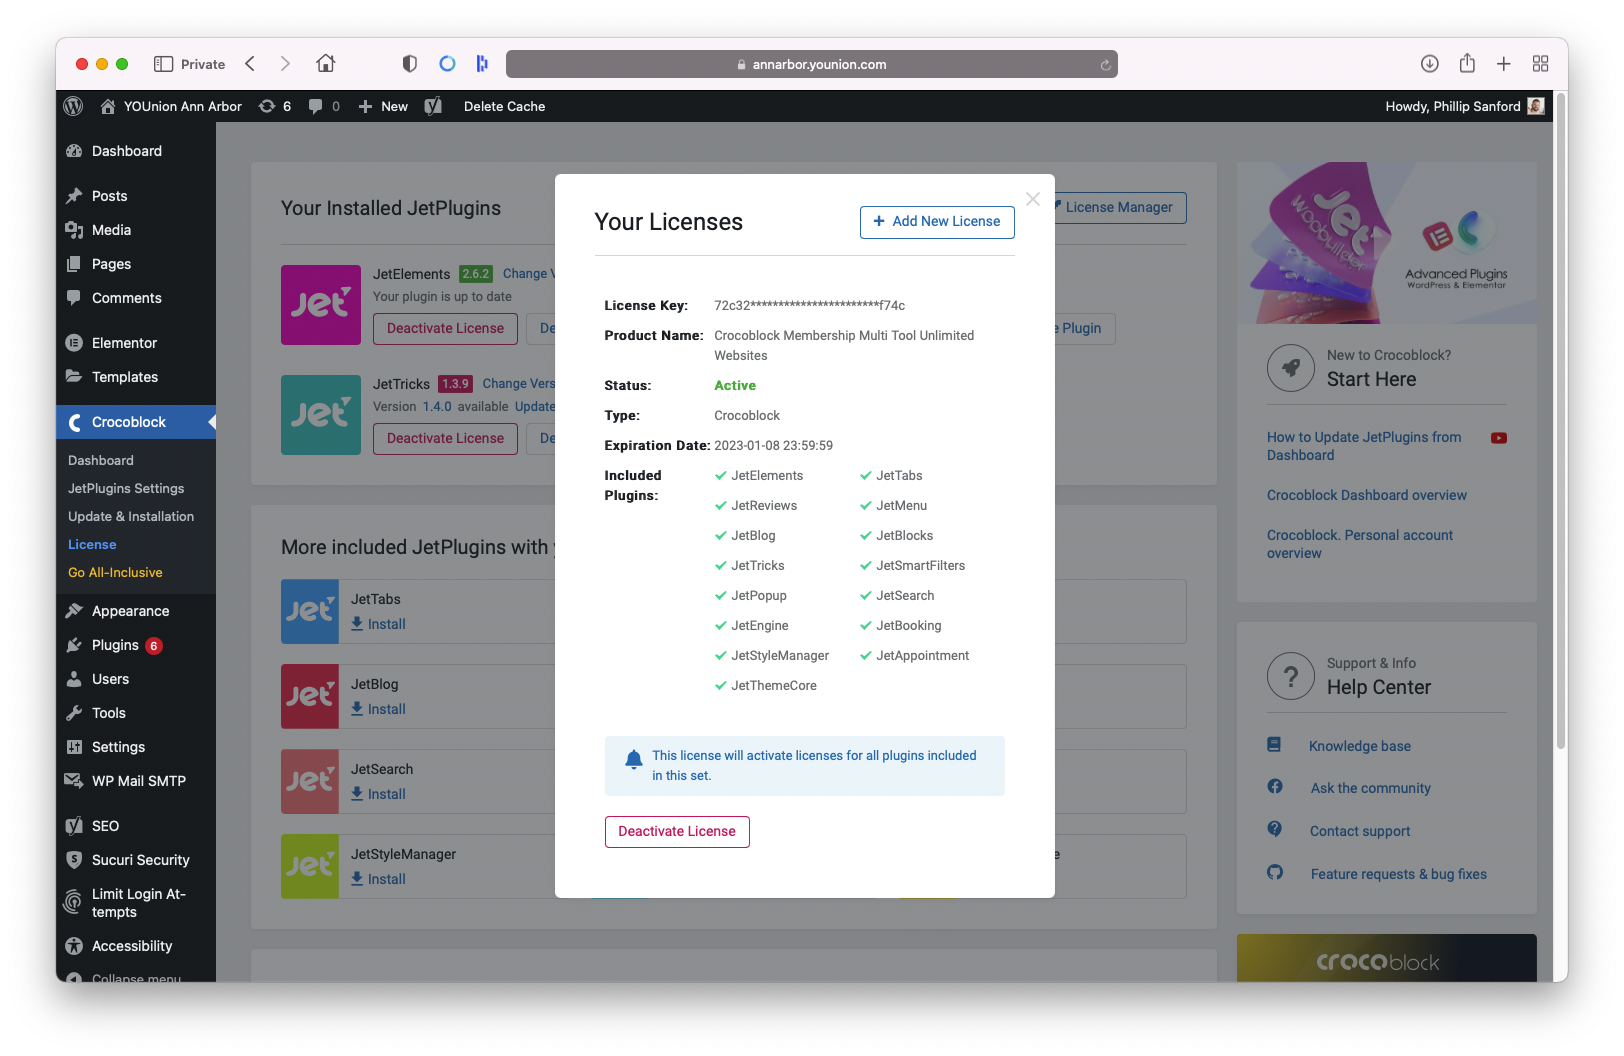
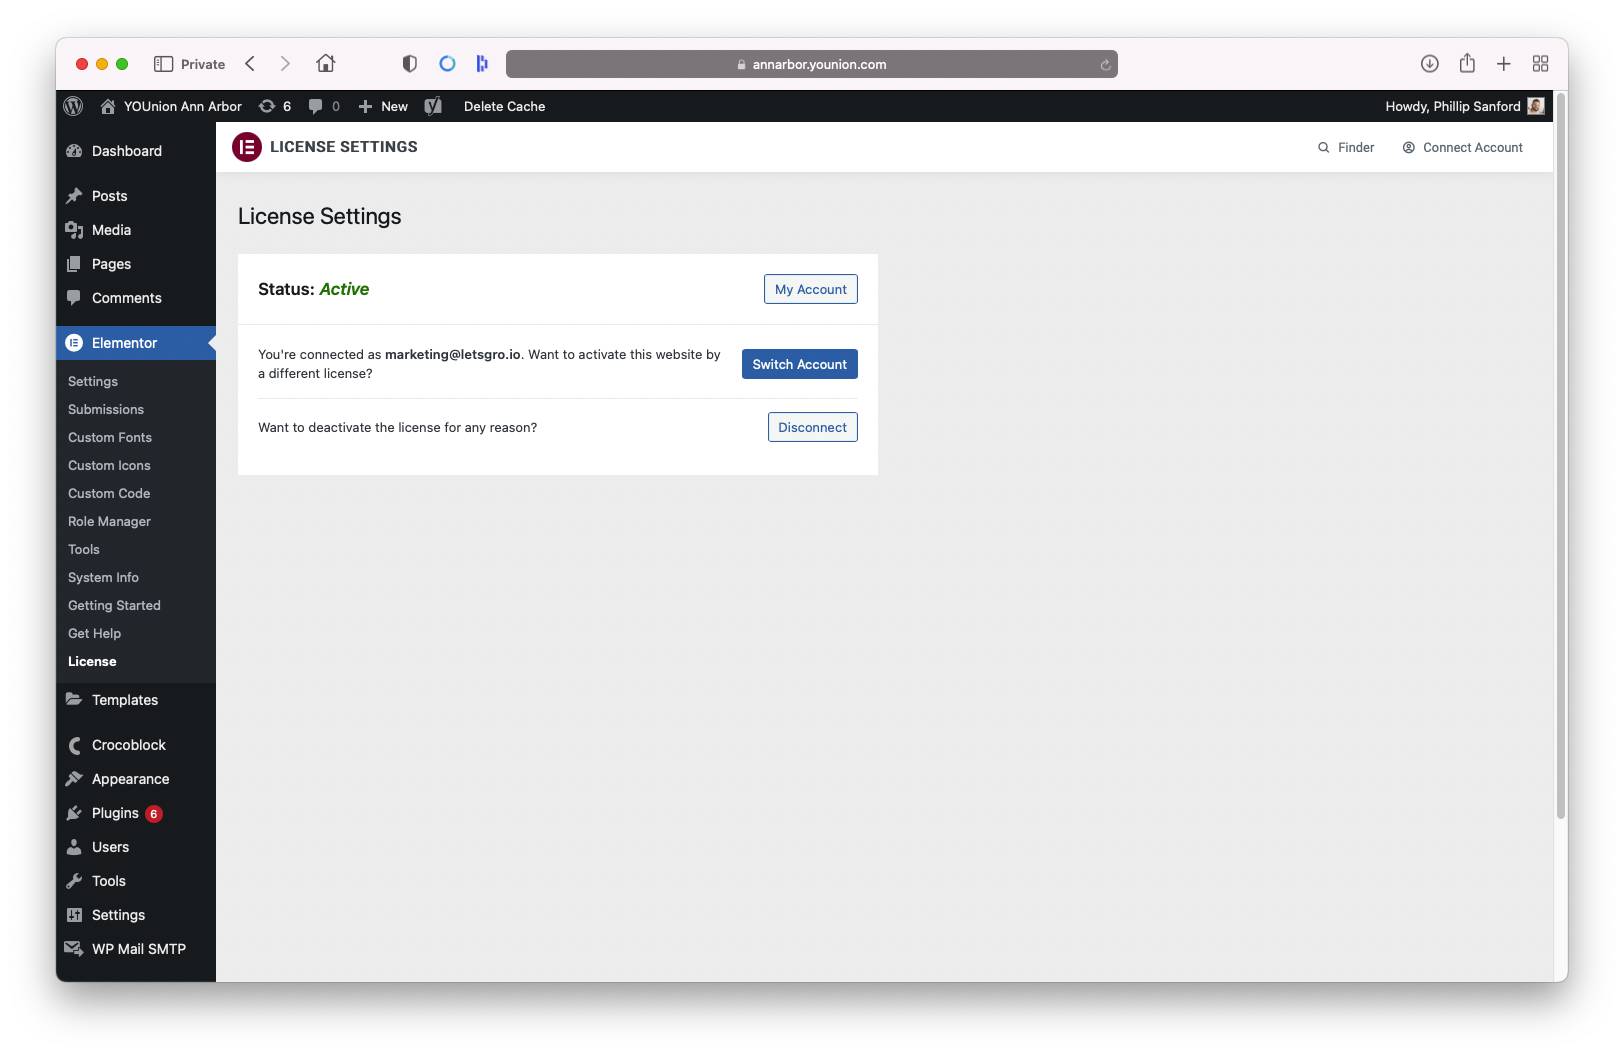
Since the domain of the site changes when moving from dev to live, the connection to both Elementor and Crocoblock will likely be broken. To resolve this, simply reconnect them by re-linking to GRO’s account and re-entering the license key.
- Go to Crocoblock > License
- Go to Elementor > License
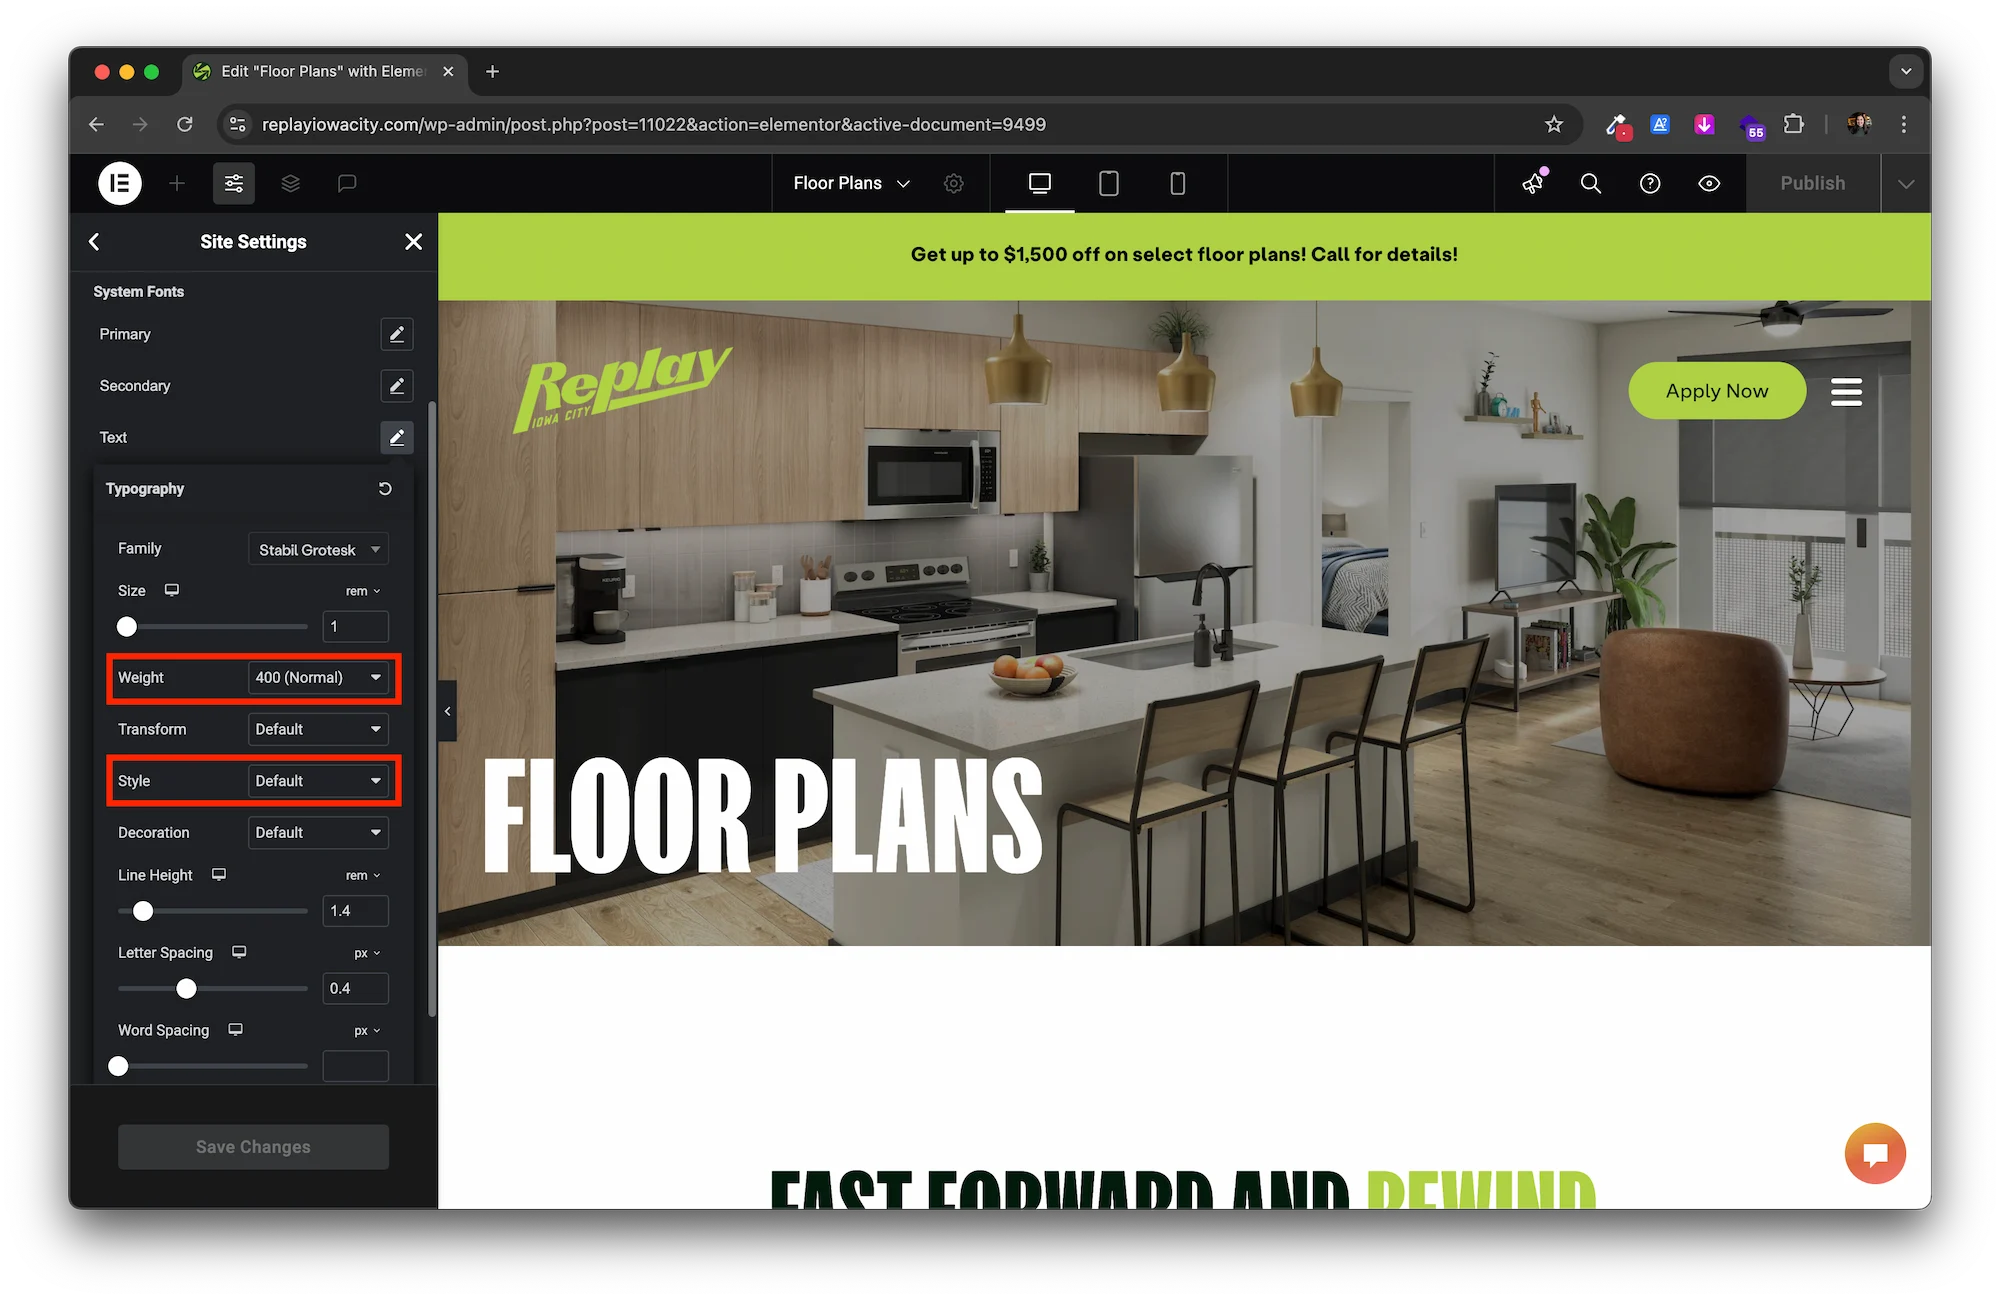
Elementor - Check Custom Fonts
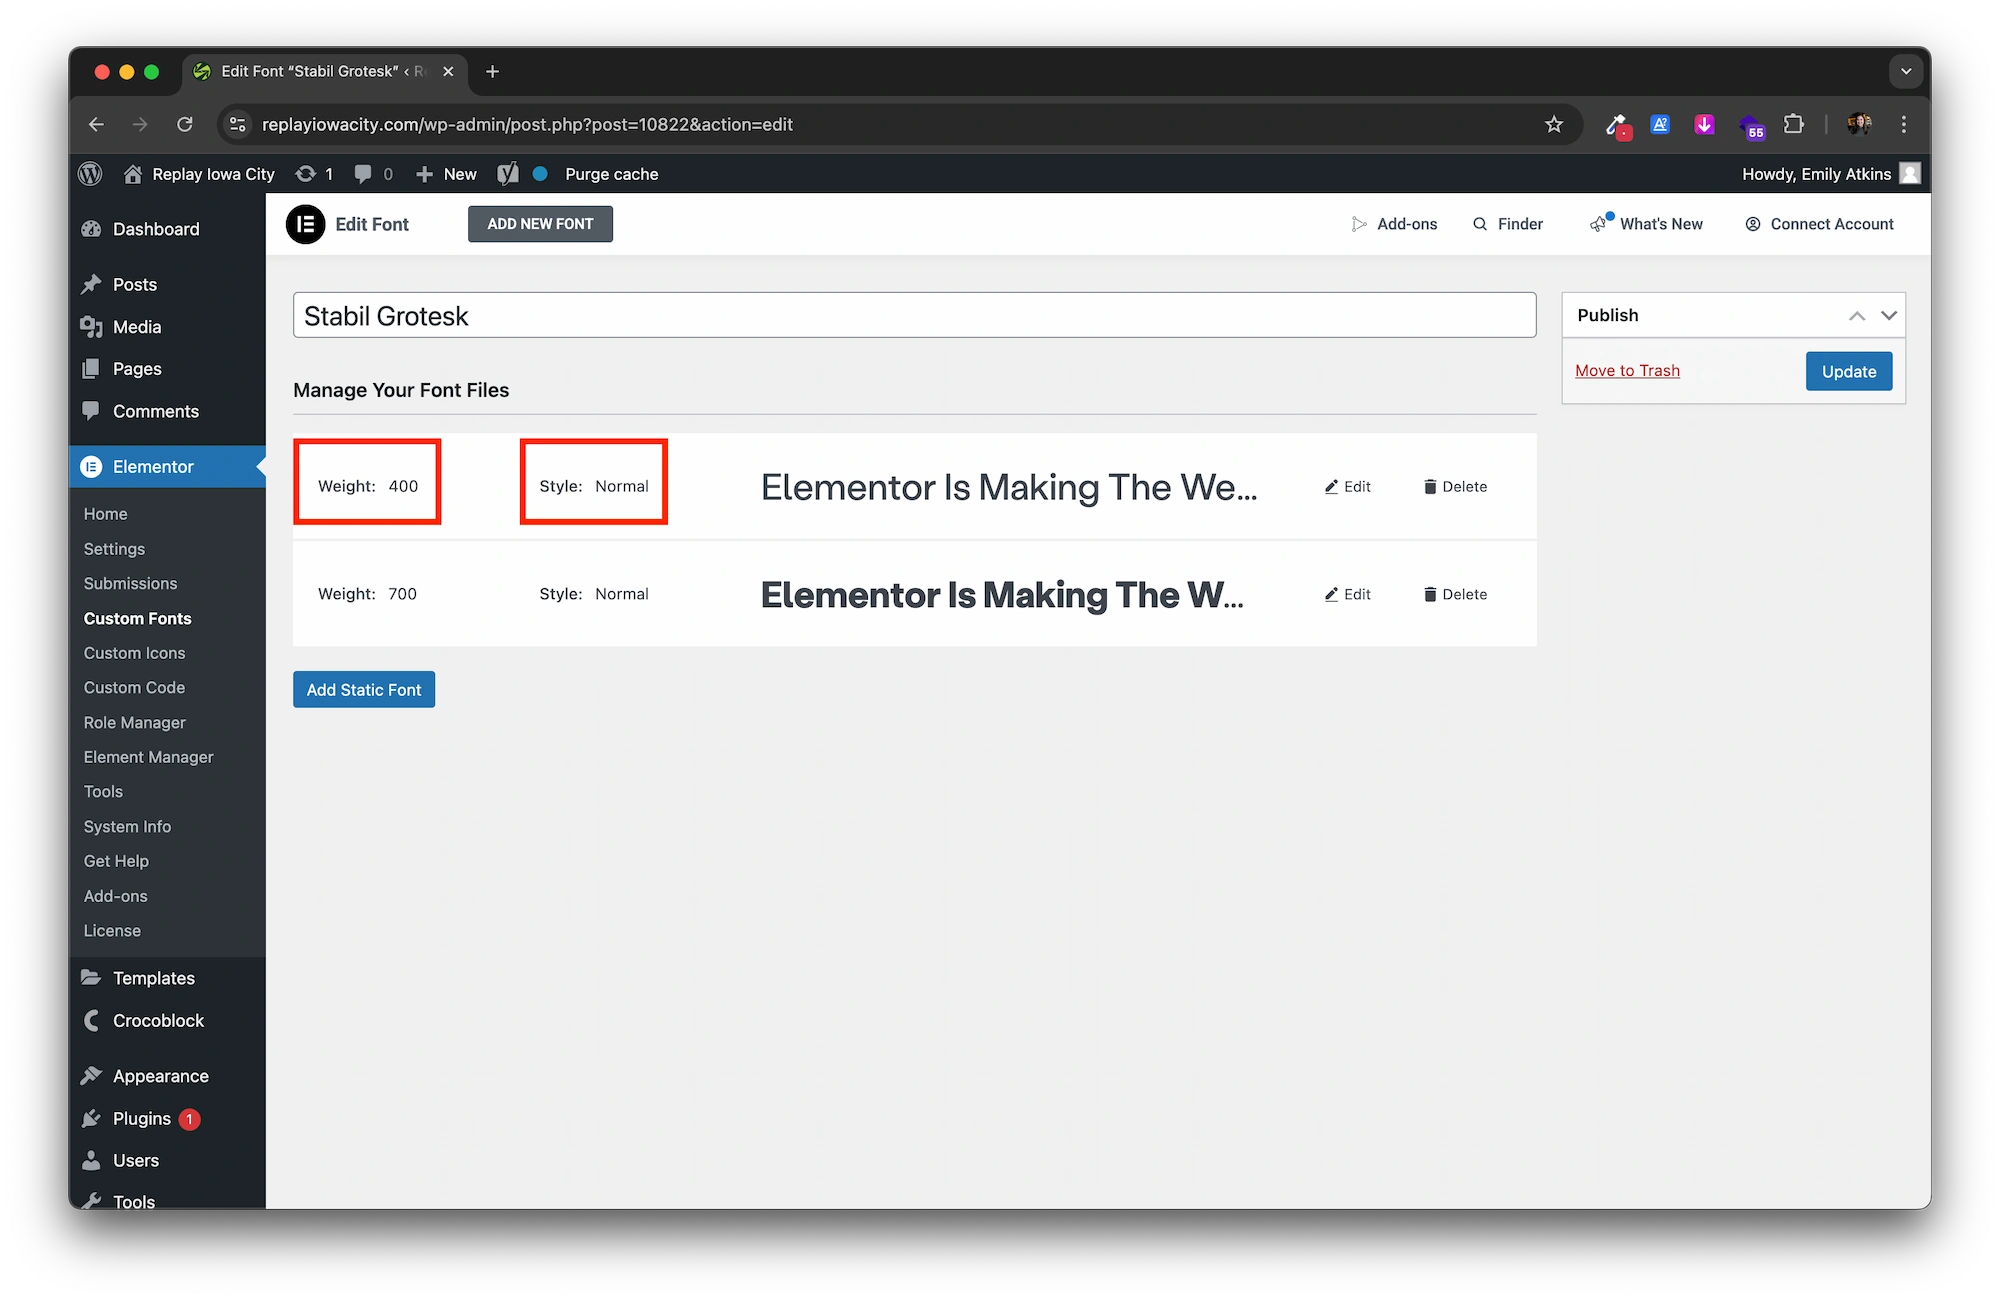
Sometimes during the cutover process, custom font files will be stripped away from the custom fonts section of the Elementor. They may need to be re-uploaded.
- Go to Elementor > Custom Fonts
- Double check font files are still there.
- If they are missing, reupload the WOFF or WOFF2 file and match the style and weight to how it was previously set up.
- In Safari, you will be able to tell if the fonts are loading properly or not.
Elementor - Check Images
Sometimes during the cutover process, images will disconnect from the website. They will appear fine in the backend but won’t show up in the frontend.
- Check to see if all images are showing up in the frontend. If not, reconnect those images on the backend.
- On your phone, share the link to each page via text, to see if the featured image is showing up. If not, reconnect it on each page.
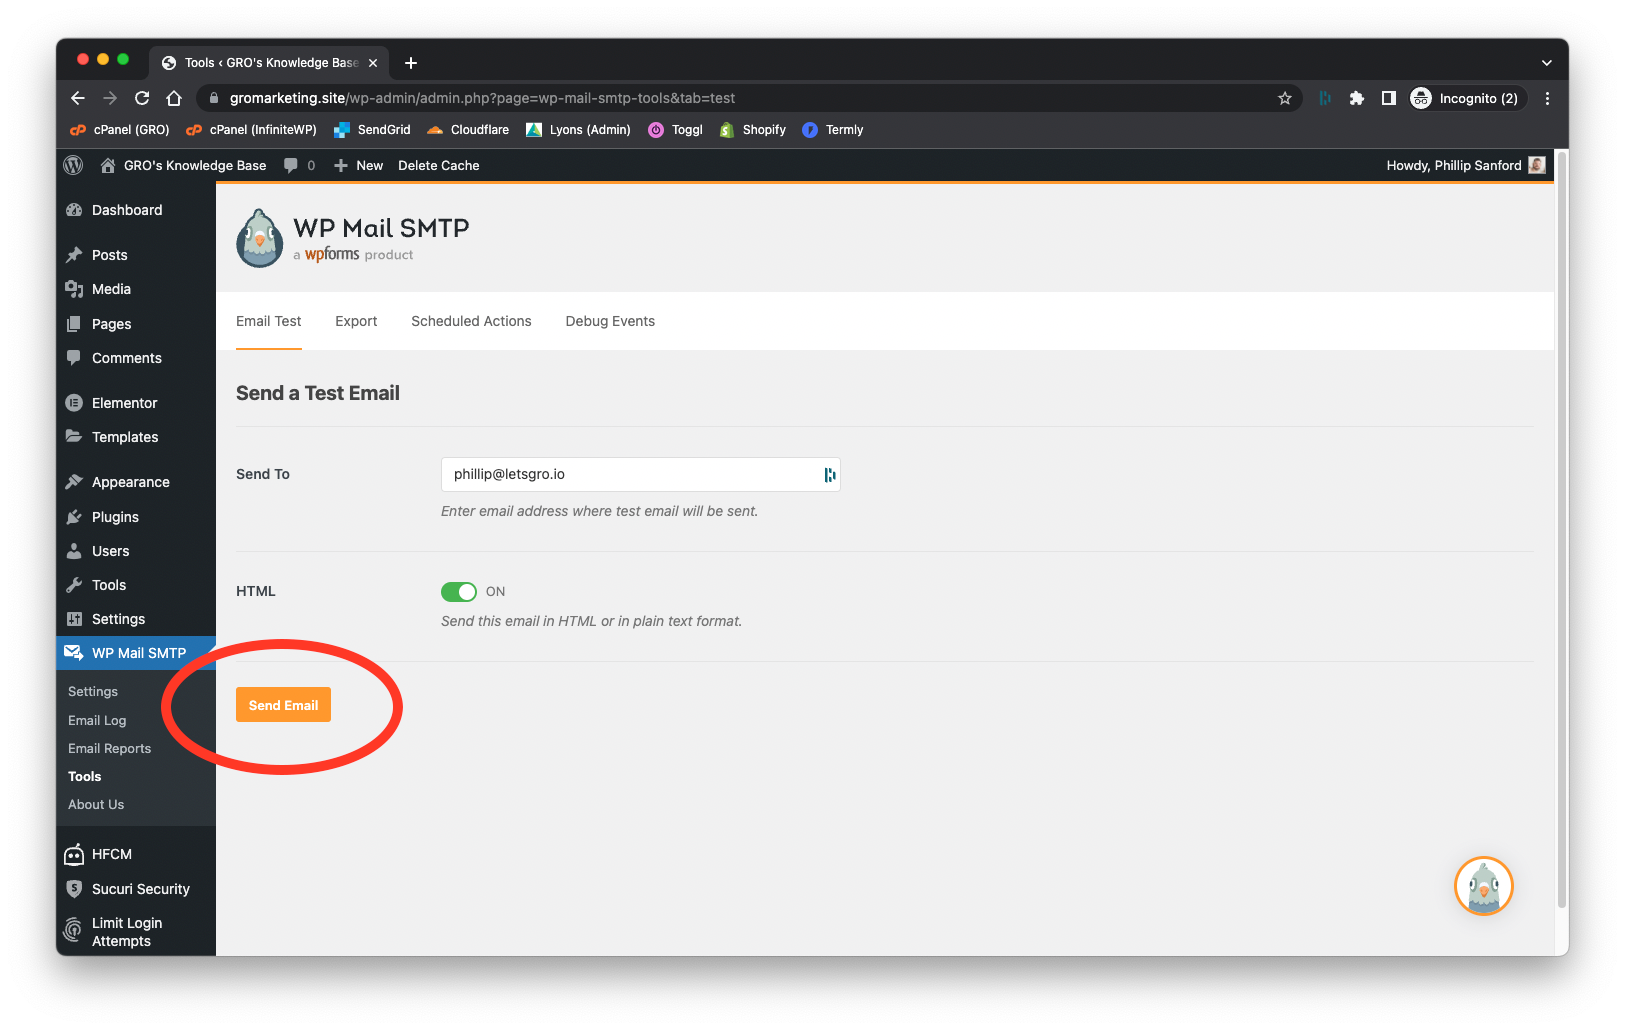
WordPress - Test all forms
One of the biggest points of potential failure after a new website launch is forms not working properly, so it’s important that all forms are tested immediately after launch. Refer to How to Setup Web Forms for the steps below.
- Setup / Confirm SendGrid
- Setup / Confirm reCAPTCHA
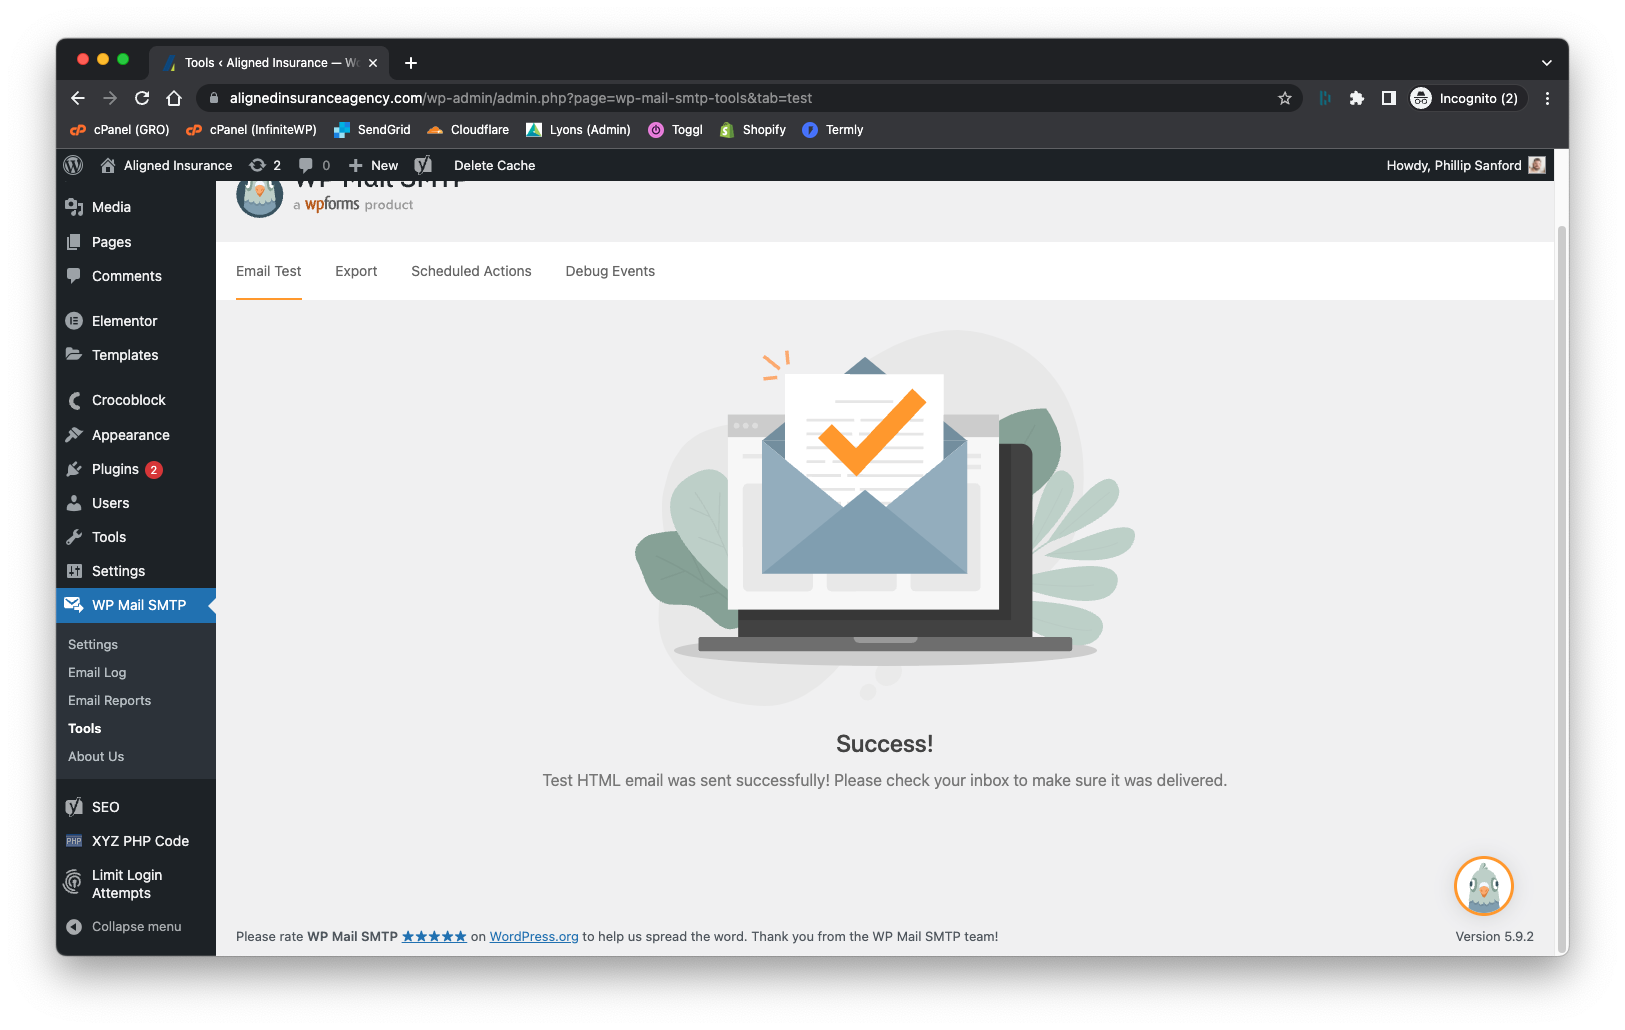
- Confirm WP Mail SMTP settings
- Confirm all forms are setup correctly
- After the domain changes, the "From Email" in the Elementor form may need to be updated
Be sure to check your Spam folder.
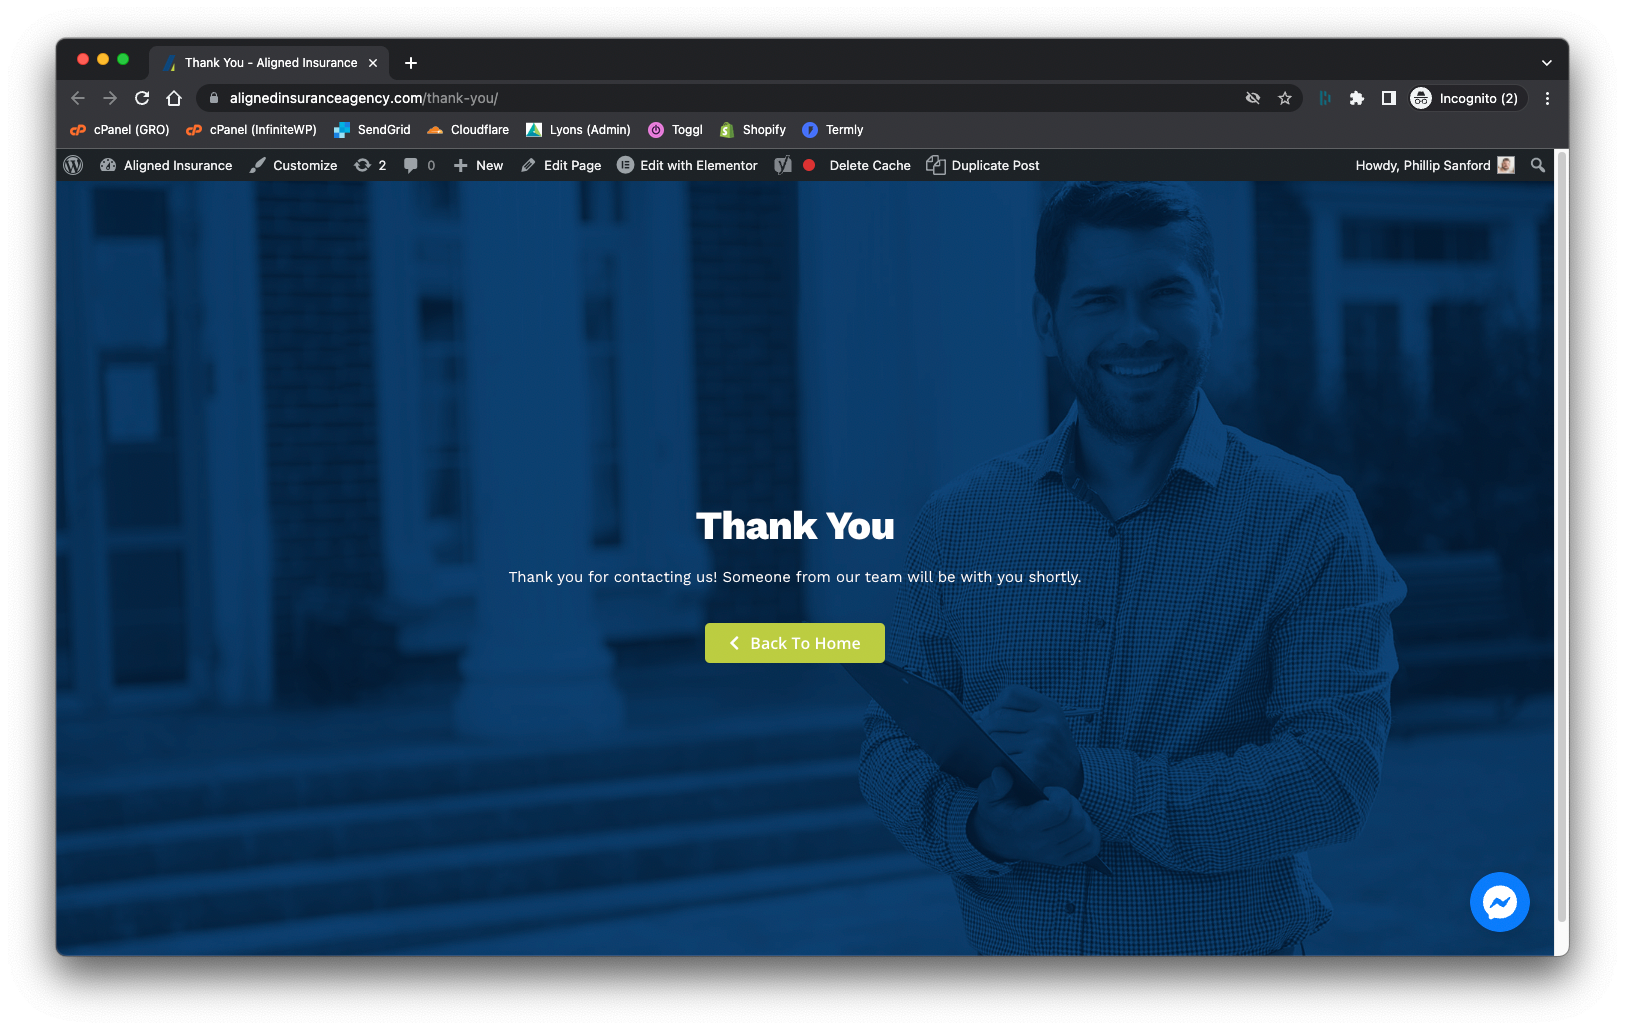
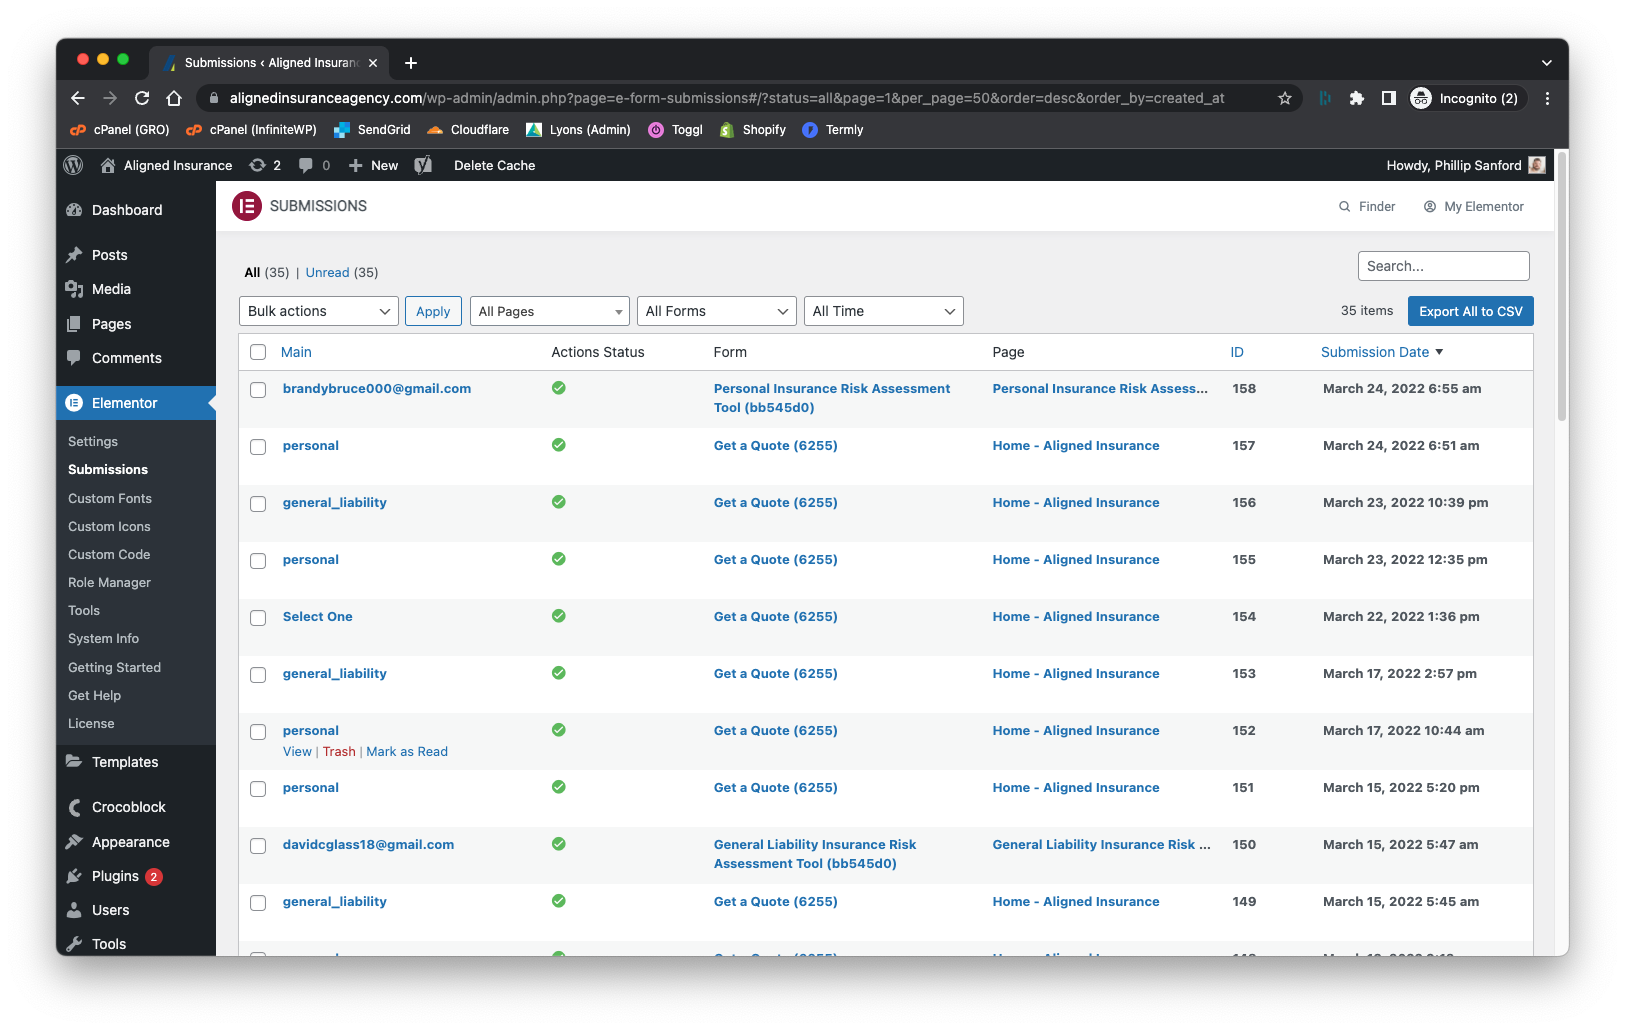
After site launch, it’s imperative to have the client test and confirm all form submissions are not only being sent, but also received at the appropriate addresses.
Add Website to InfiniteWP and UptimeRobot
- When you're ready to add the site to IWP, activate the InifiniteWP plugin on the WordPress website.
- When the big prompt box at the top of the screen shows up in WordPress, click the Copy button (it will copy ALL the info you need)
- Go to gro.company and login
- Click the Add Site button at the bottom left, then Paste
- Be sure to change the Admin Username to infinite_wp
- Click Add Site and Finish
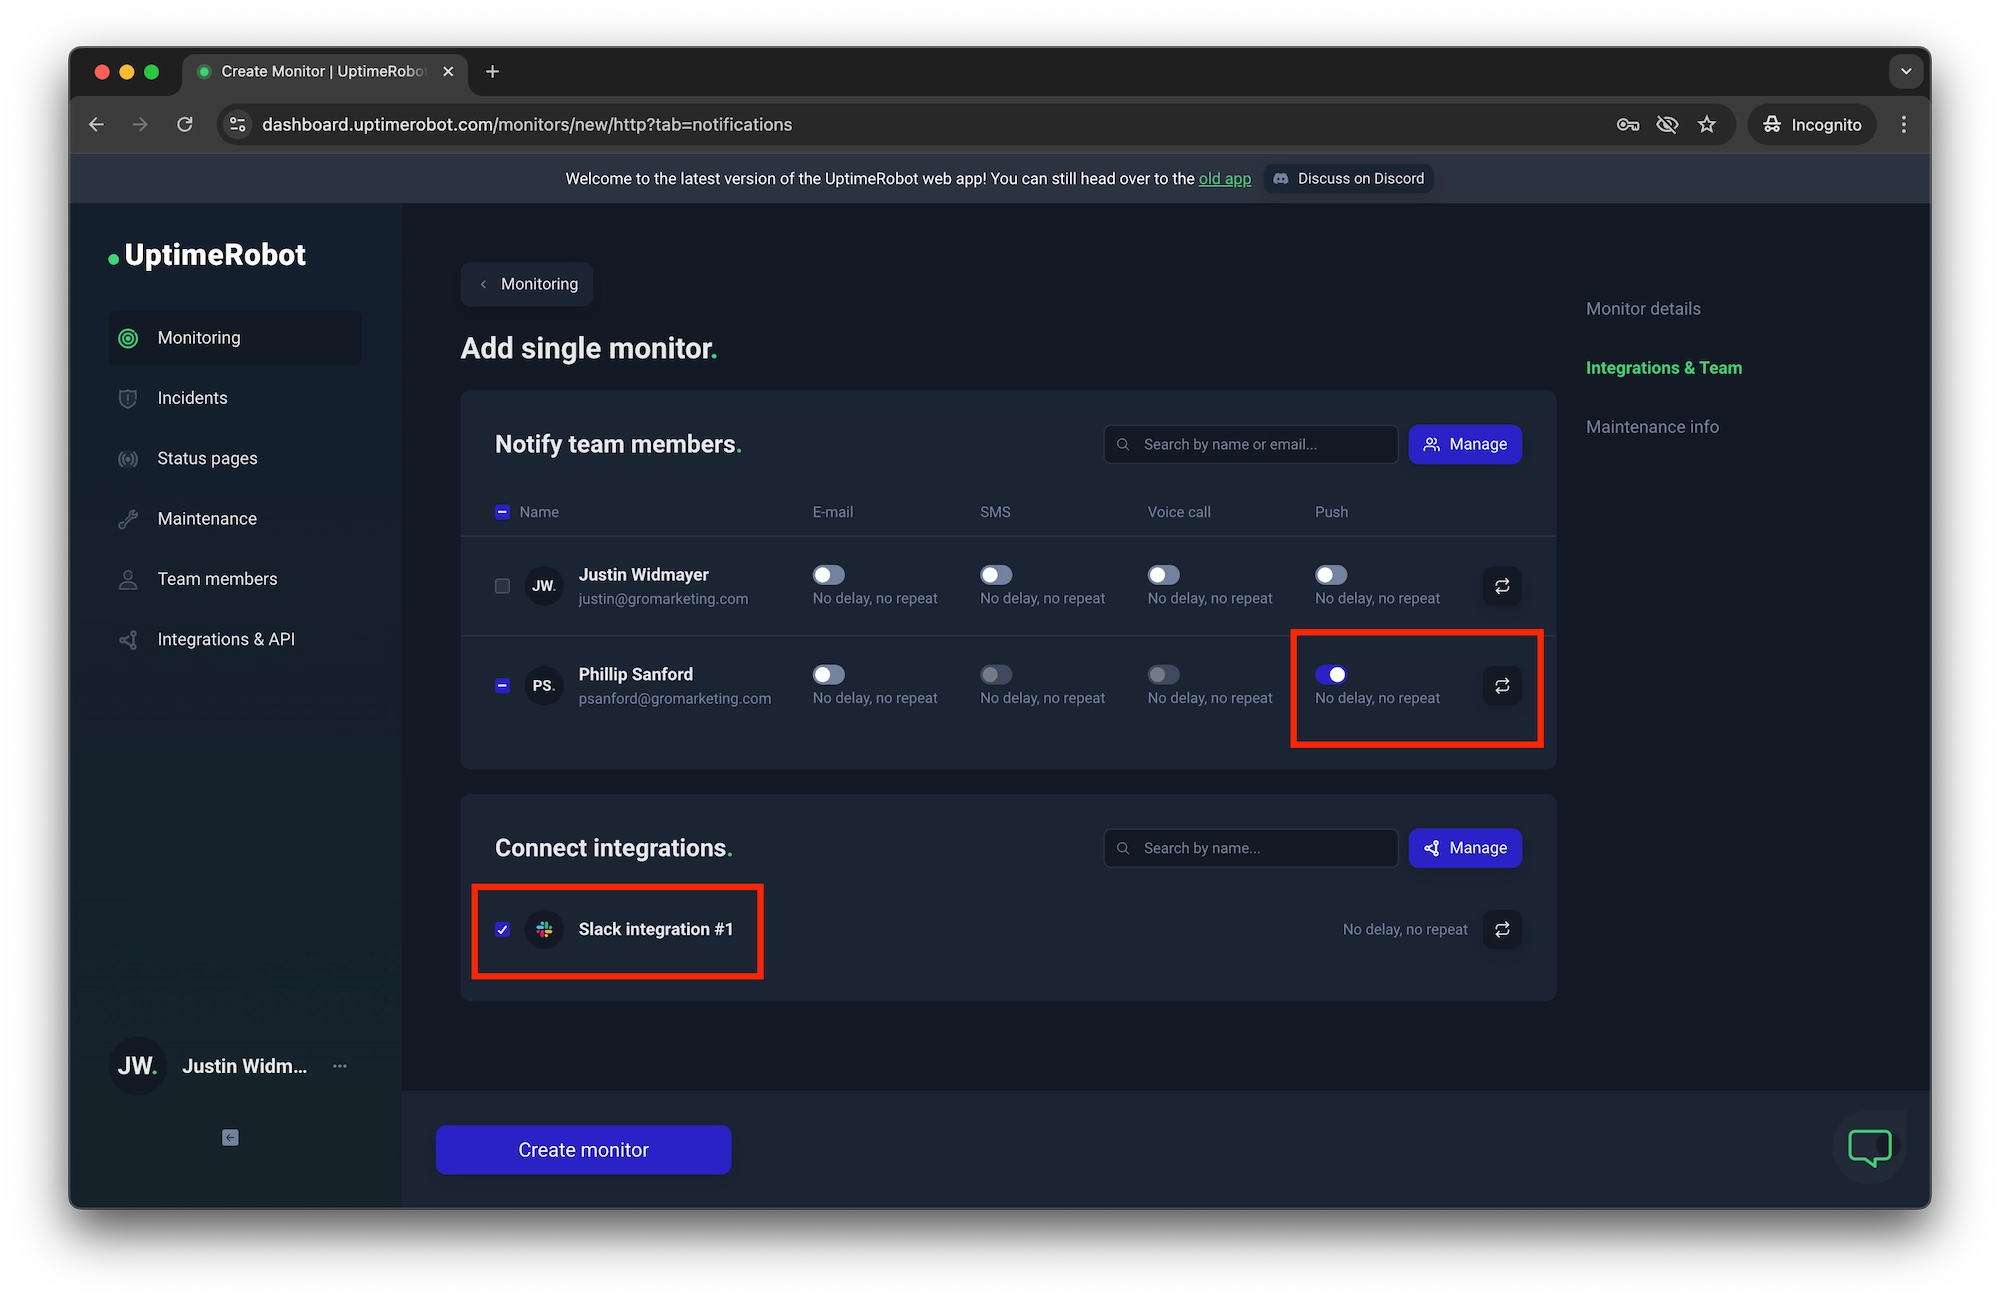
- Login to uptimerobot.com
- Click New Monitor
- Monitor Type: HTTP / website monitoring
- URL to monitor: https://xyz.com
- Under "How will we notify you?" unclick all notifications
- Monitor Interval: 1 min
- Request Timeout: 1 min
- Navigate to "Integrations & Team" on the right-hand side
- Under "Notify team members" select "Push" for "Phillip Sanford"
- Under "Connect integrations" select "Slack integration #1"
- Click Create Monitor


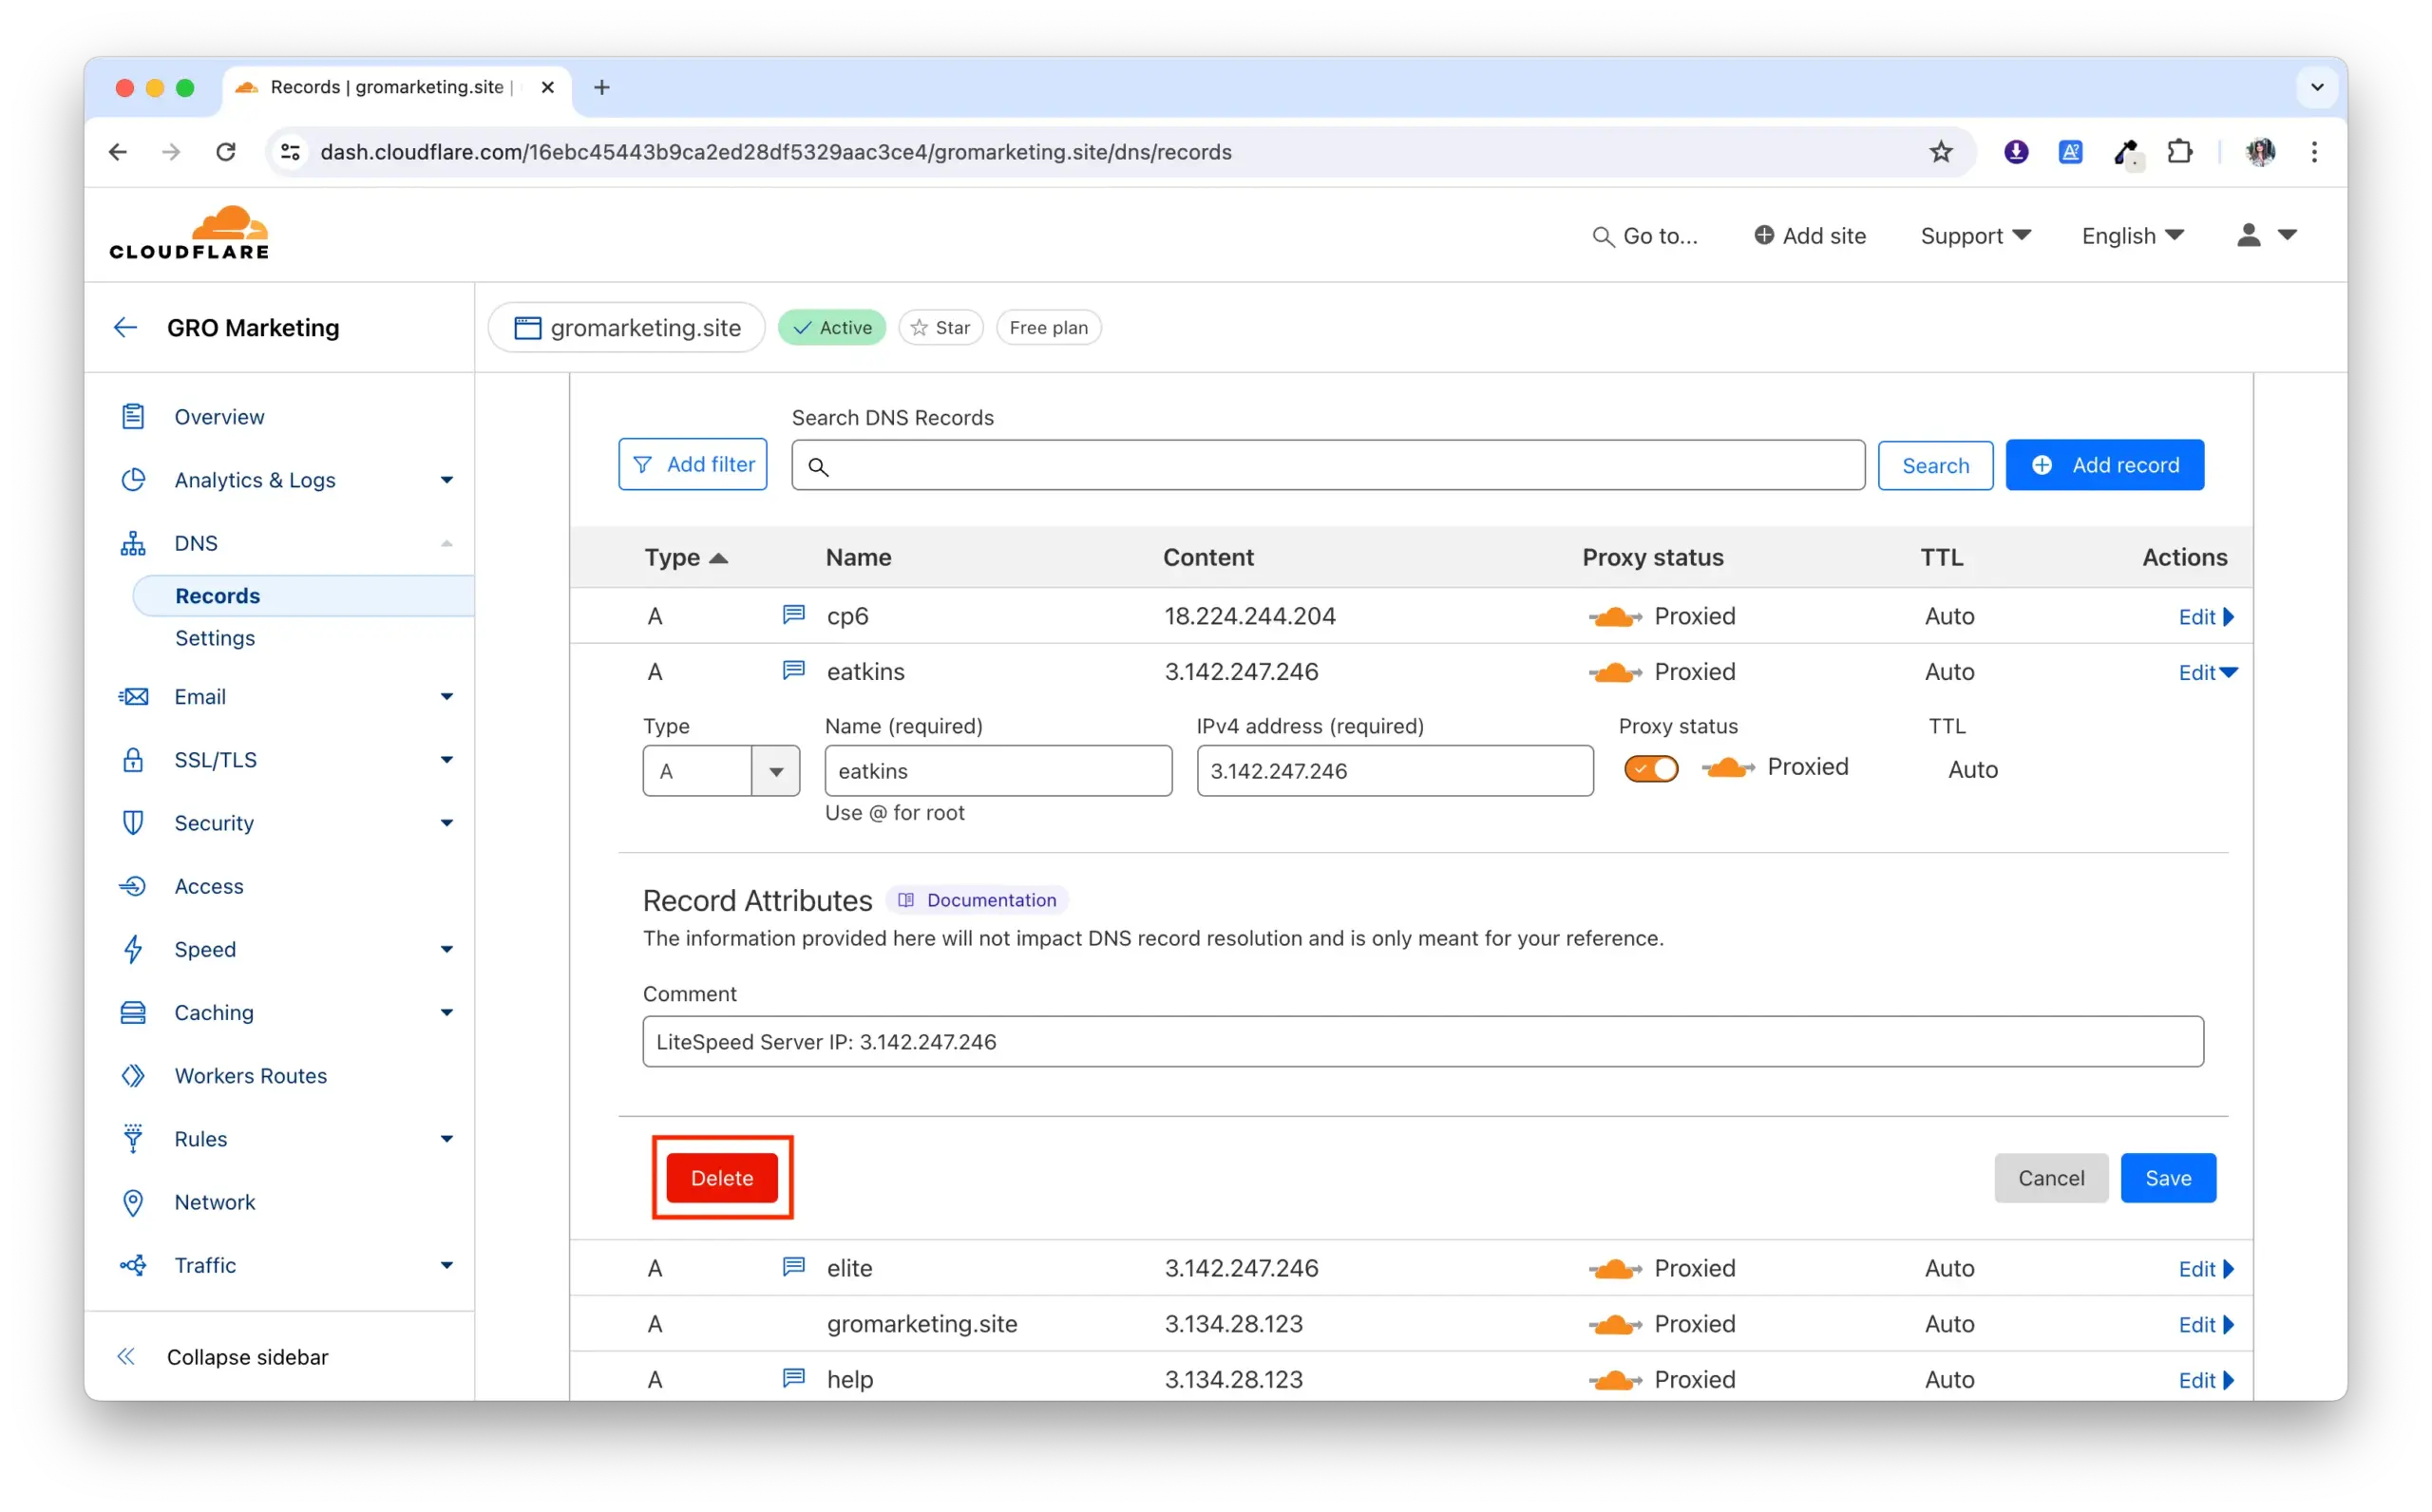
Delete old DNS dev records
Since the dev site is now gone, it’s time to remove remnants of the dev’s subdomain. This process is done at both Cloudflare and cPanel.
- Open Cloudflare and Log in
- Go to the gromarketing.site and click the DNS tab
- Locate the A record with the old dev subdomain, and click Edit then Delete
- Visit the cPanel server your dev site is on.
- From the cPanel Dashboard, click File Manager
- Go to WordPress Backups
- Find dev backups and delete.


Last Steps
- Update the GRO Websites spreadsheet.
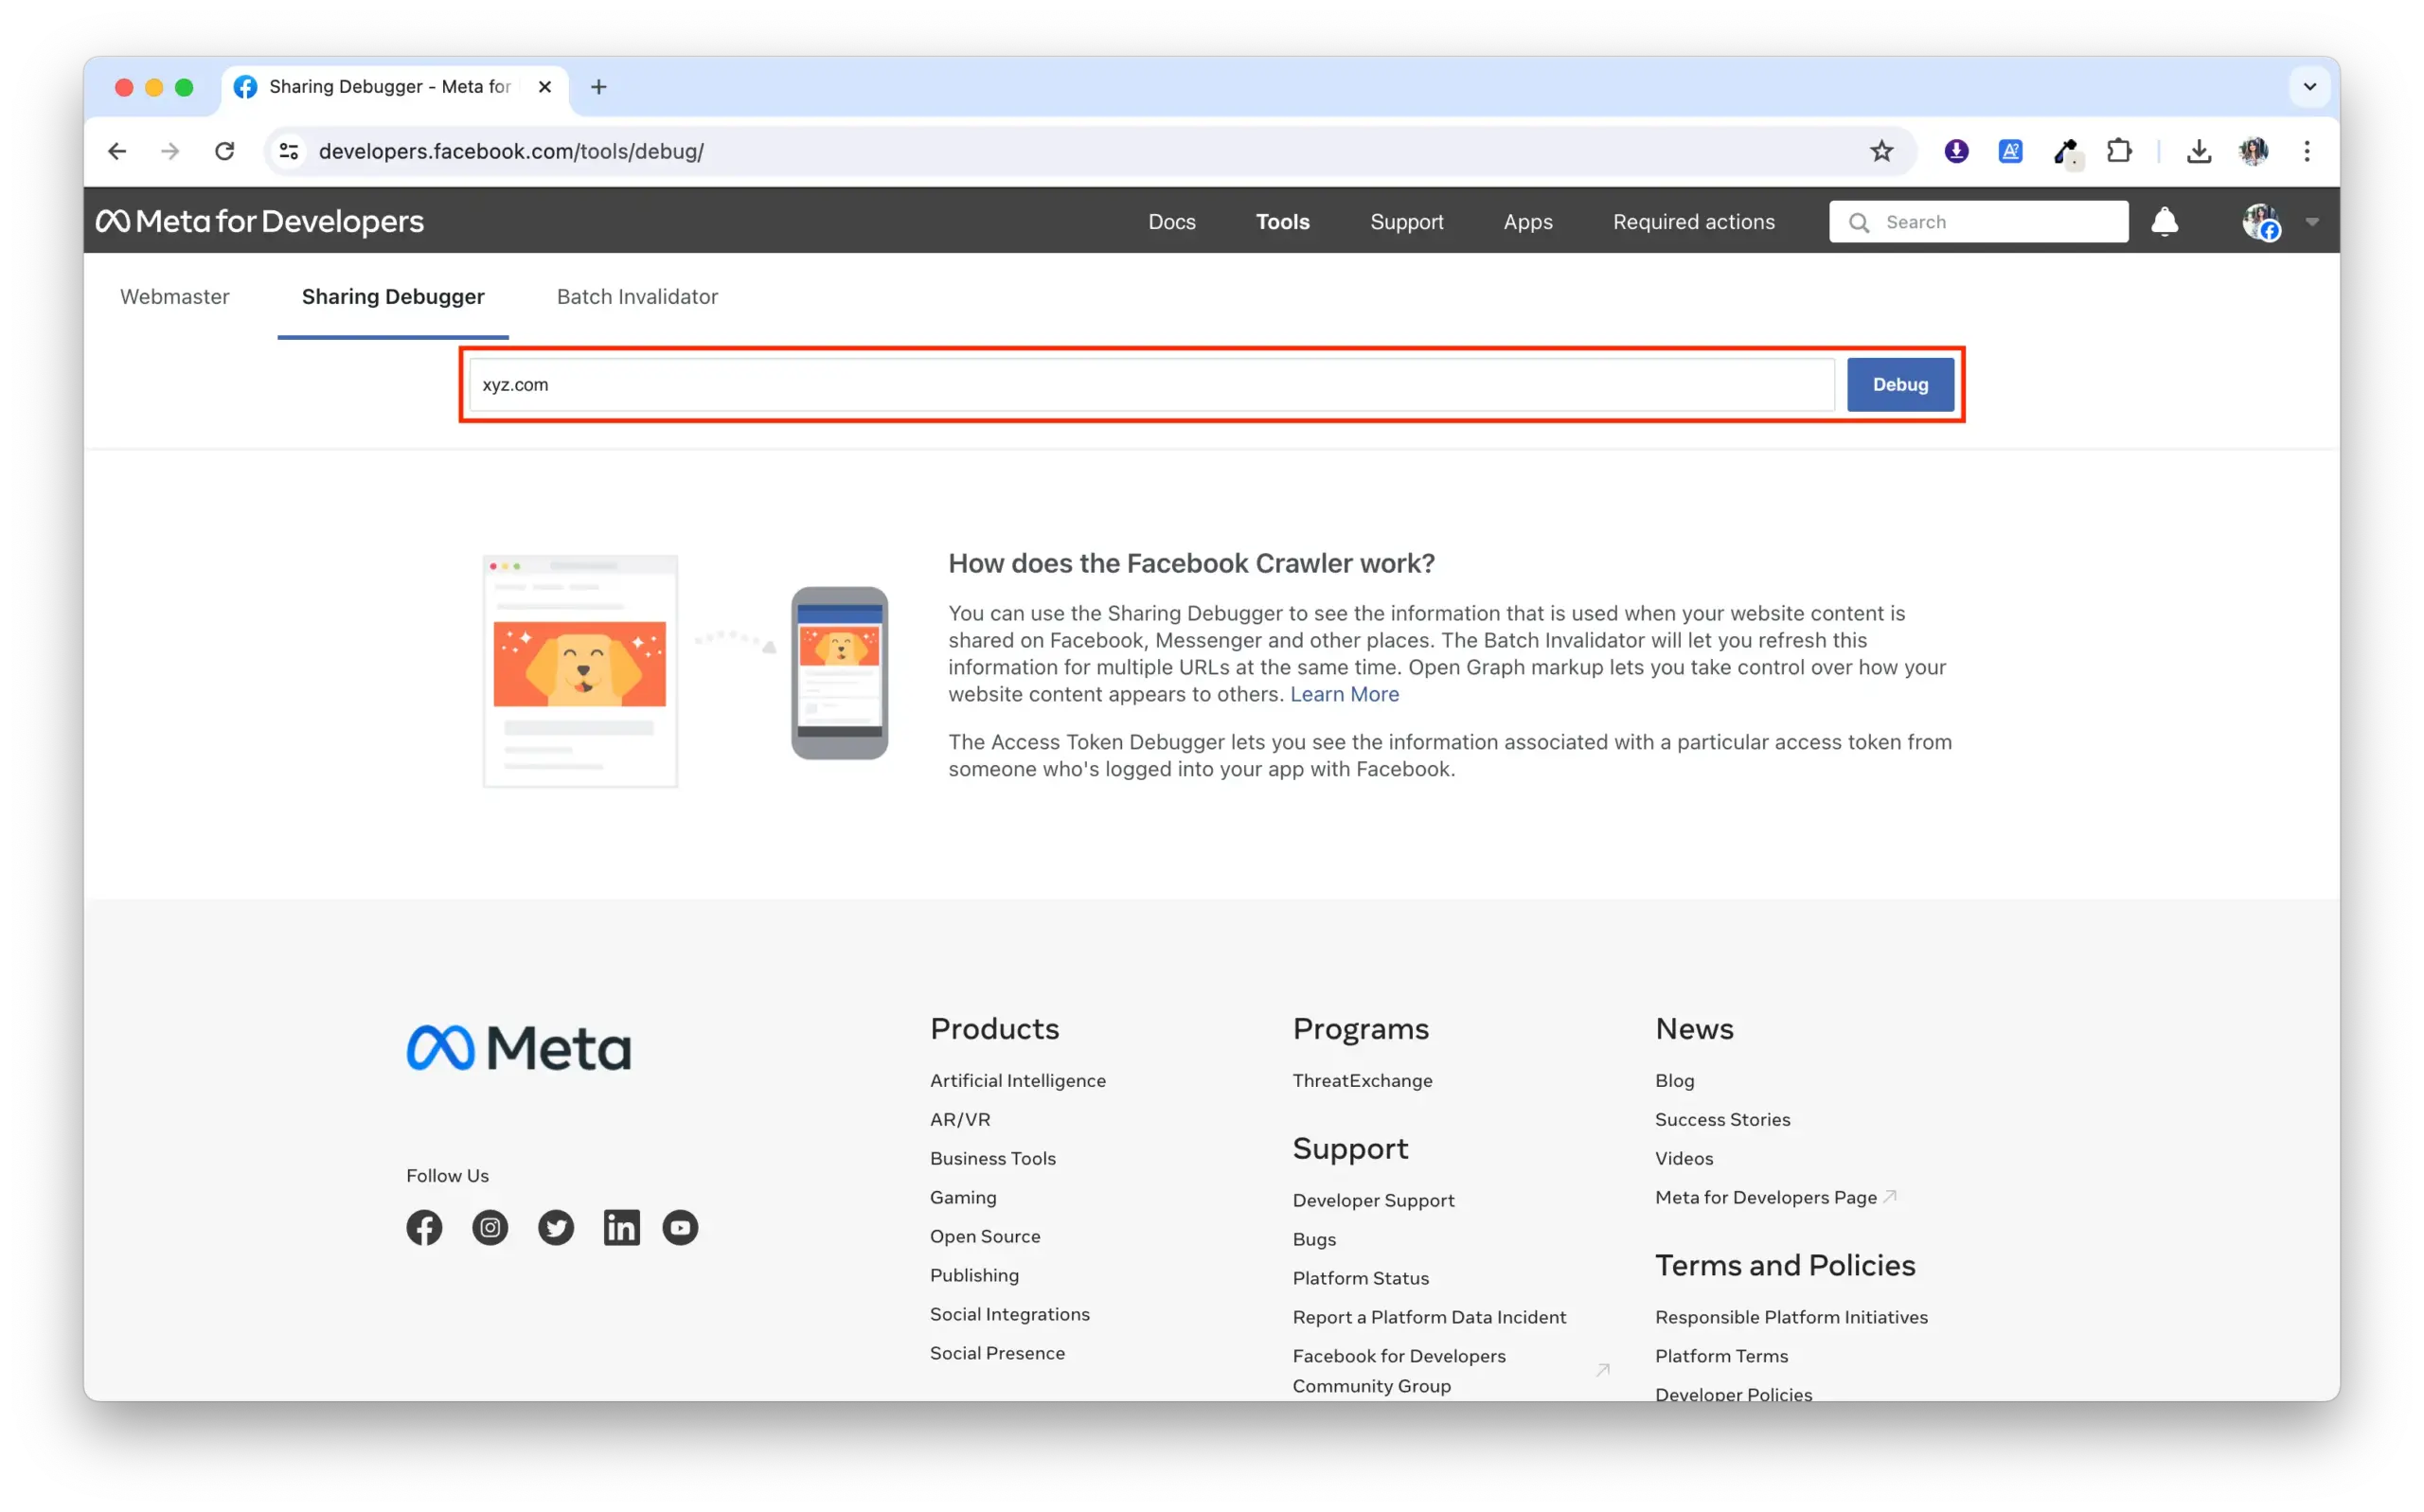
- Facebook scraper / debugger - scan new URL
- Update Monday task - Request that client test all website forms to ensure they’re receiving submissions
- Announce launch in #websitelaunches Slack channel