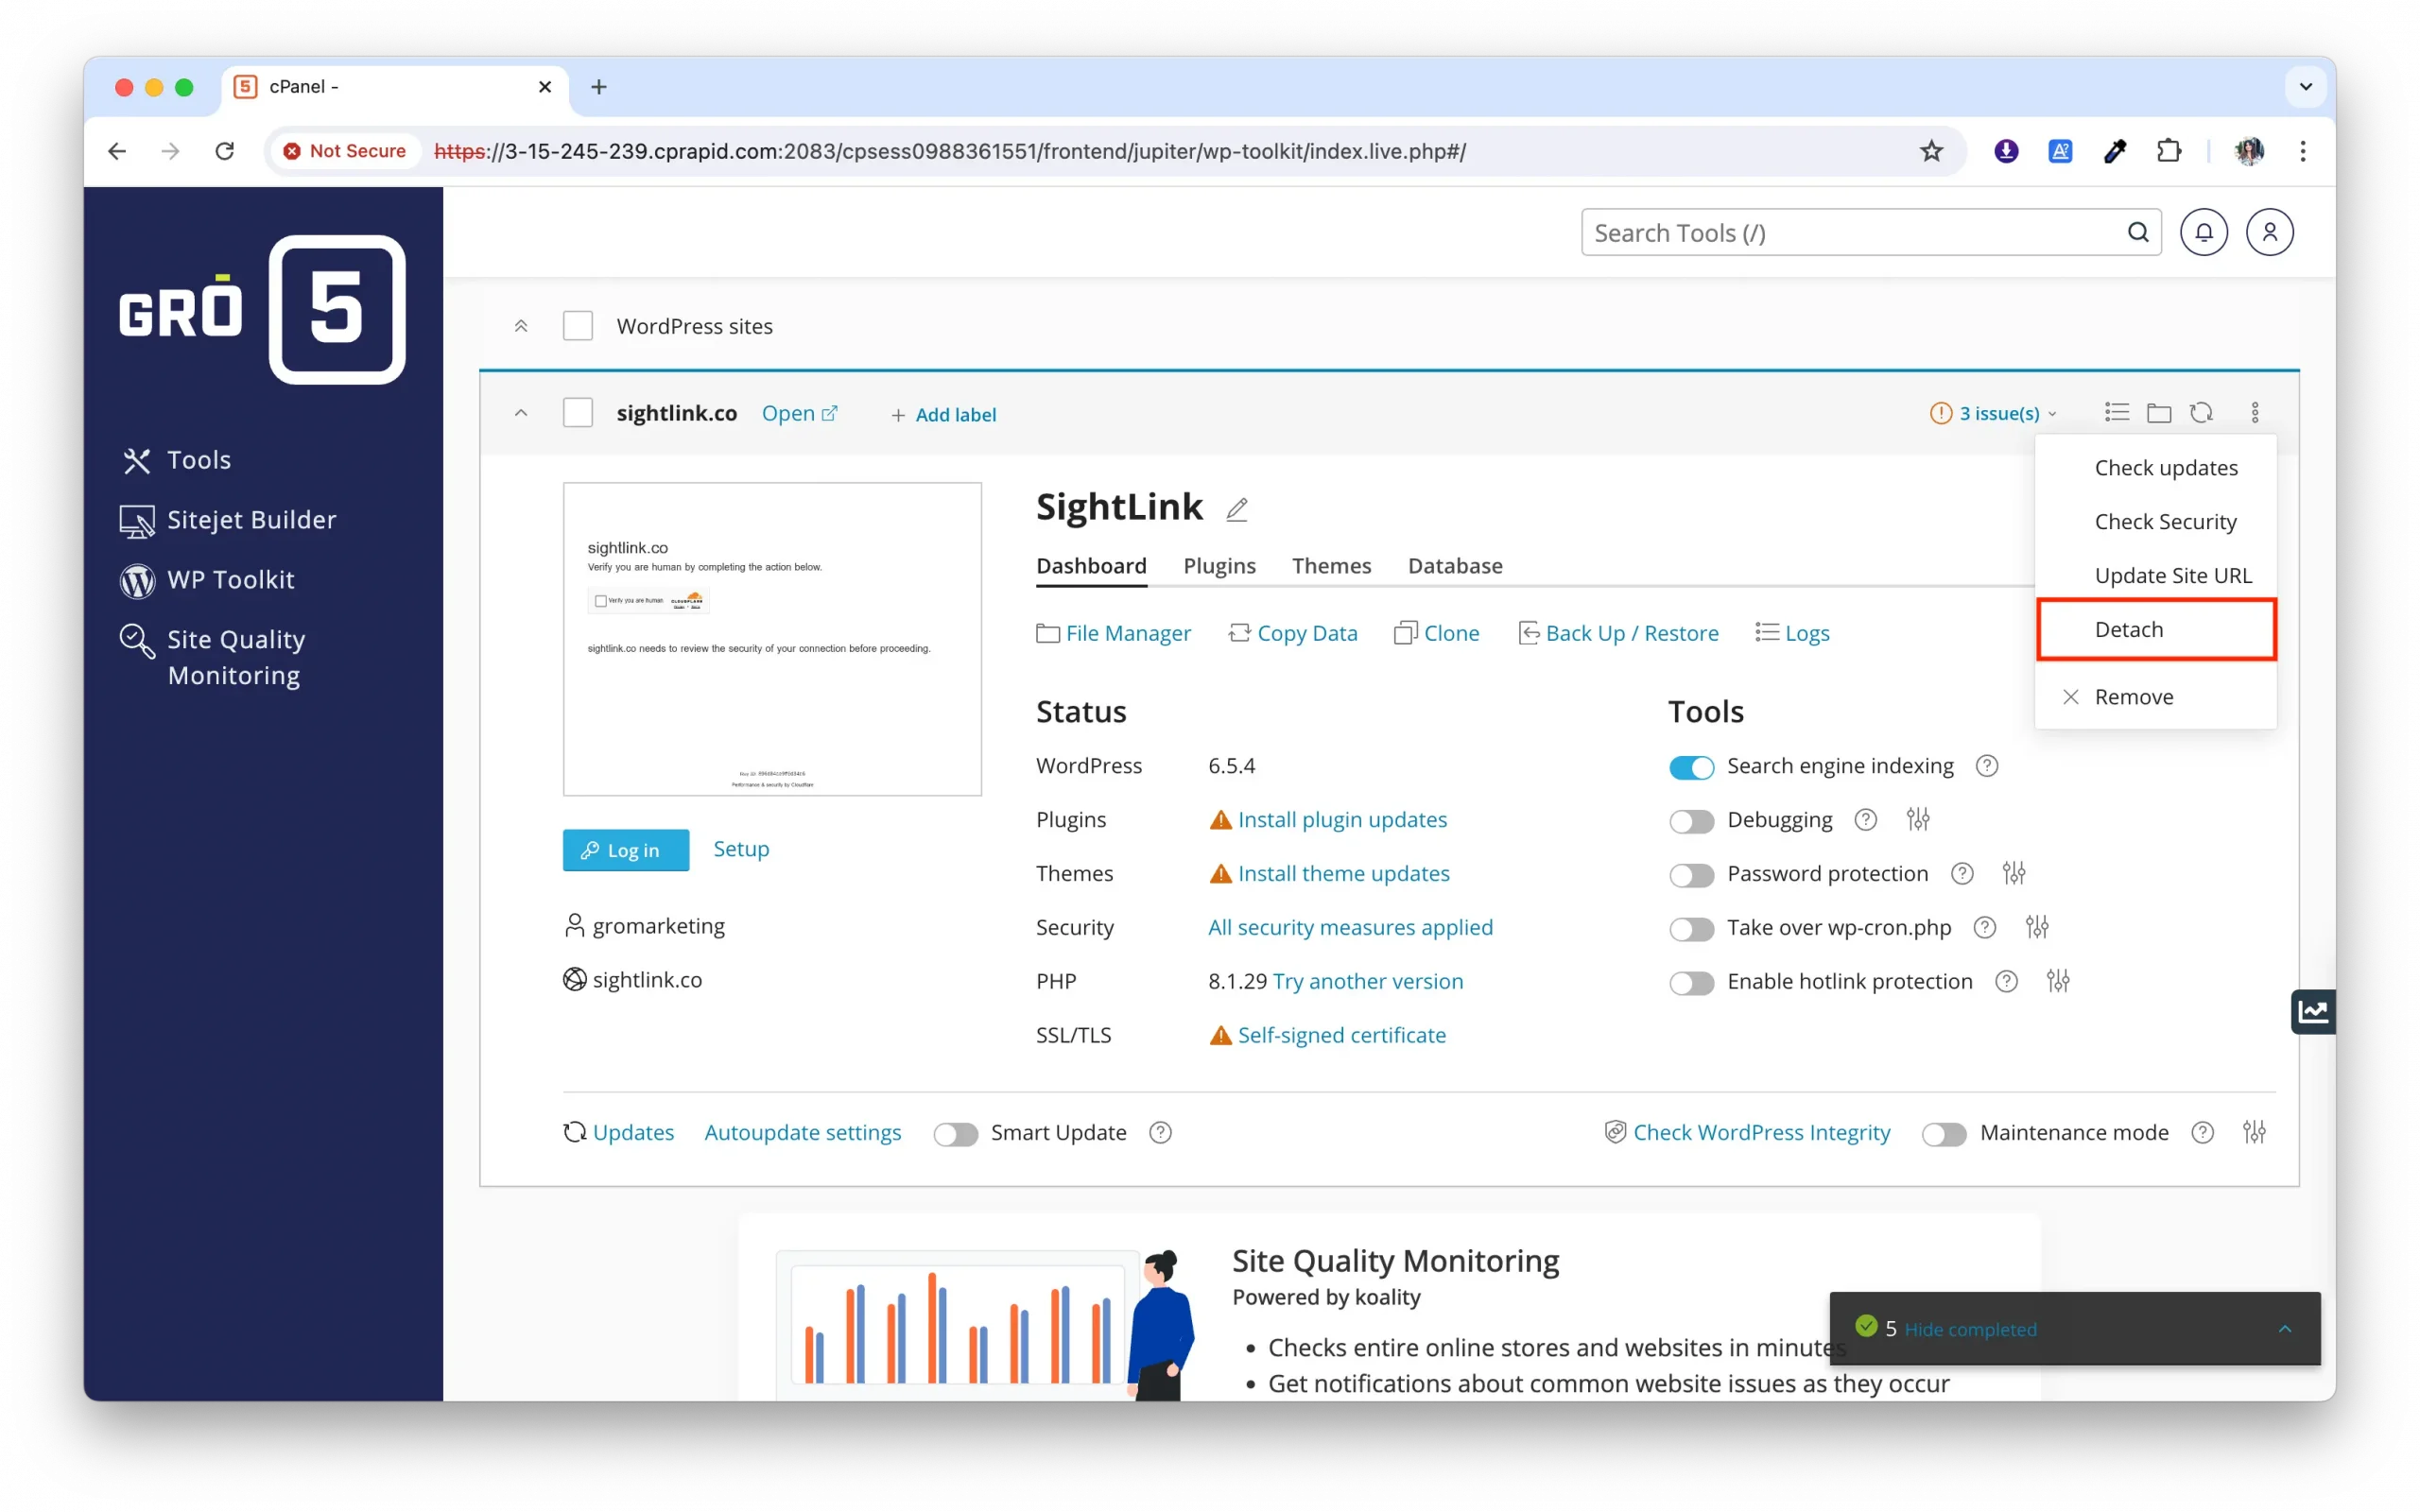
Once a dev site is 100% complete and ready to launch (go live), there are 5 critical steps to follow. This involves domain access, DNS record changes, and eventually pointing the live domain to the server where the new site is hosted.
* NOTE: Editing domain DNS and records should be handled very delicately. Incorrect DNS adjustments can result in websites crashing, email disappearing, or other network problems.
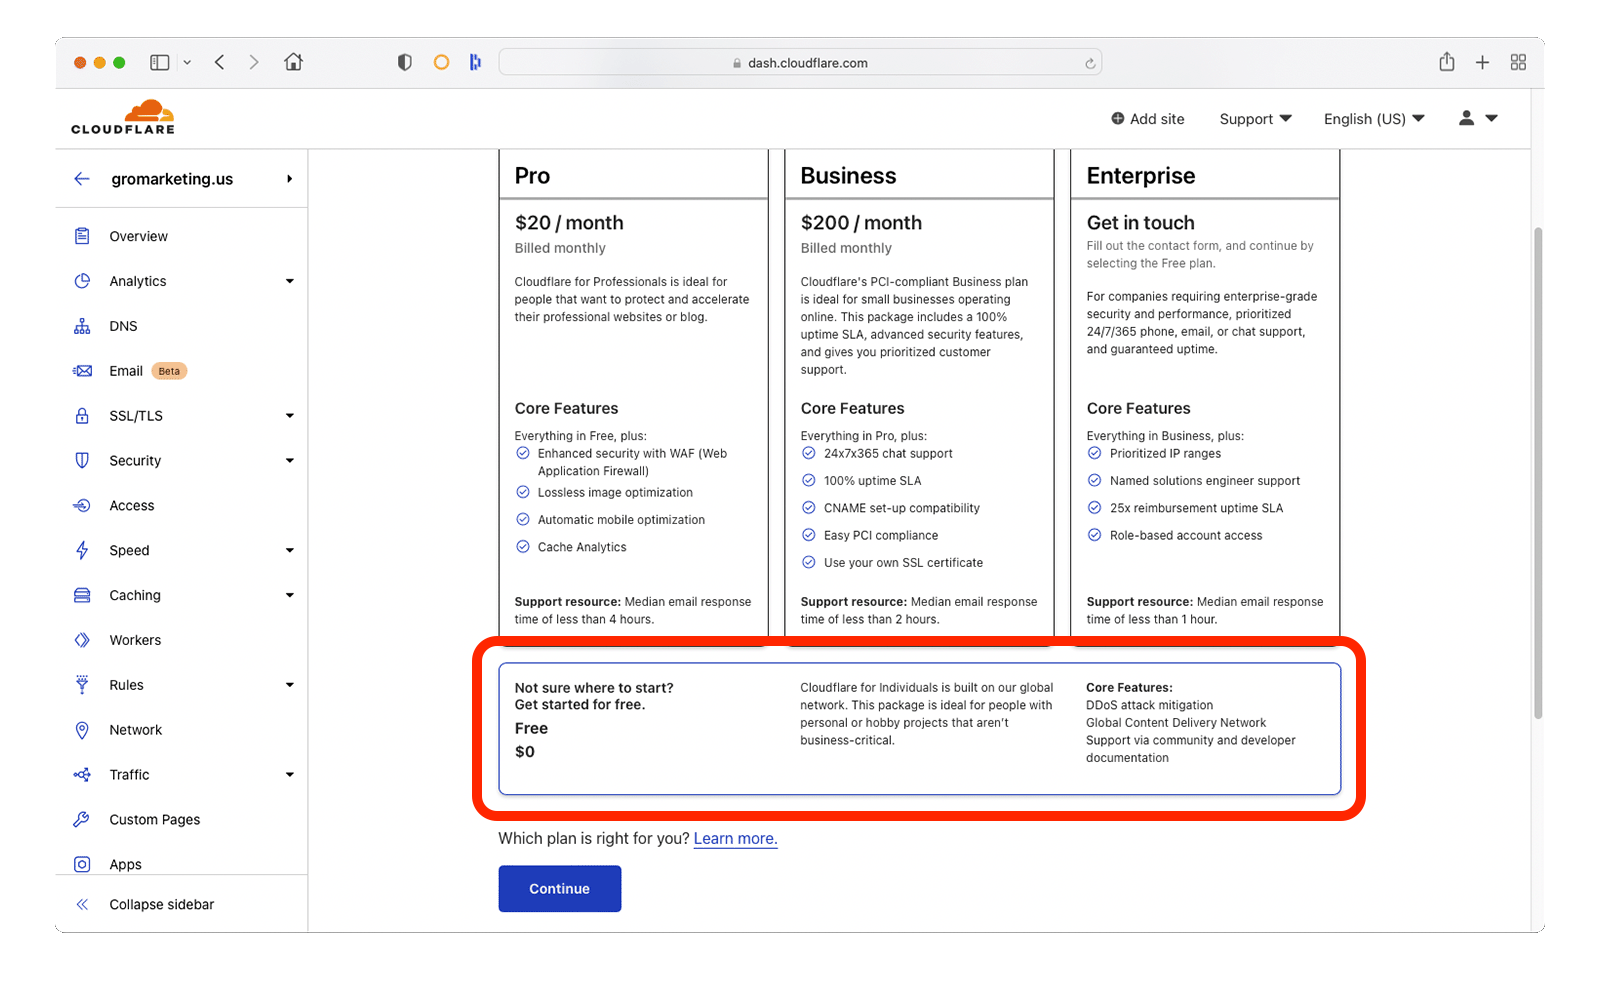
Select the Free $0 option at the bottom and click Continue
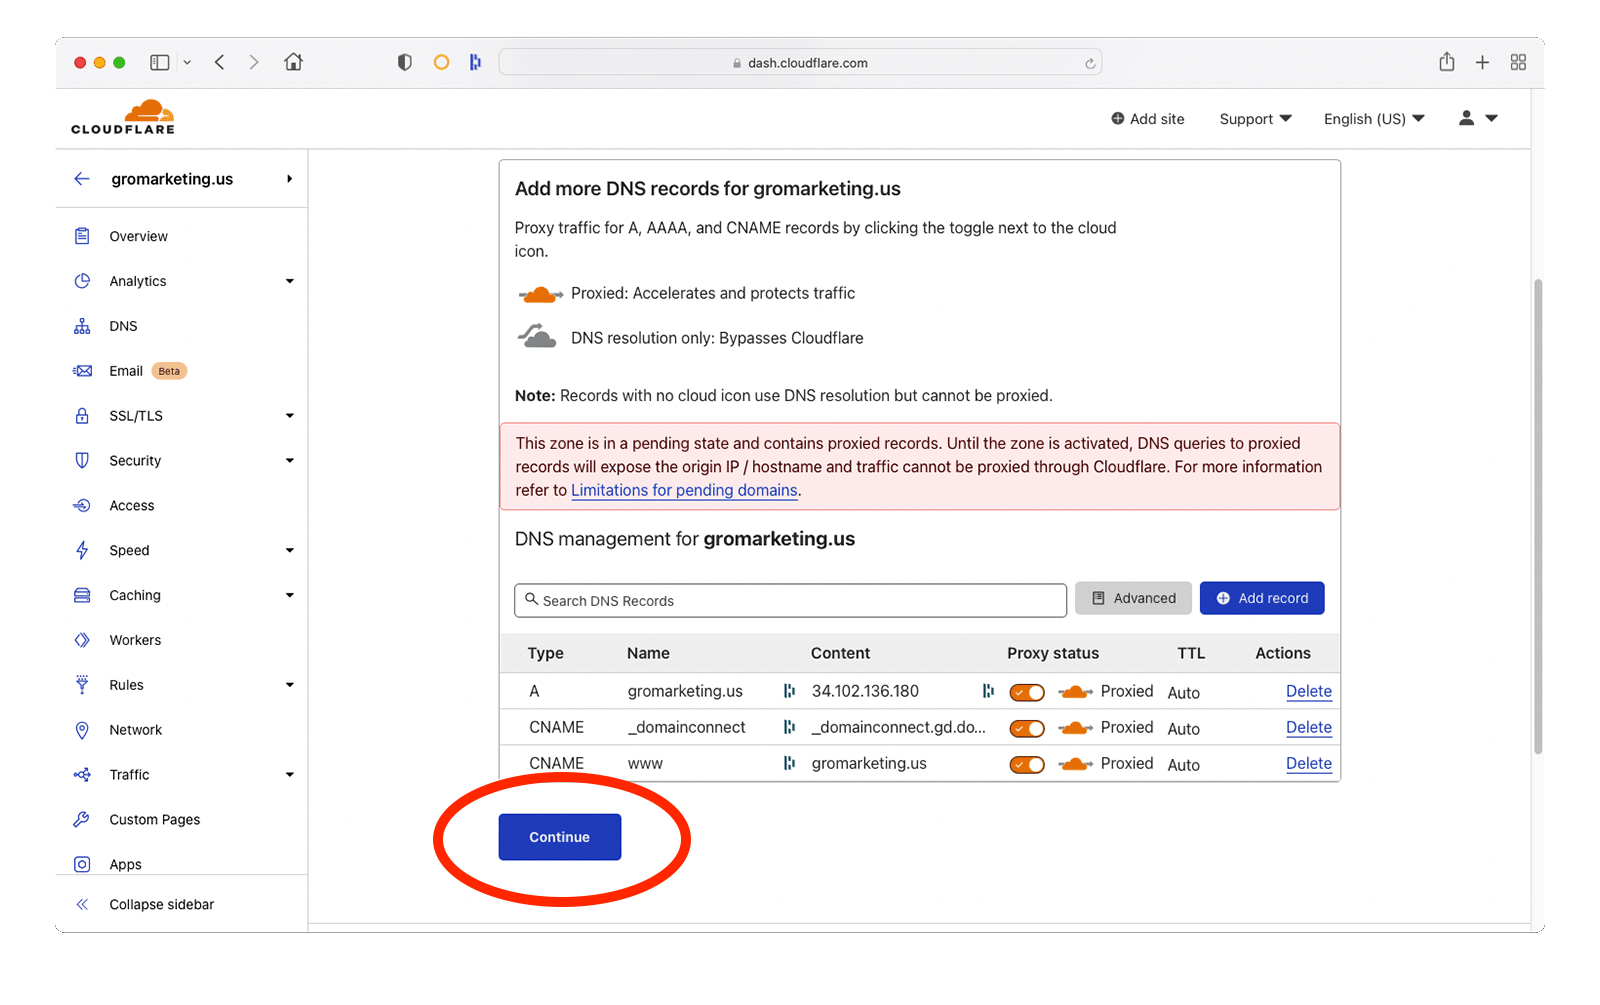
After existing DNS records populate, click the Continue button
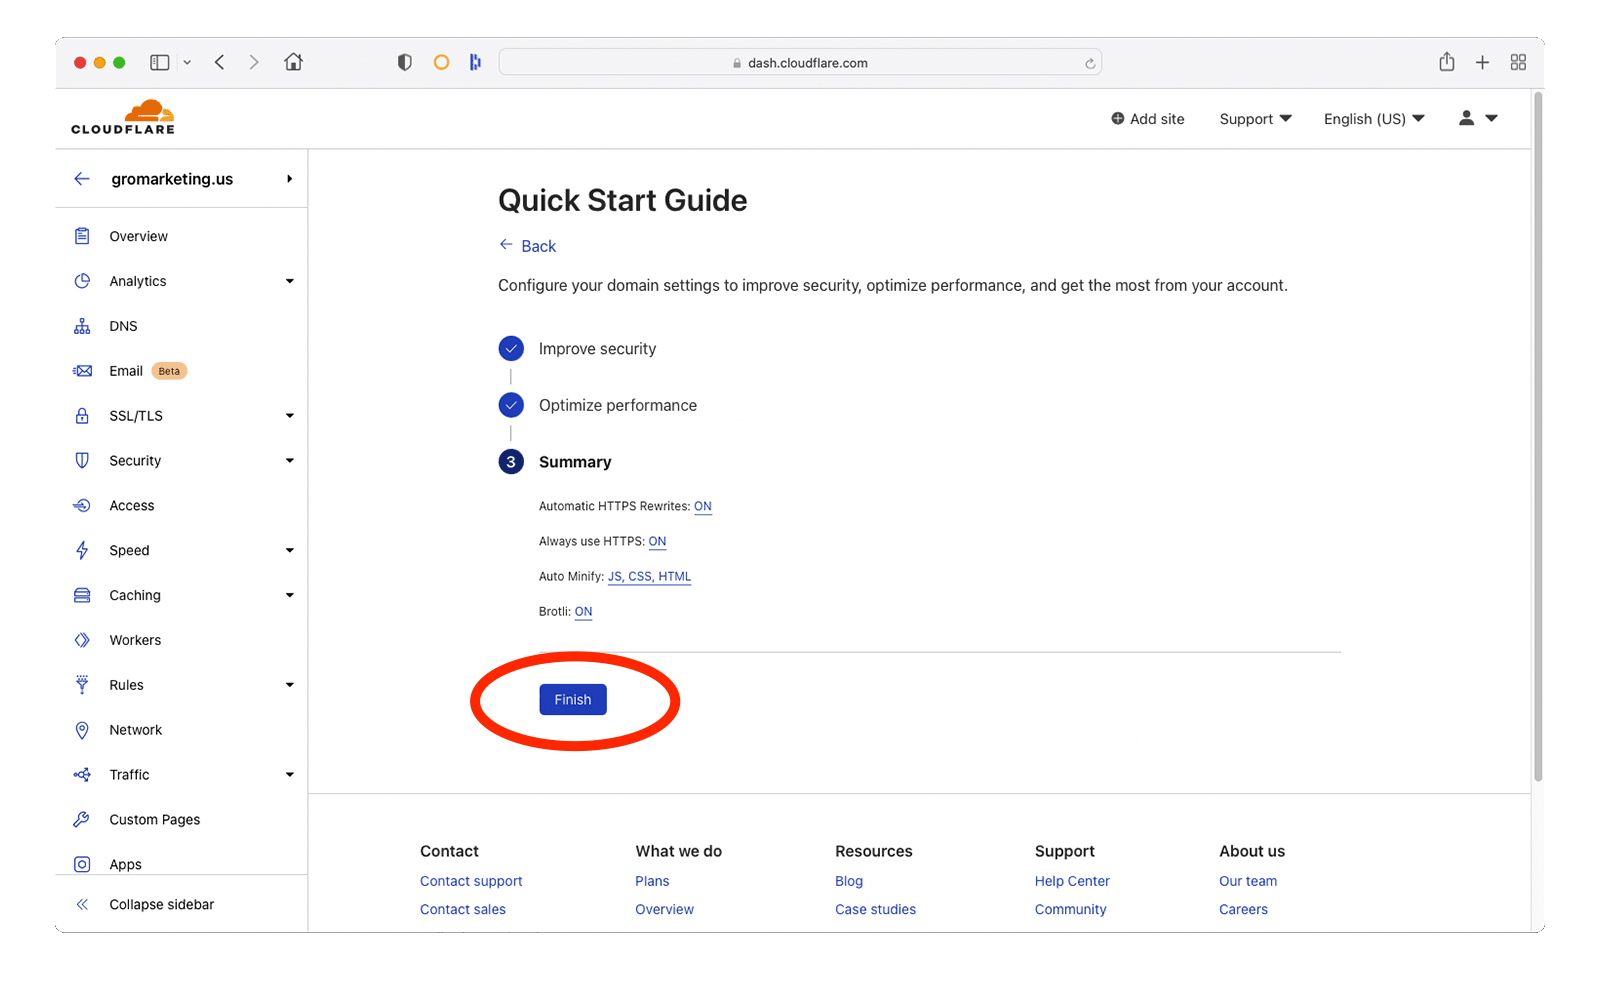
Check ALL OPTIONS on the Quick Start Guide page and click Finish
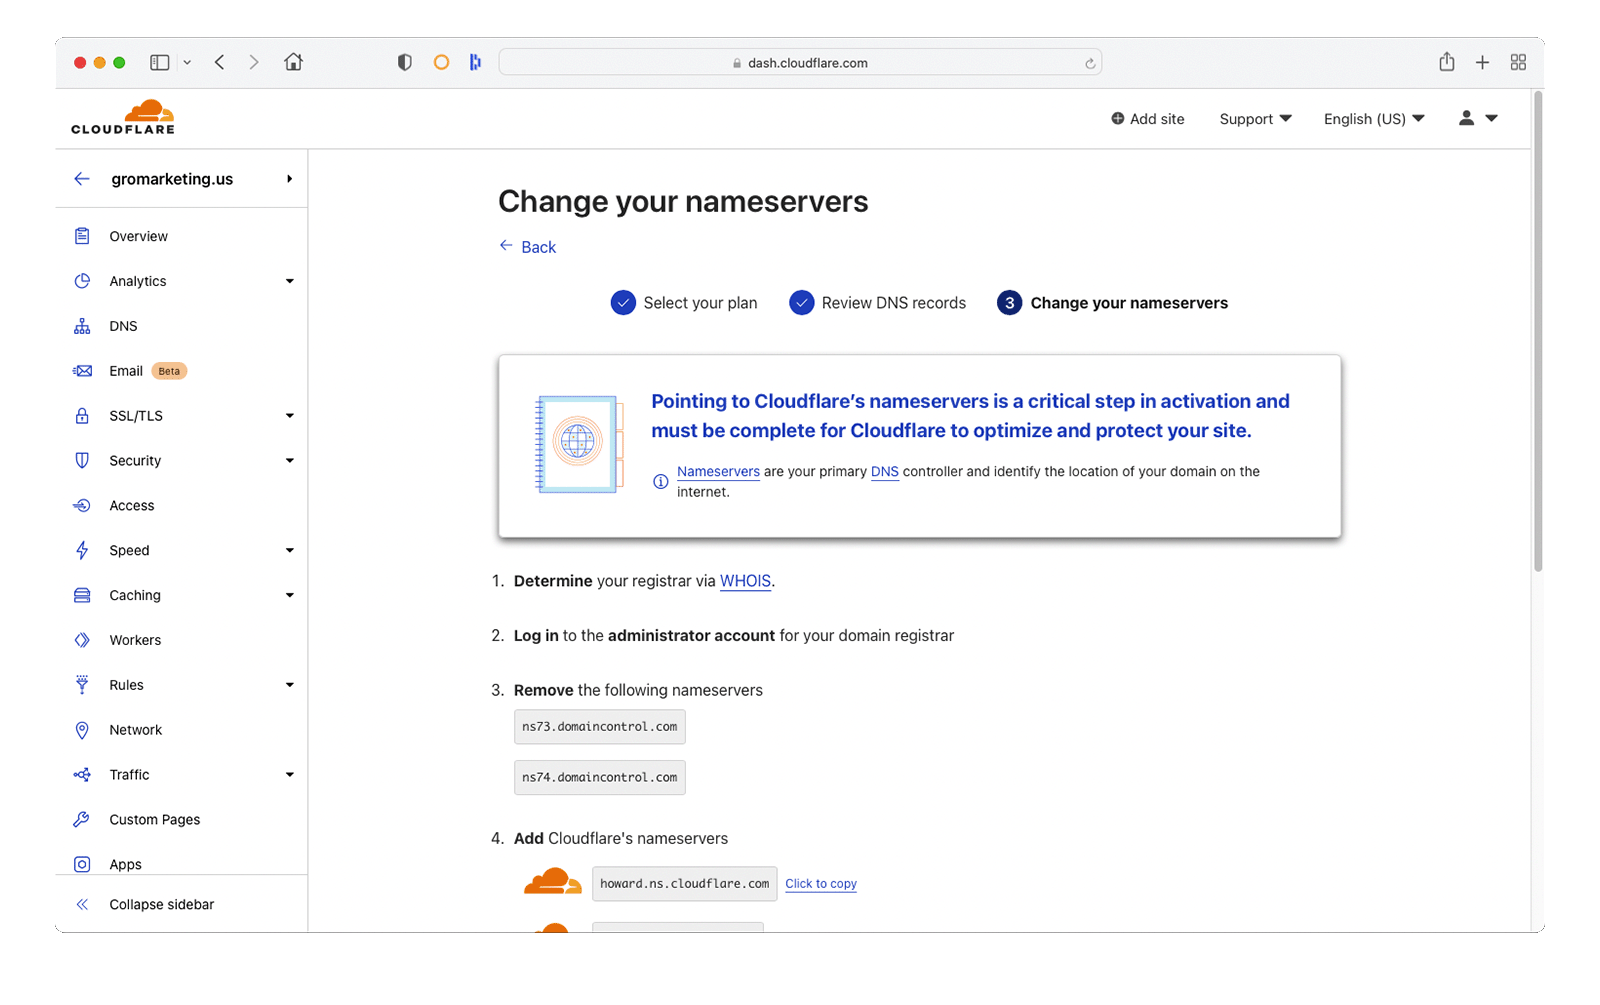
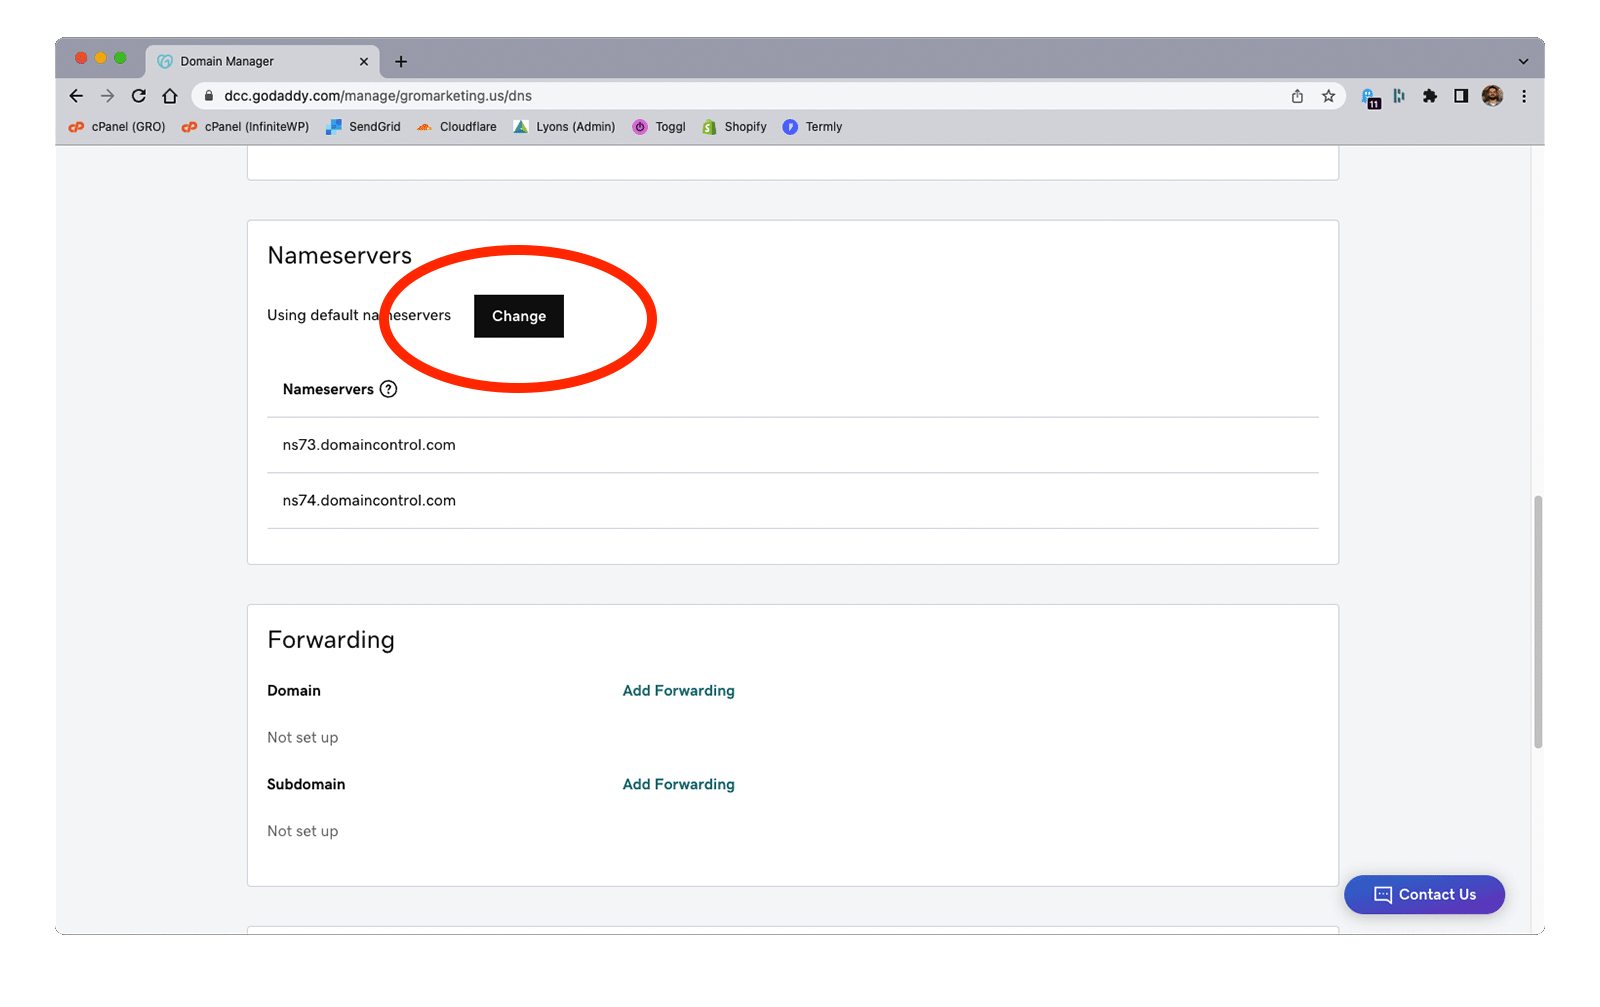
Step 2 - Point Nameservers to Cloudflare
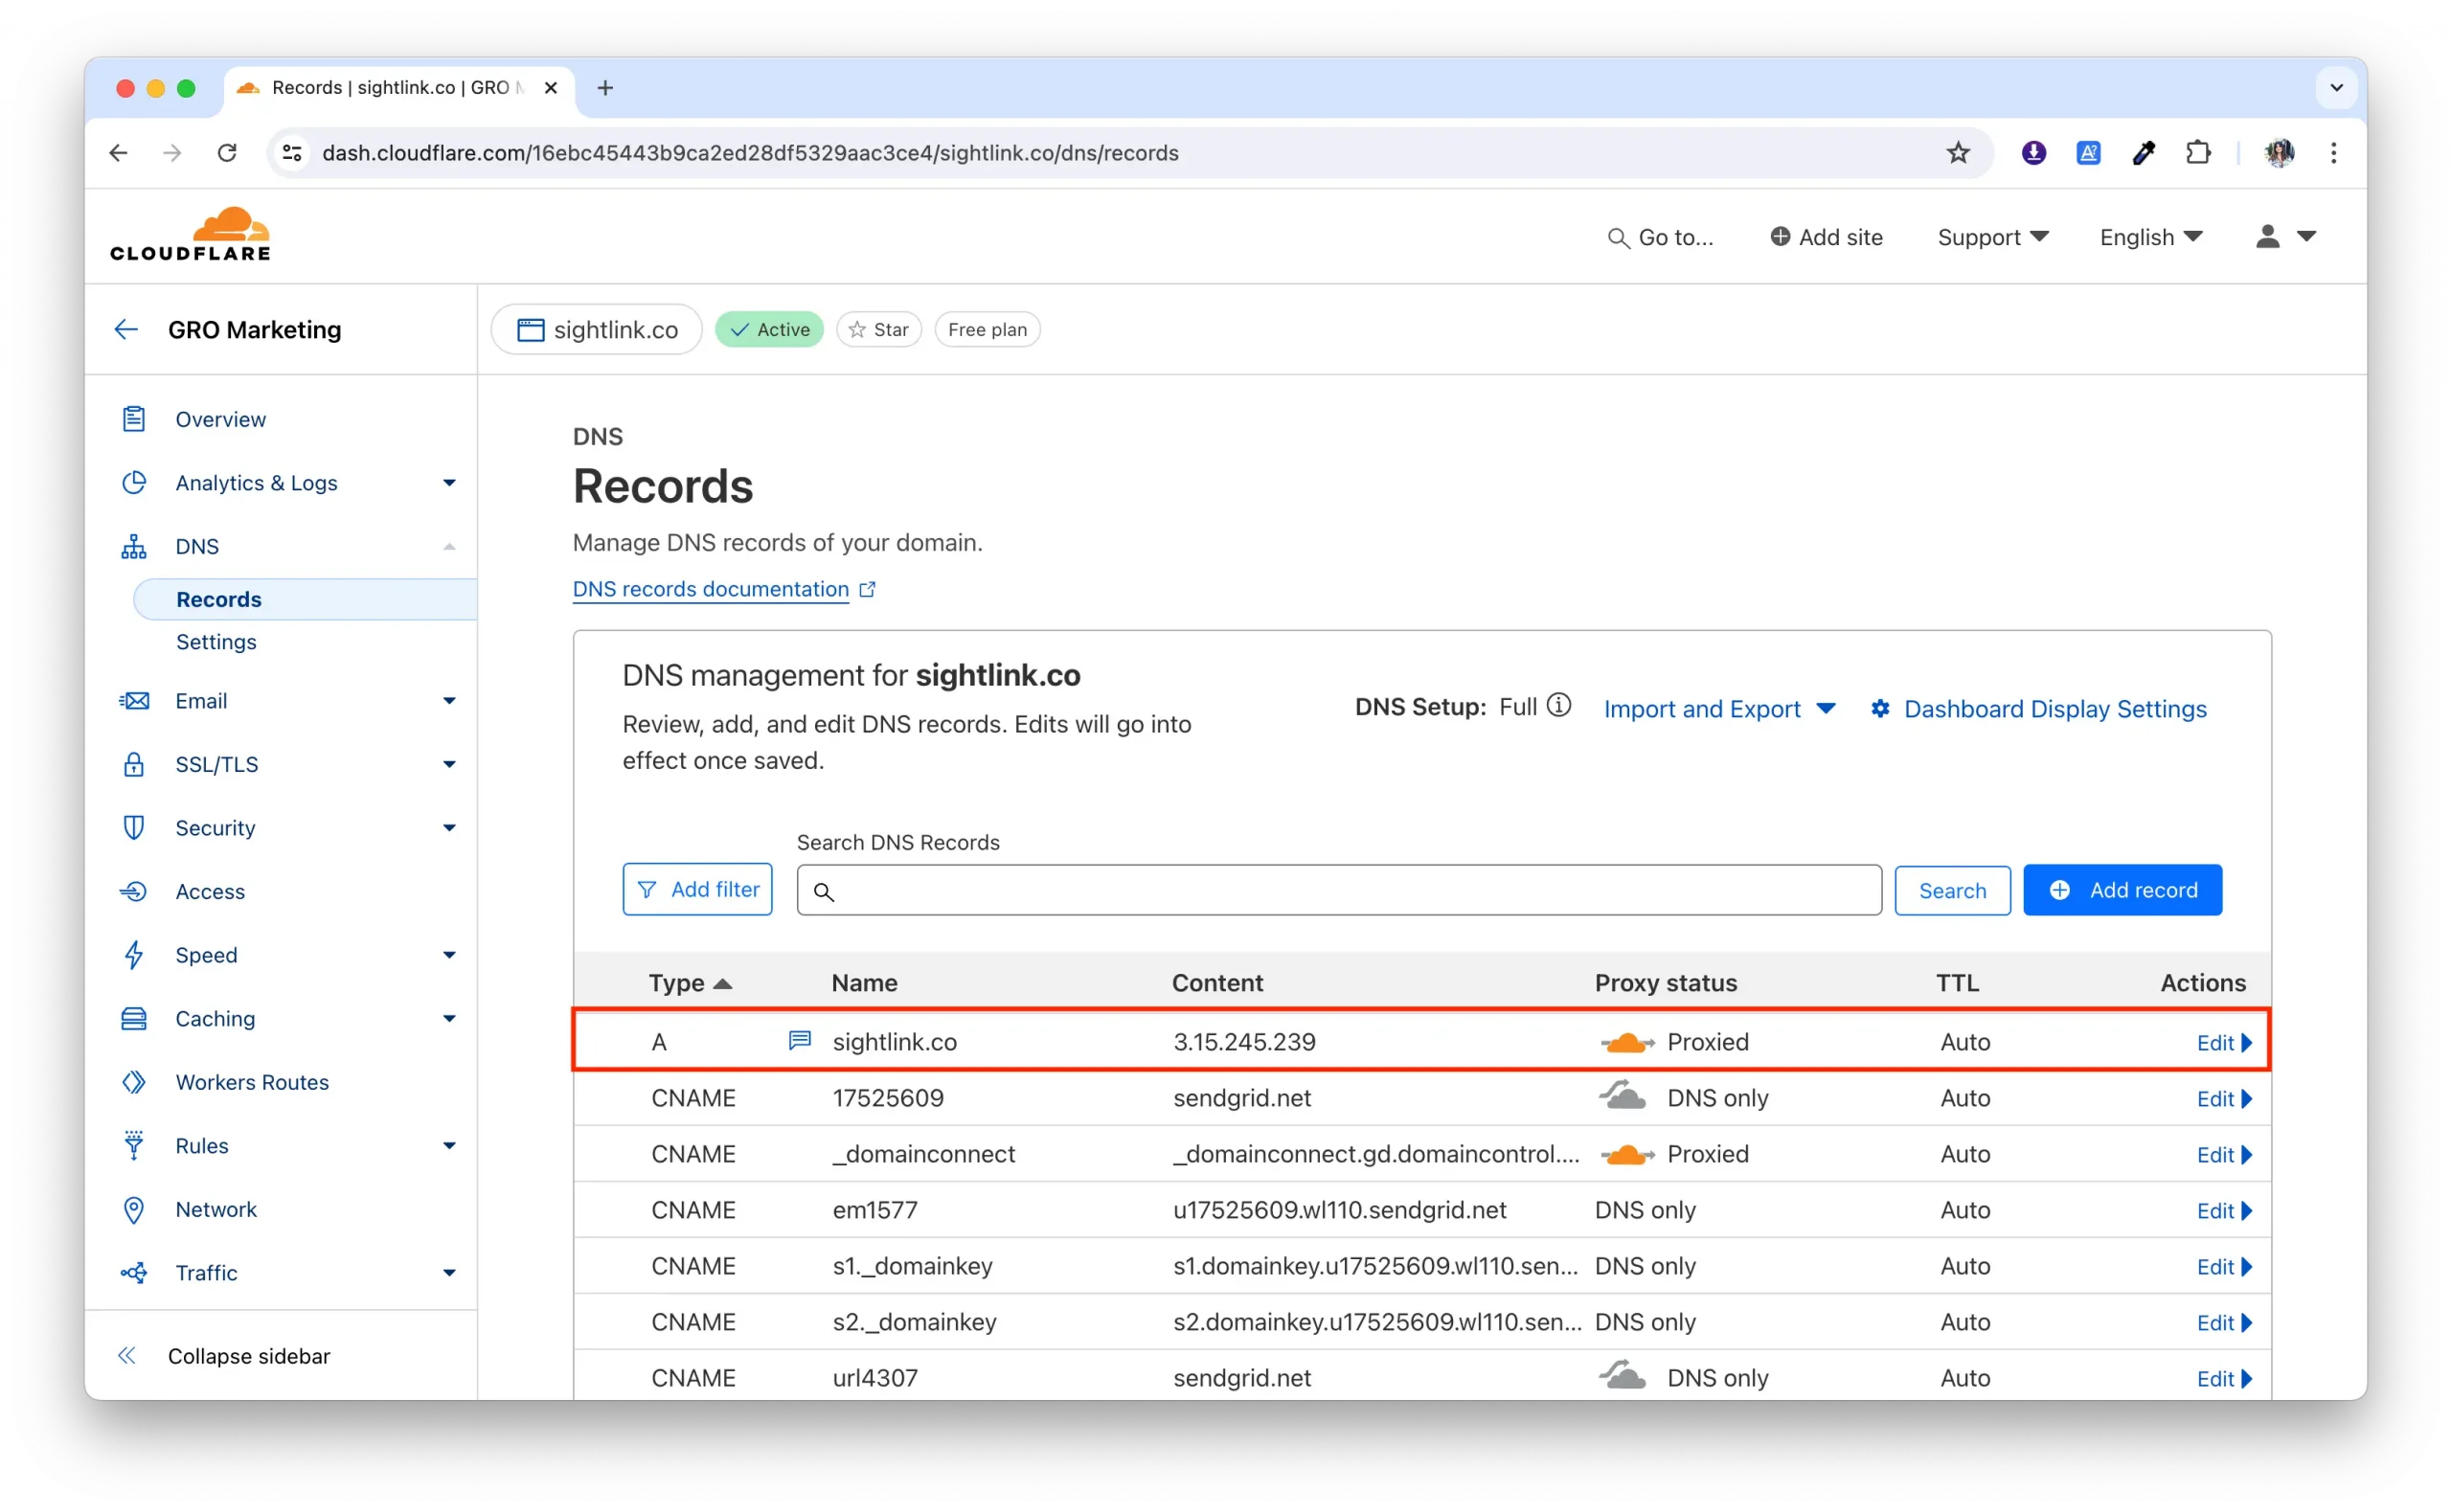
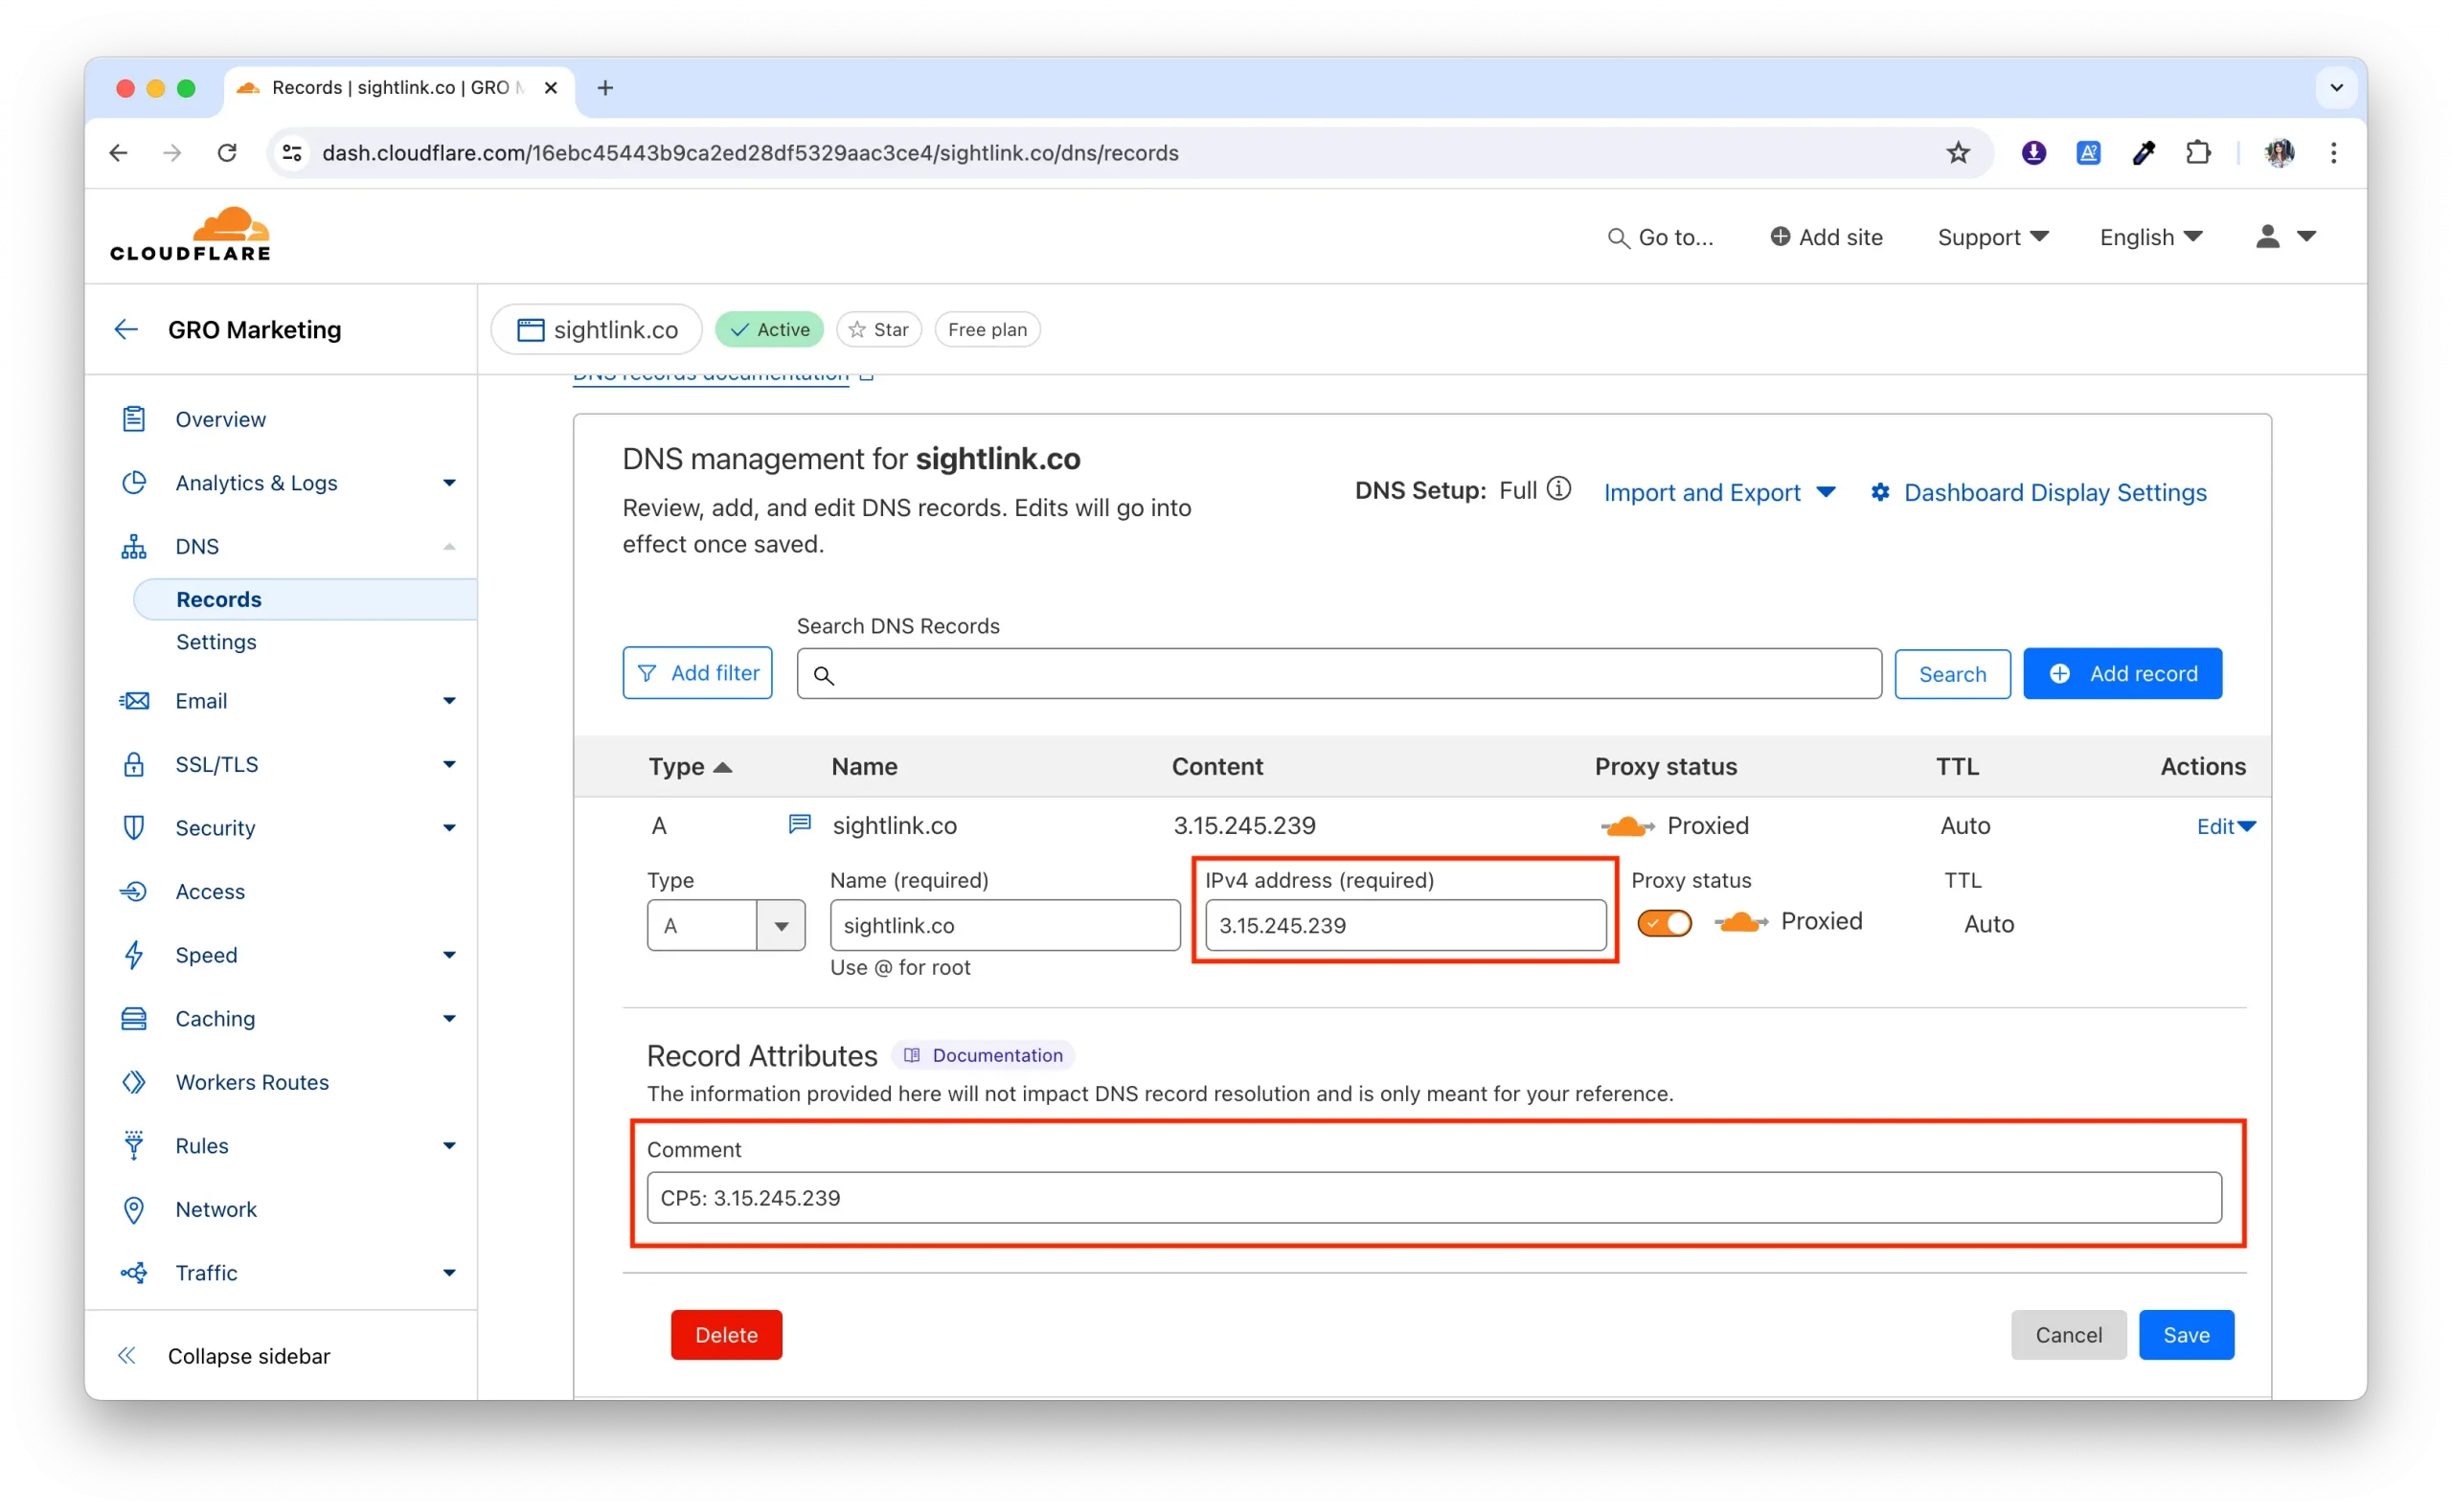
Cross Reference DNS RecordsBe sure to cross-reference the current registrar's DNS records against those that populated in Cloudflare. If any DNS records are missing from Cloudflare, add them now. Once the following step is complete, original records will be gone forever.
Login to domain registrar (GoDaddy, Bluehost, Network Solutions, etc)
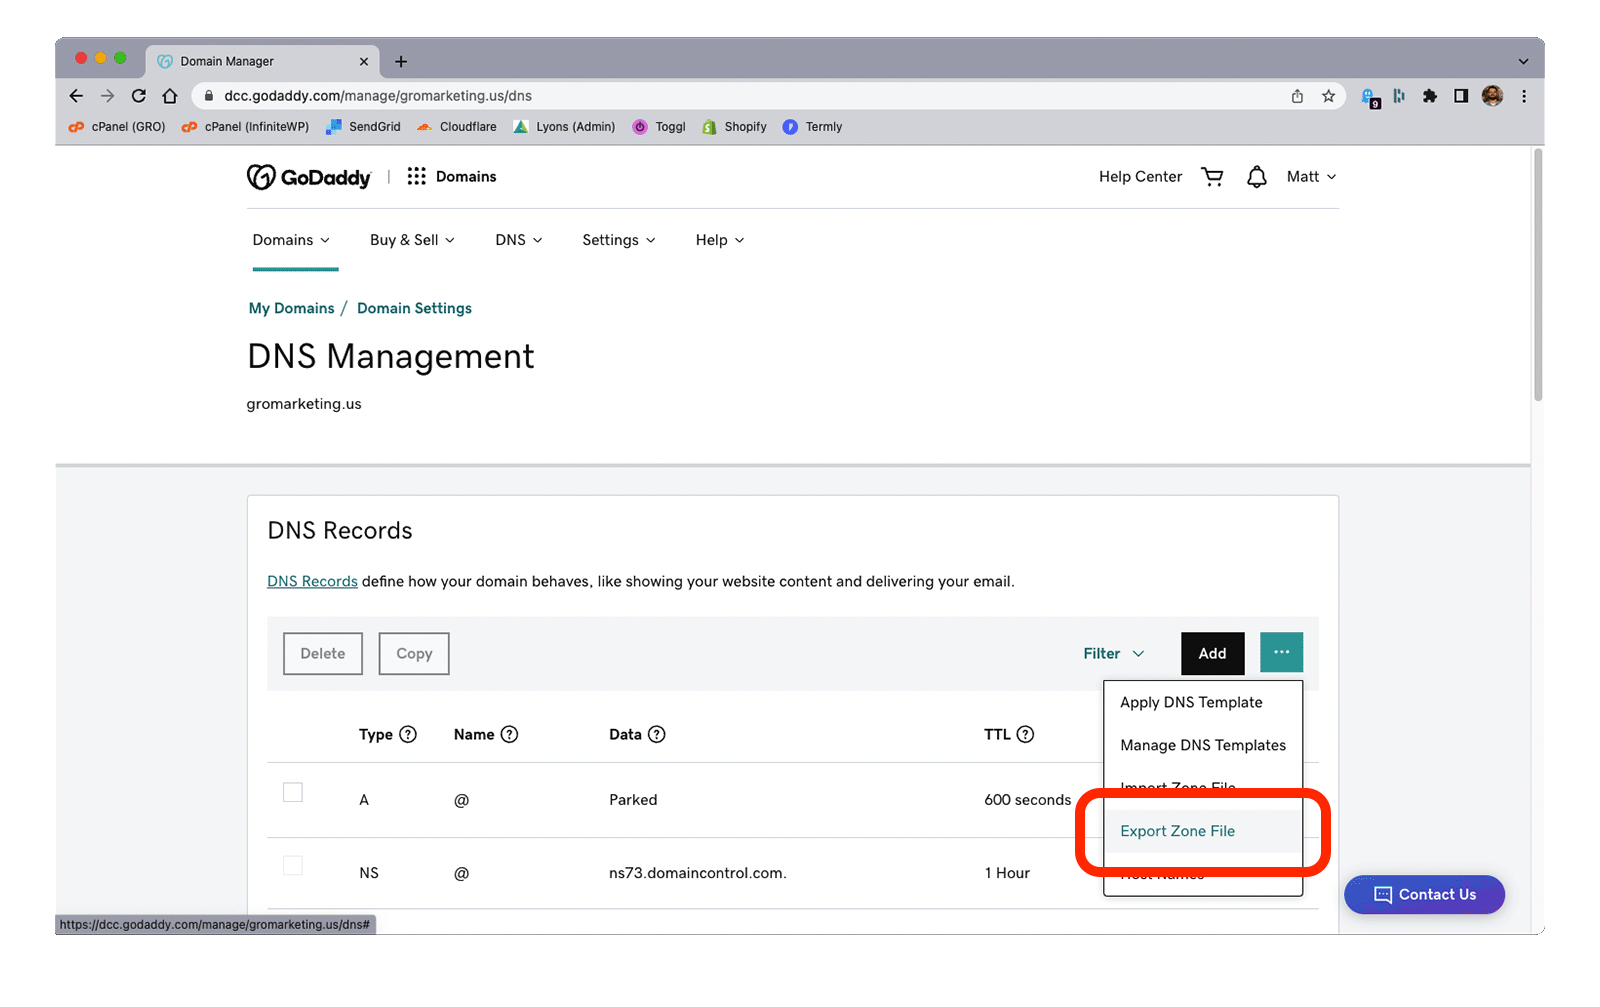
Backup the existing DNS Zone file (export as TXT / upload to Monday.com task)
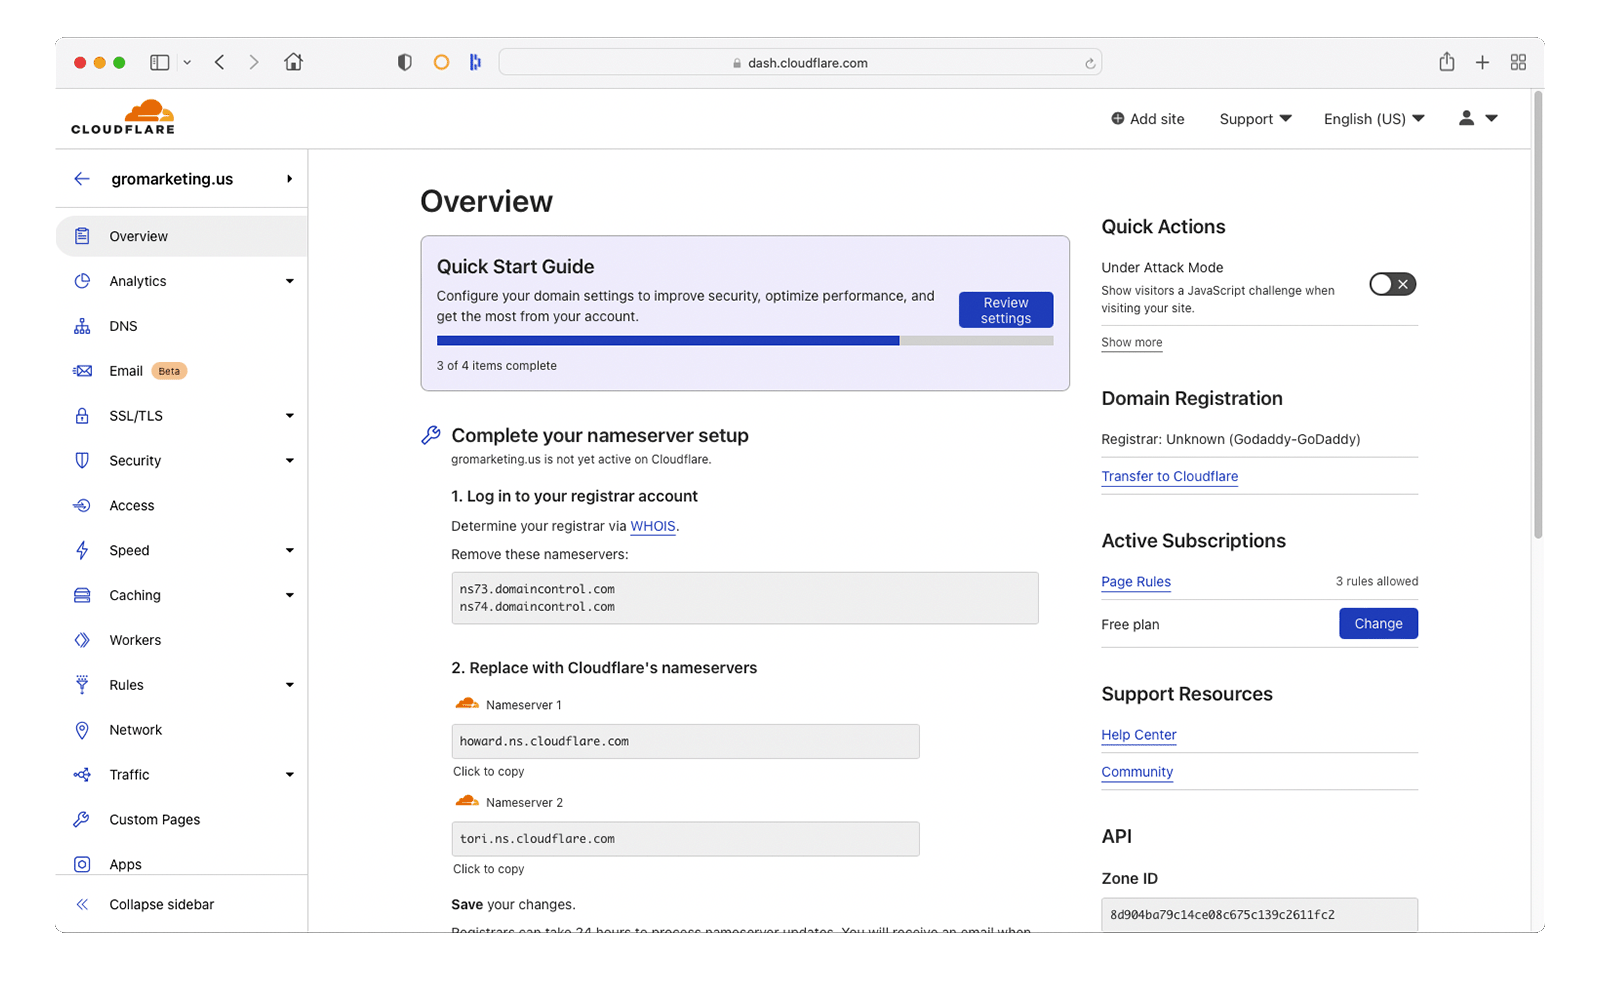
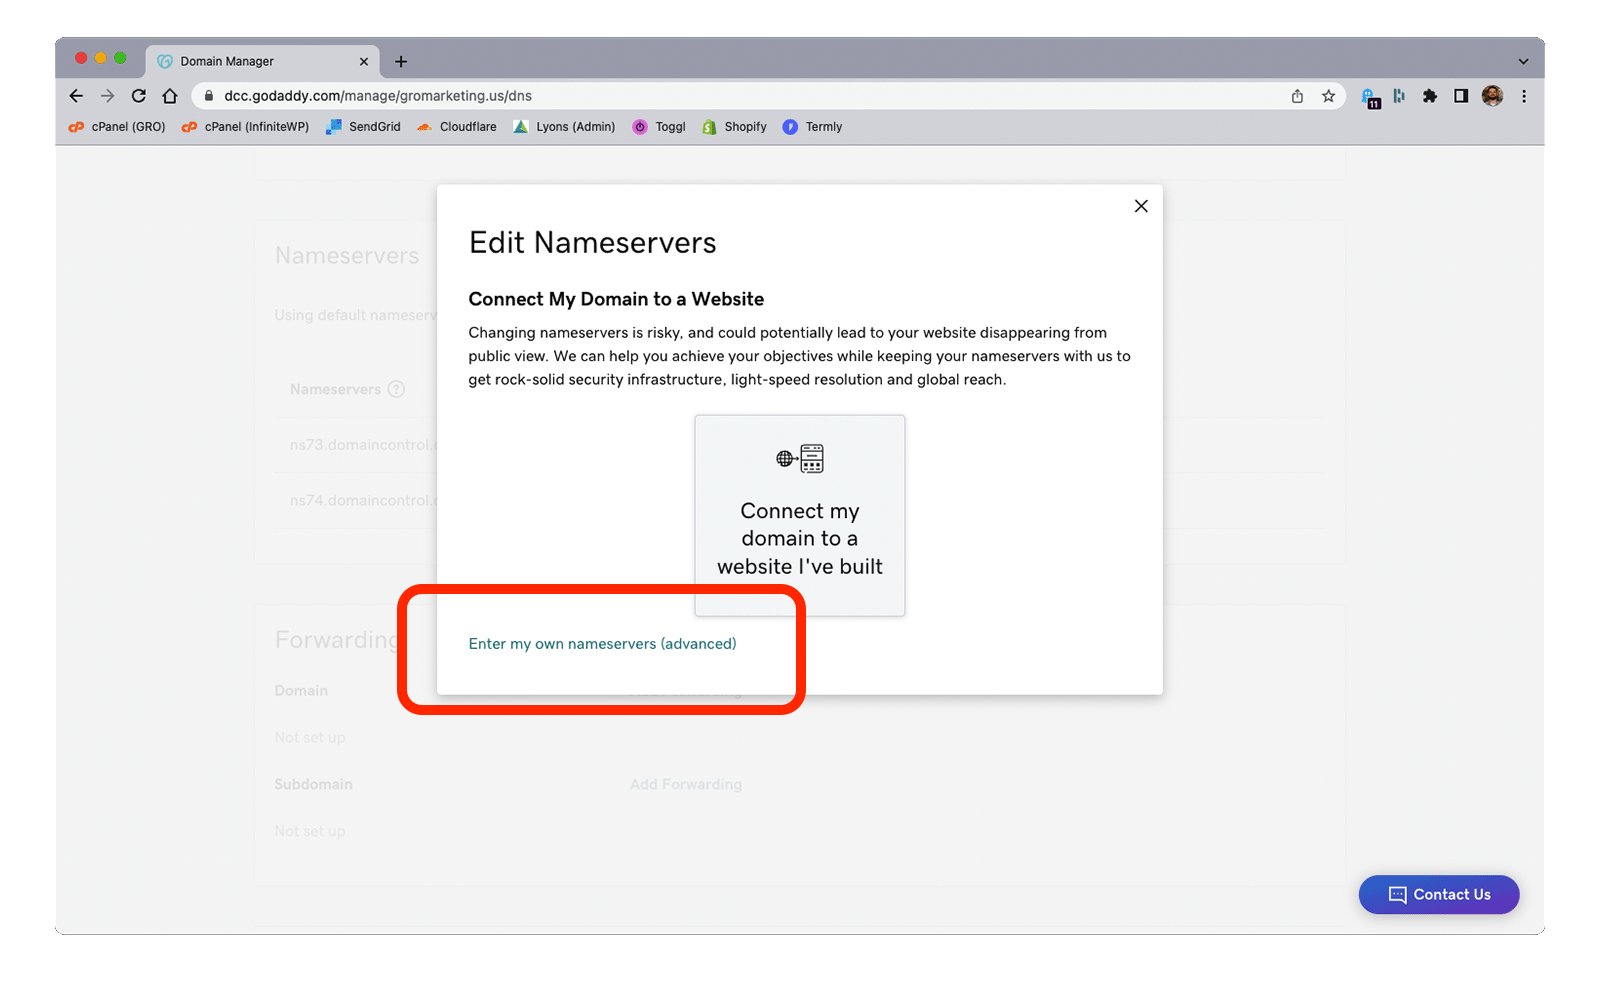
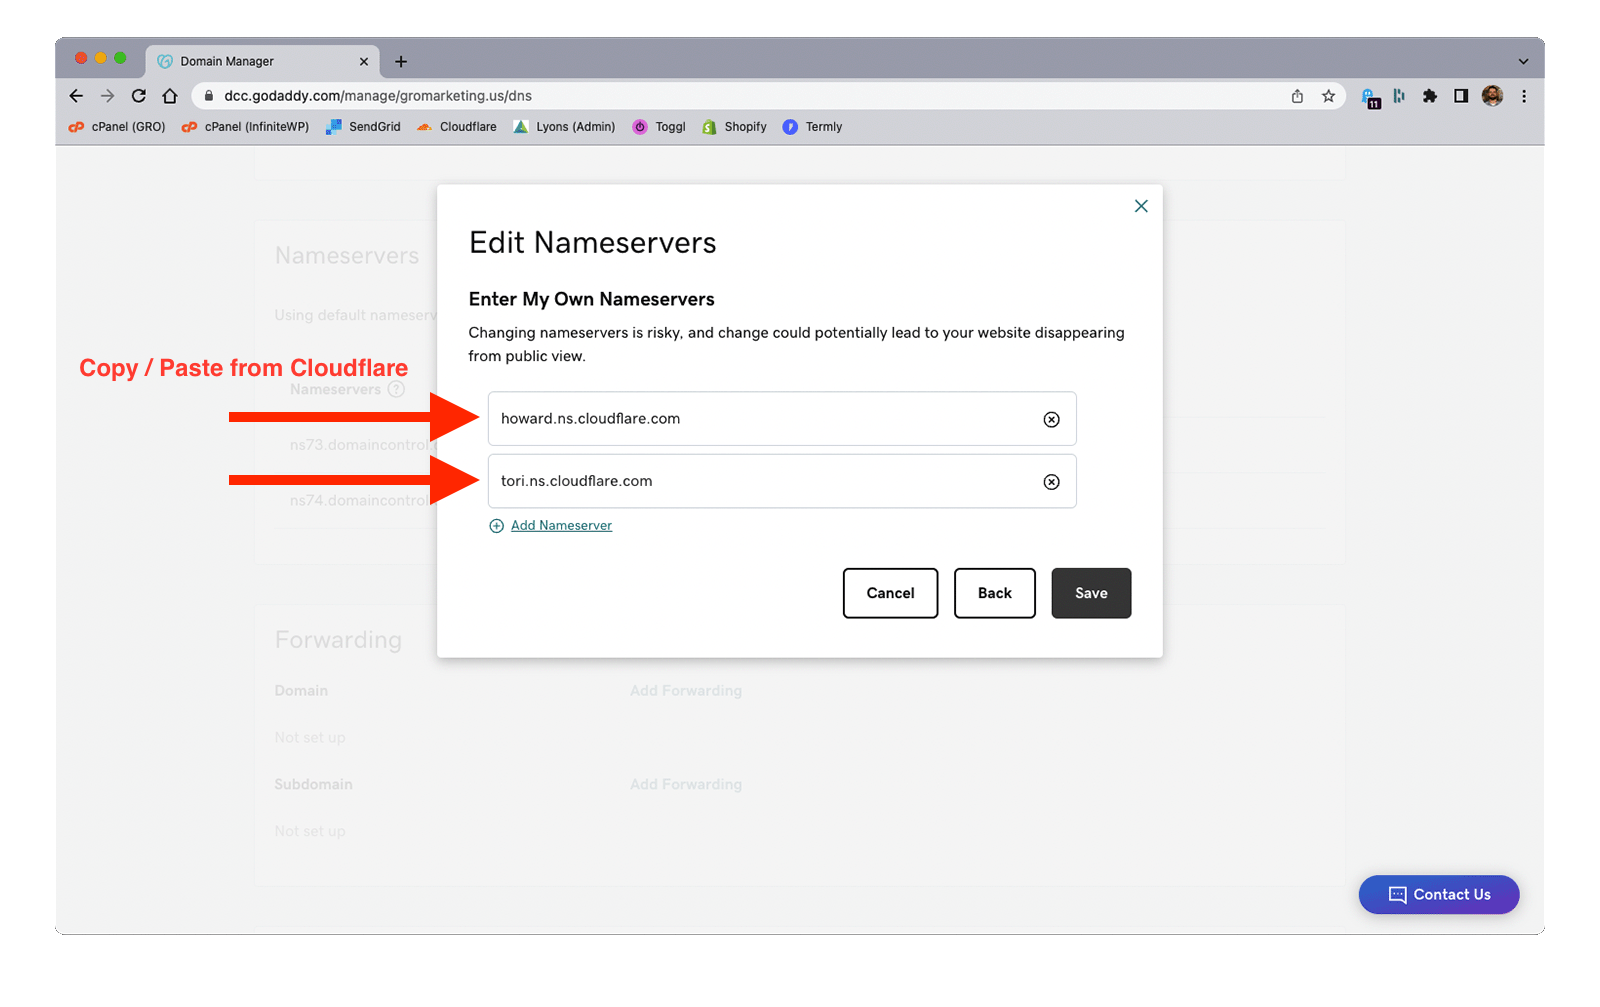
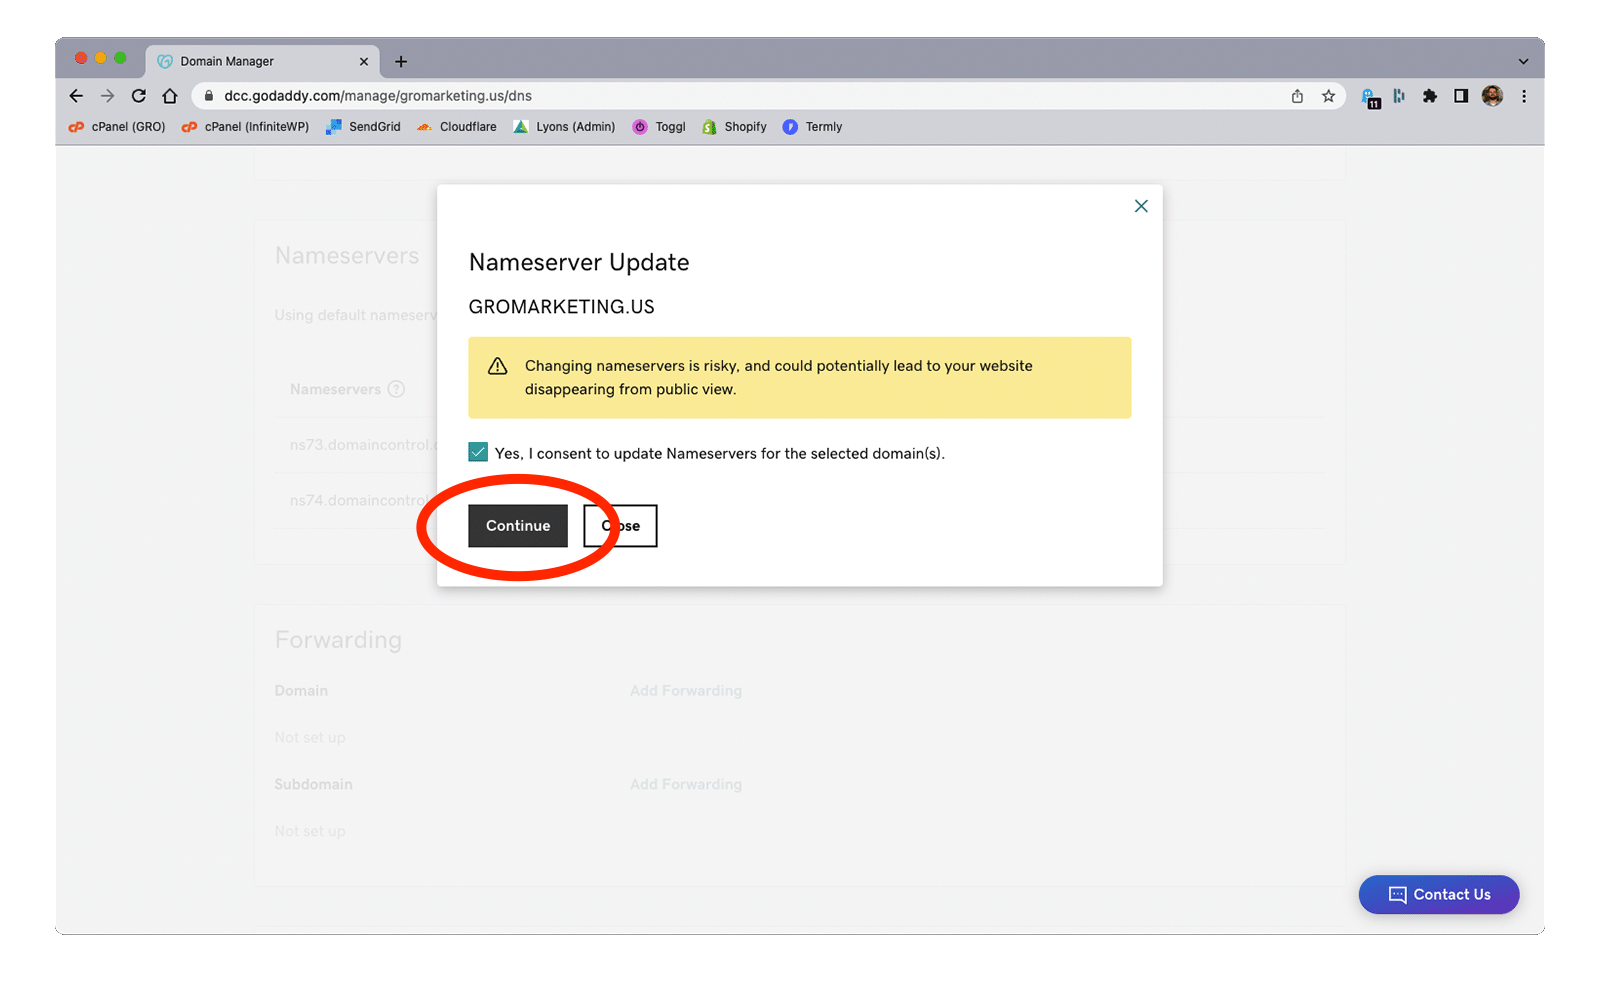
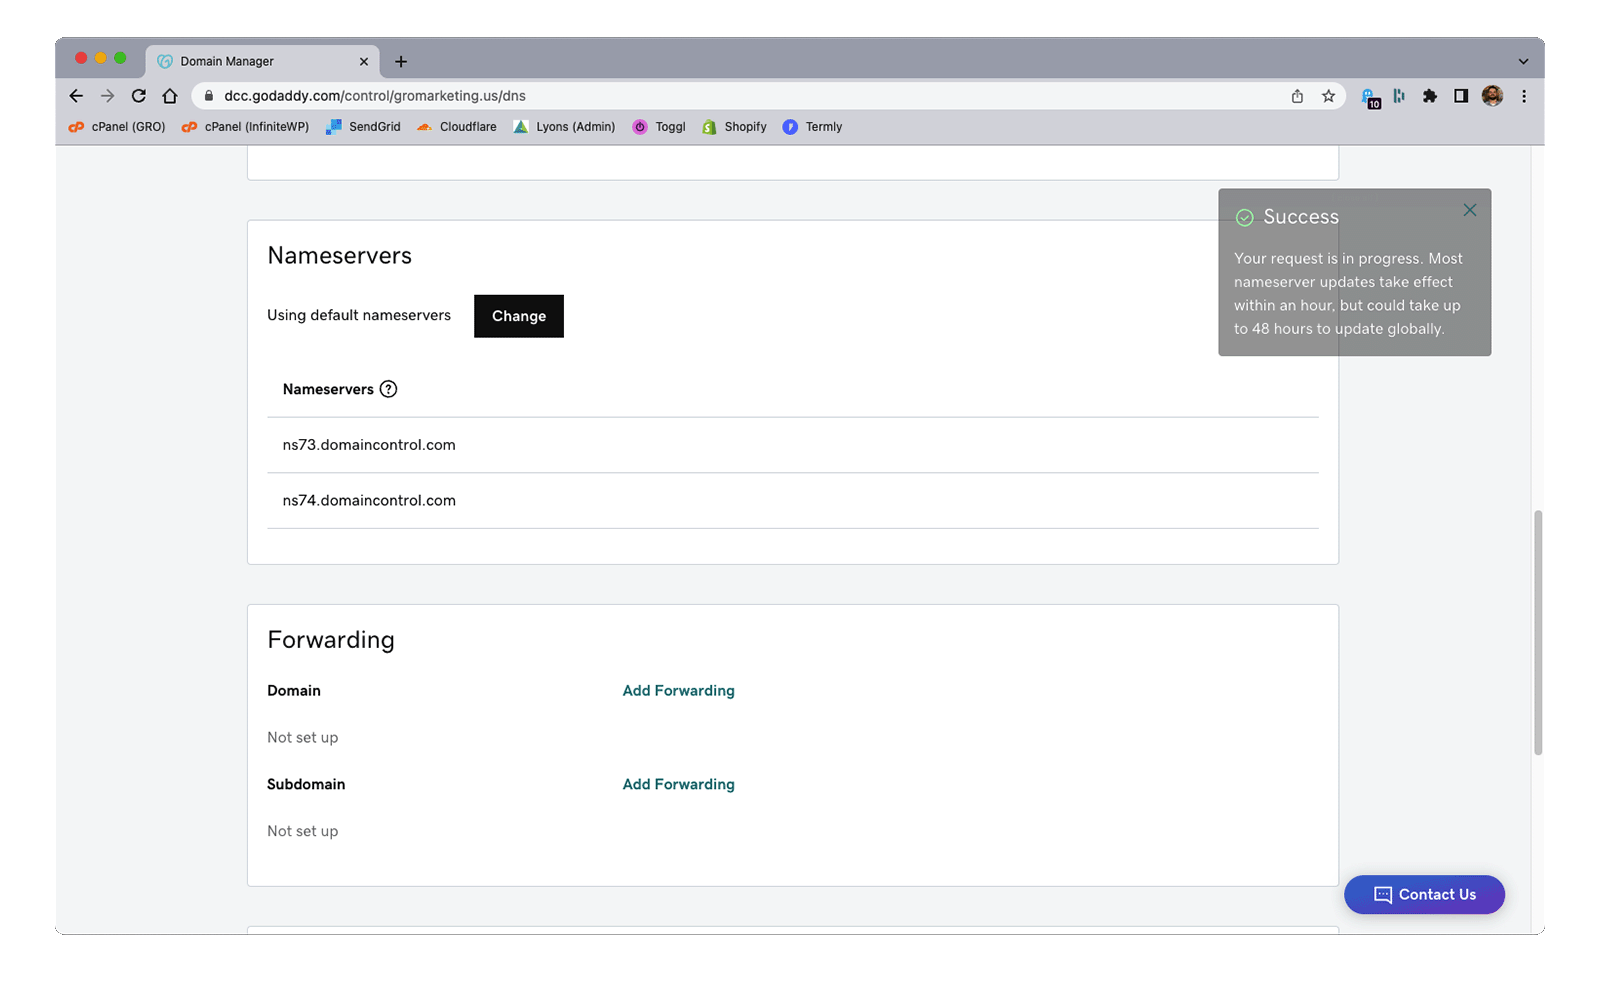
Change the nameservers (copy / paste from Cloudflare)
Save. It could take up to 48 hours to process, but it's normally much faster.
If everything was done correctly in the steps above, there should be no outward-facing changes or redirection from the current website, as the primary A record hasn’t yet been pointed to GRO’s IP address. Once the new nameservers take effect, there will be a banner in Cloudflare saying “Great news! Cloudflare is now protecting your site.”
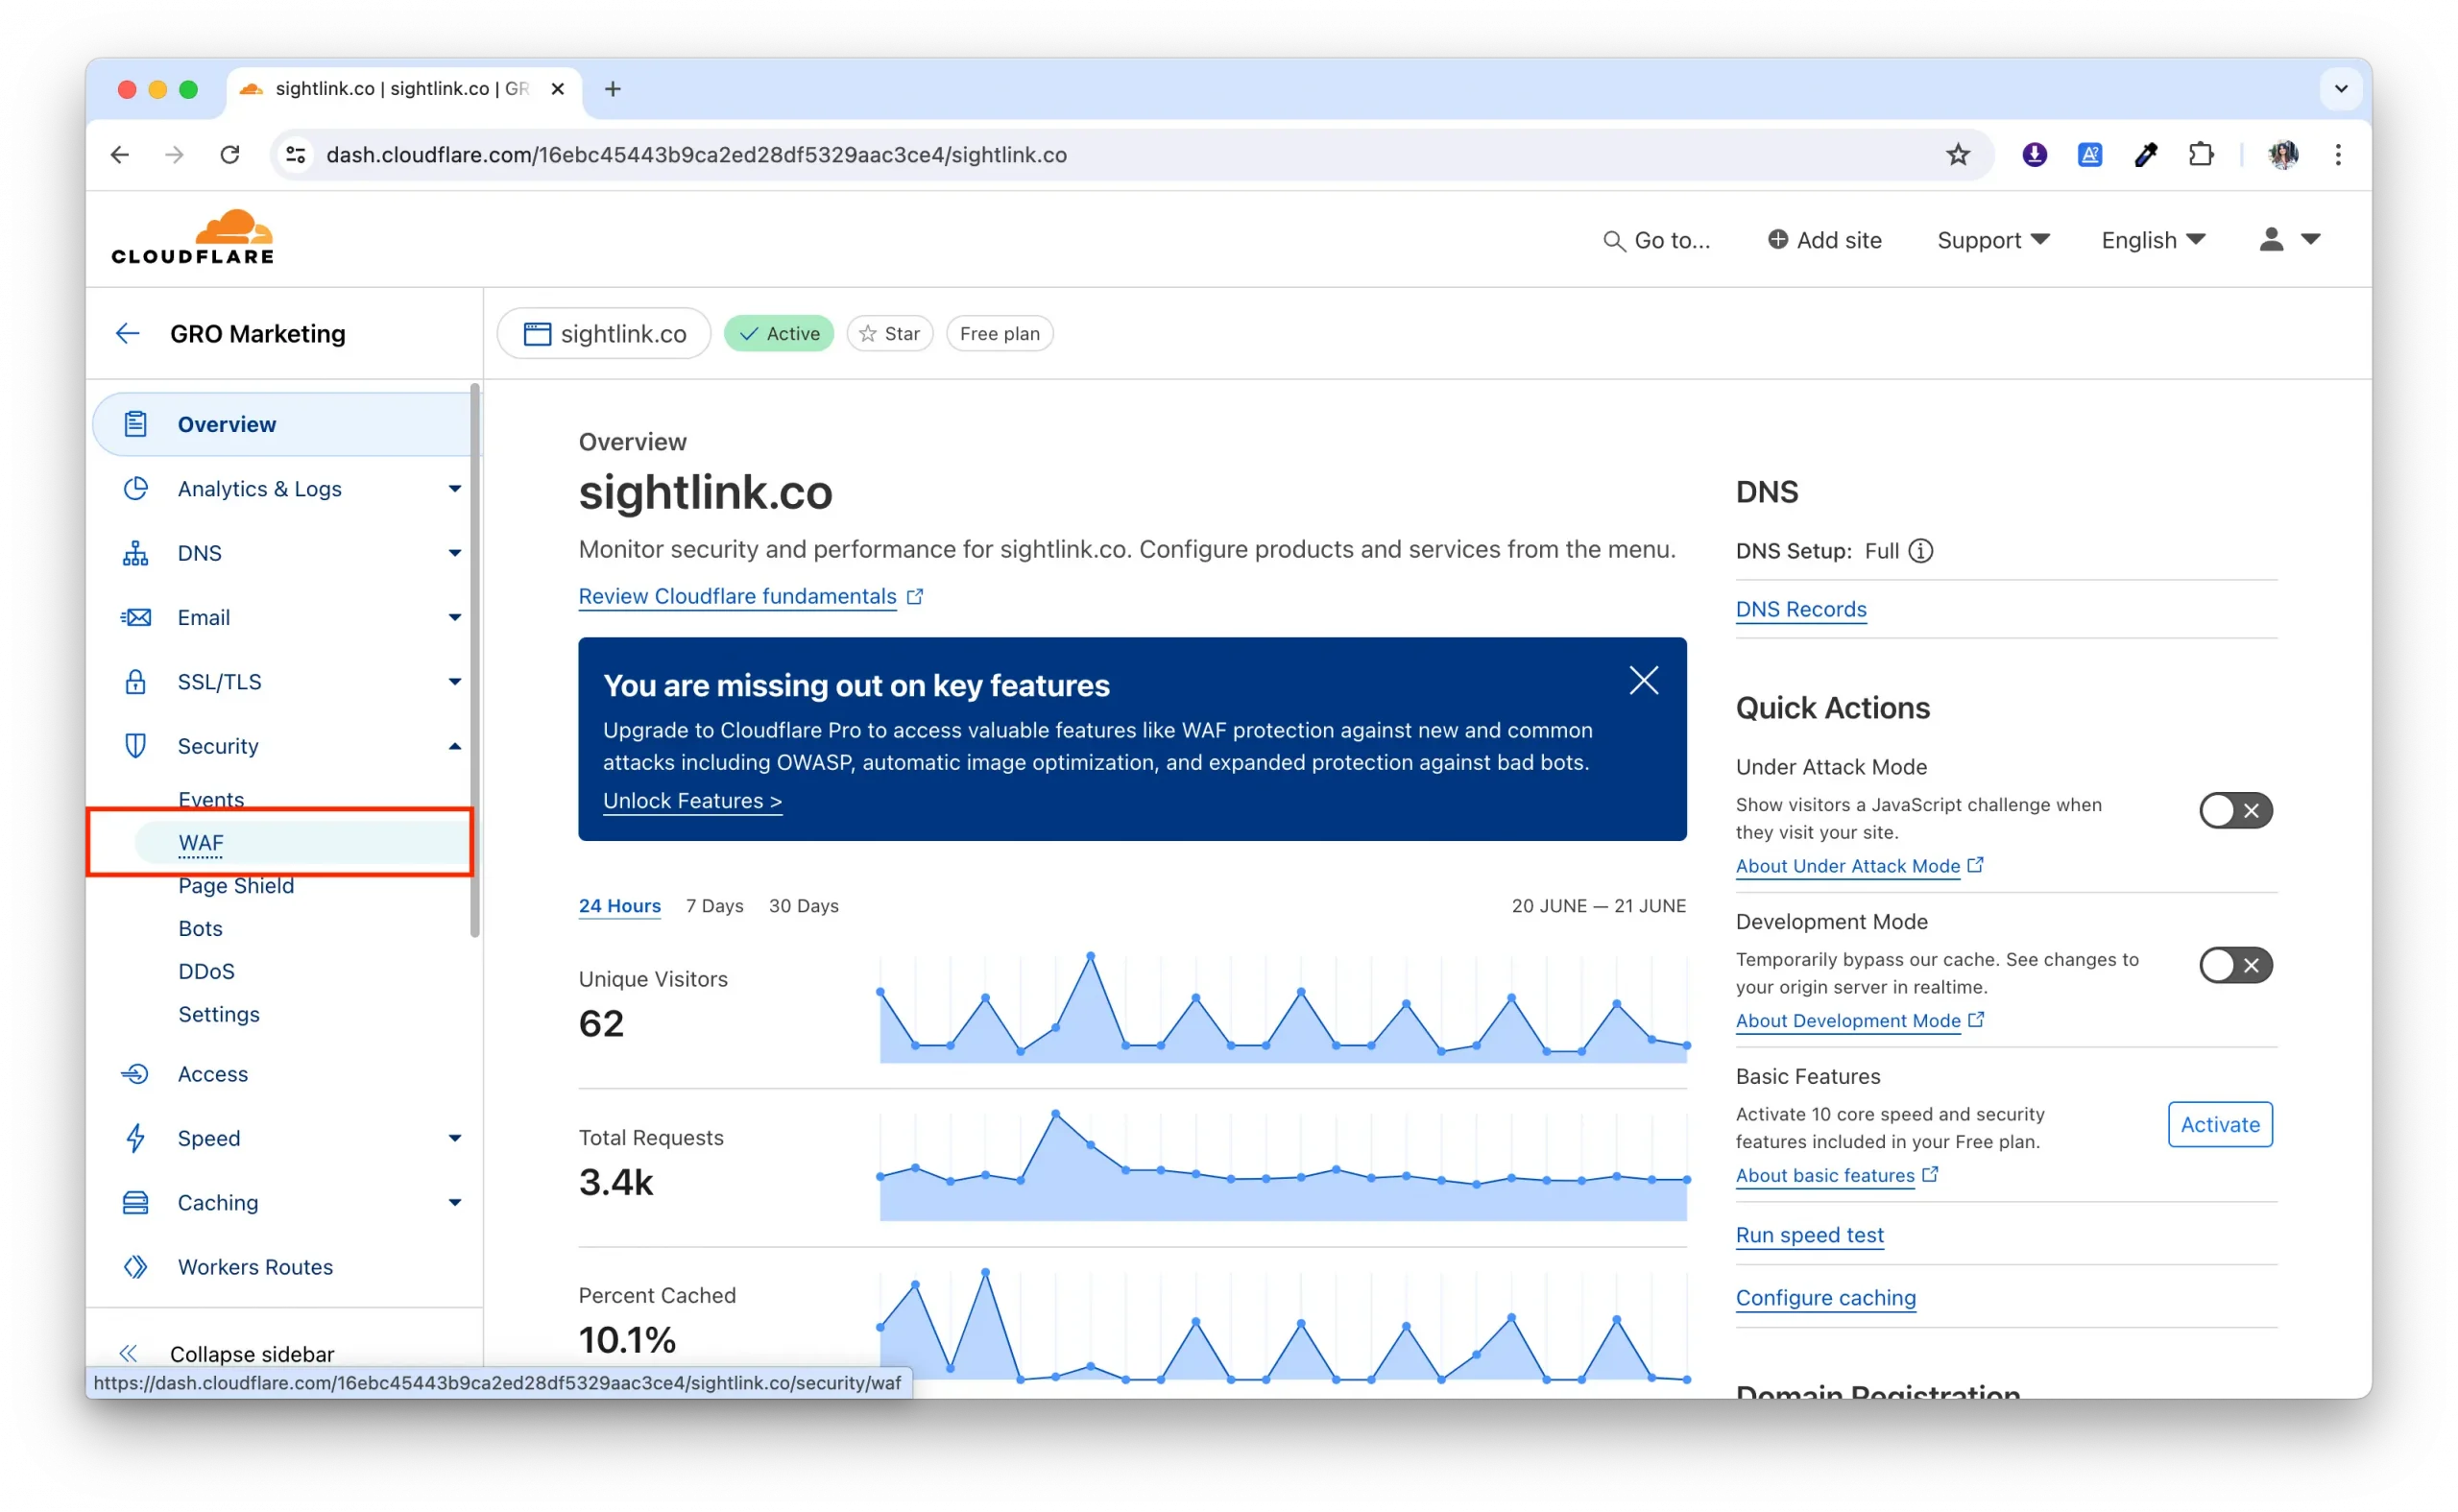
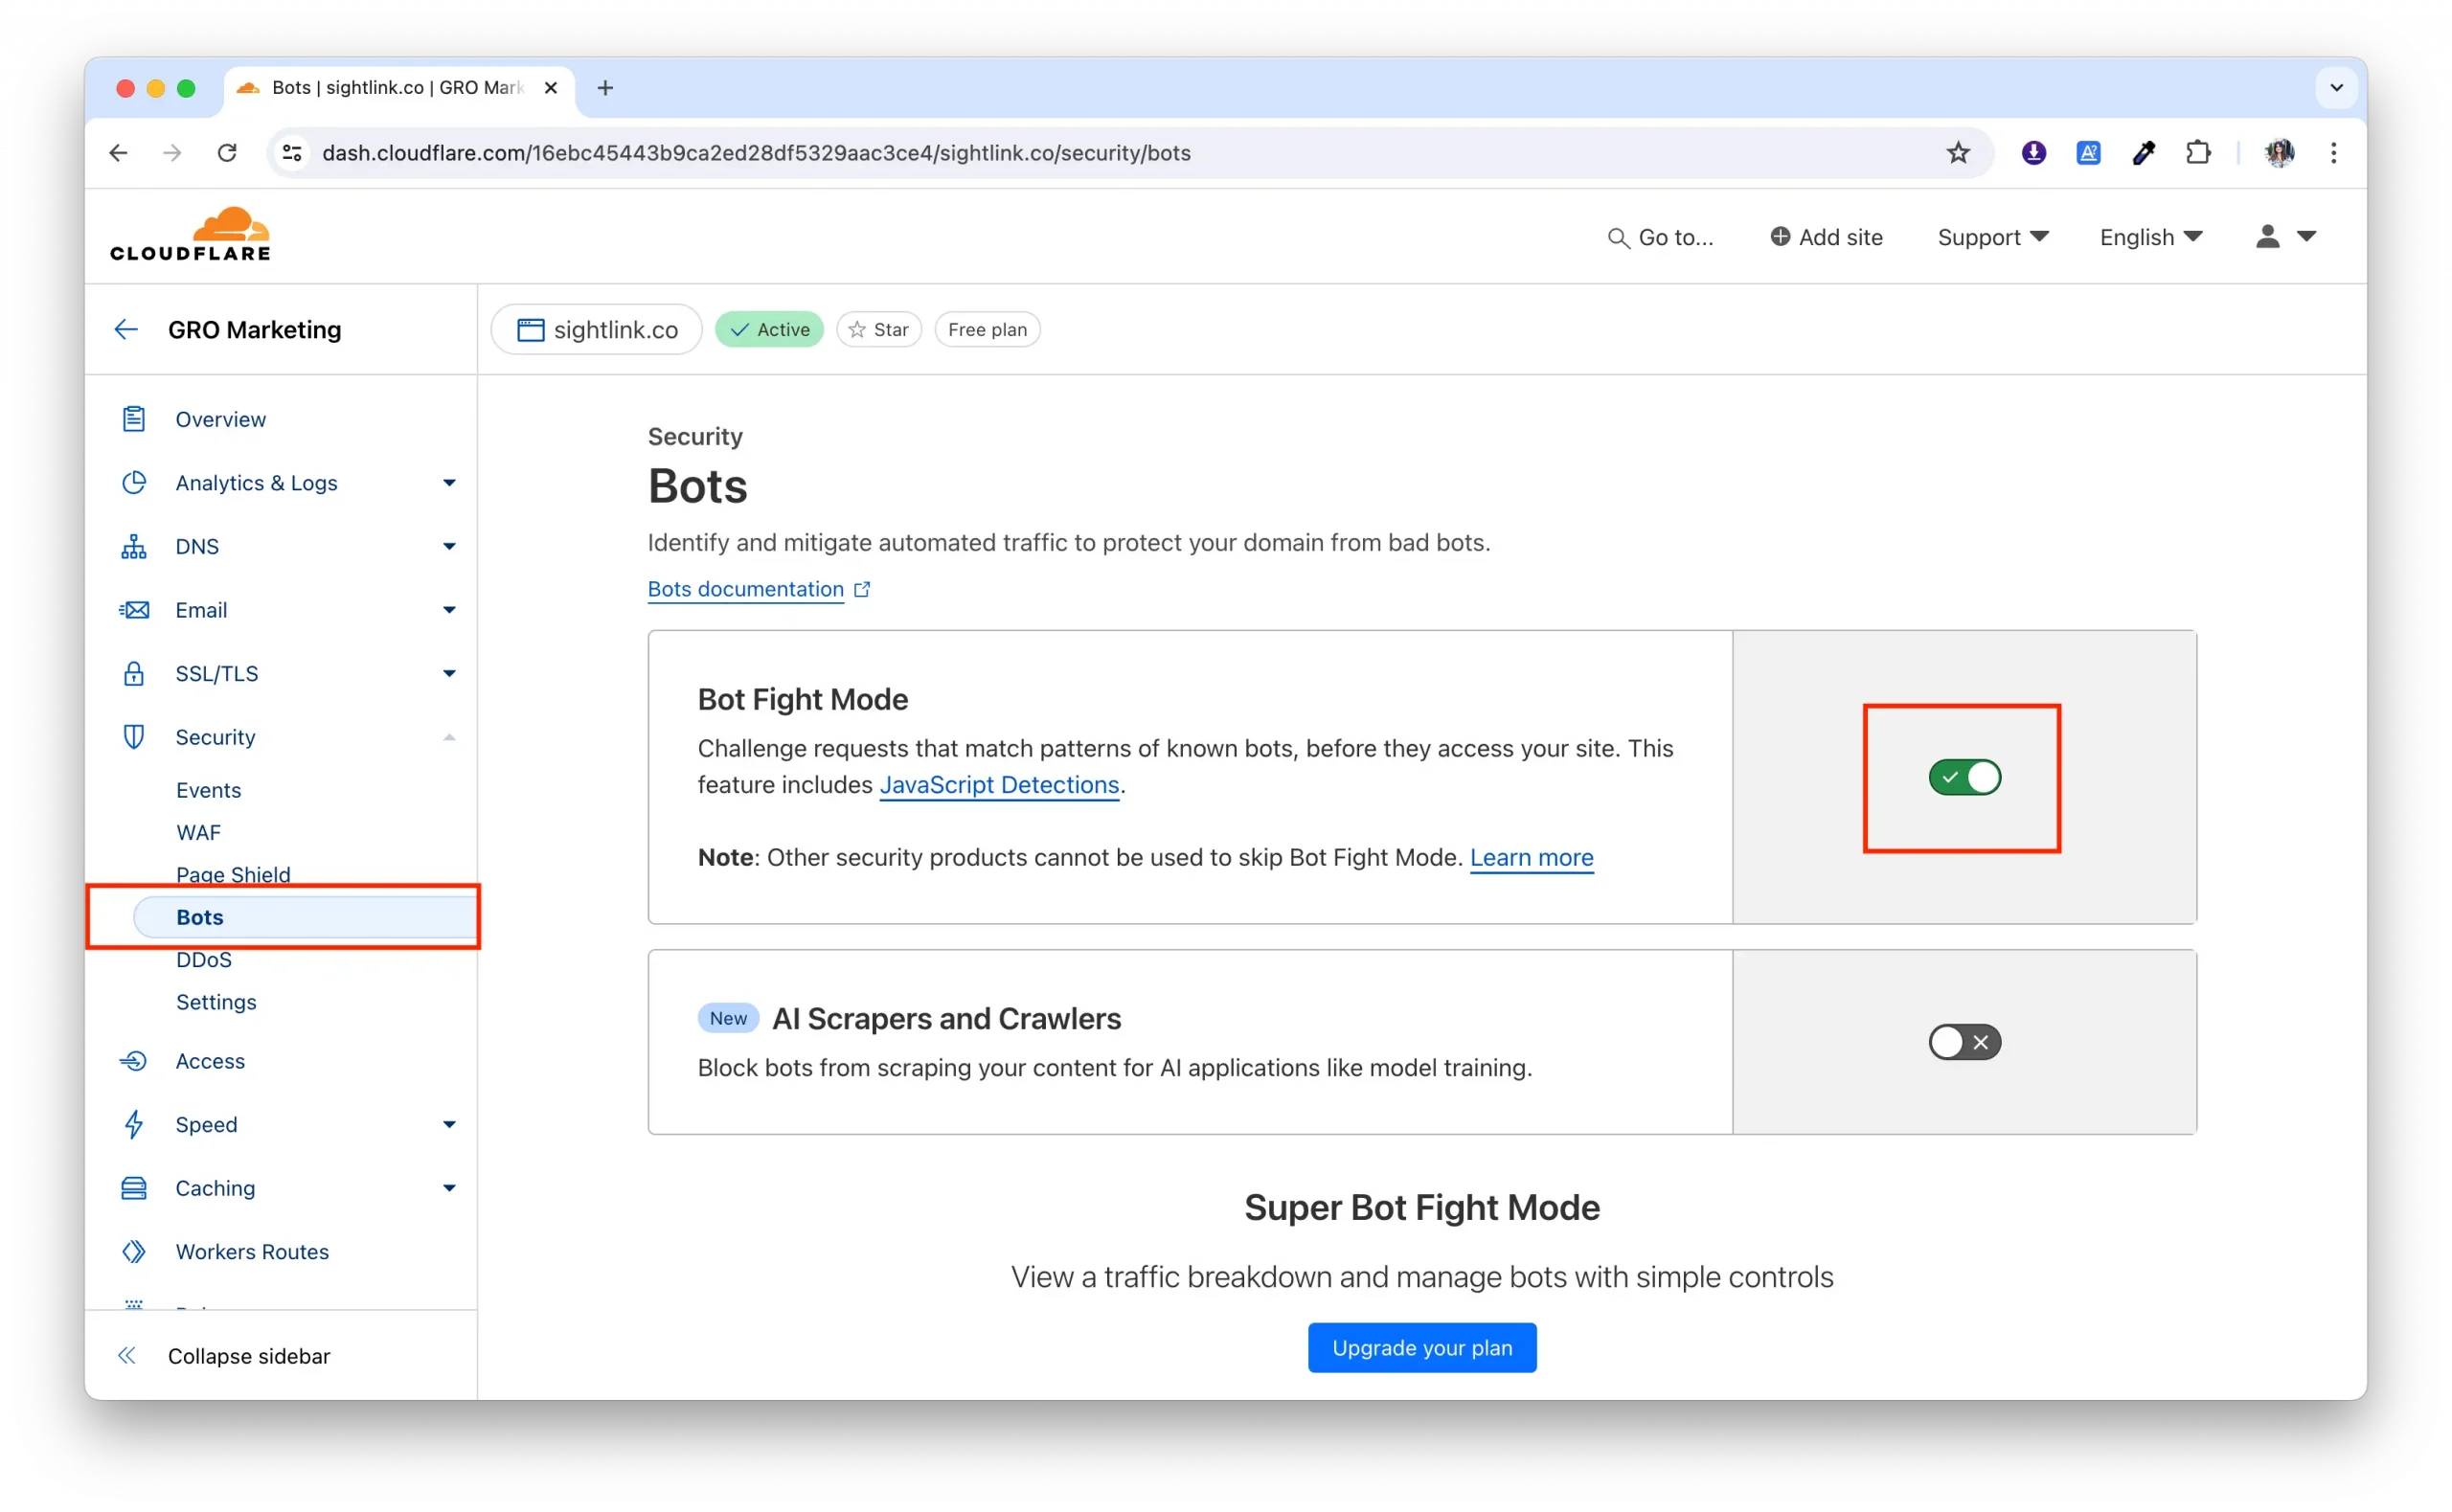
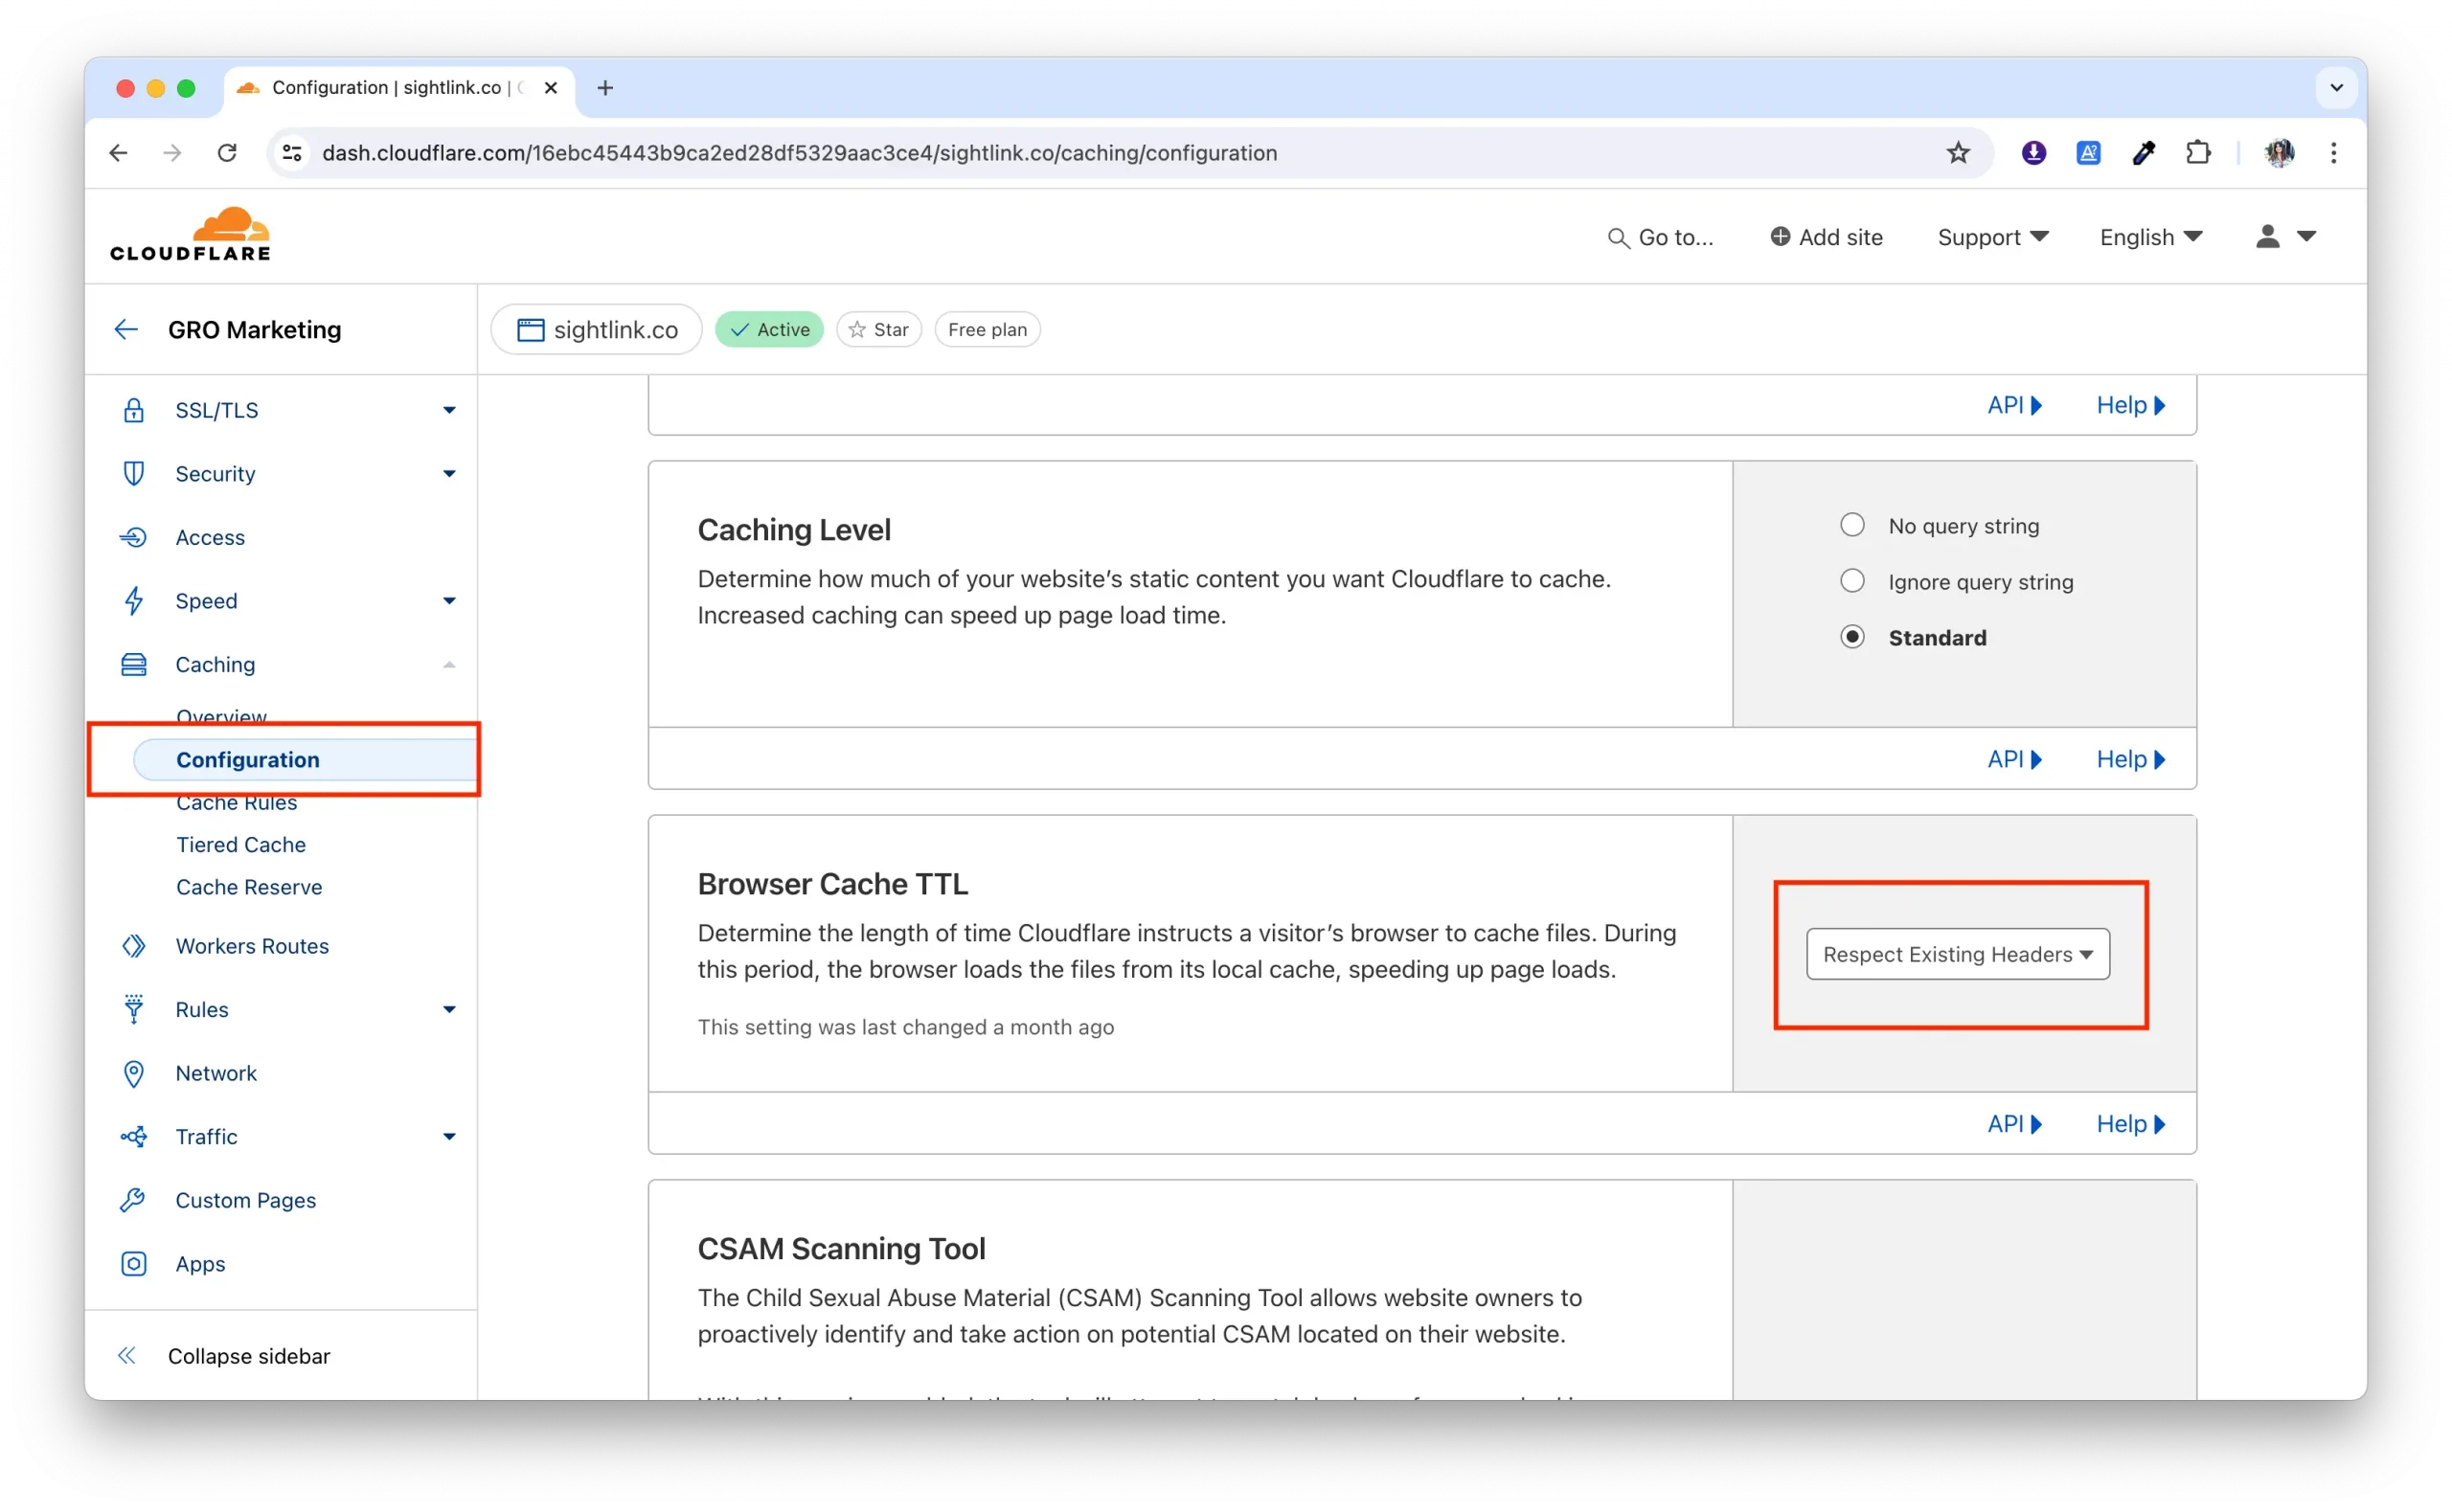
Step 3 - Cloudflare Settings
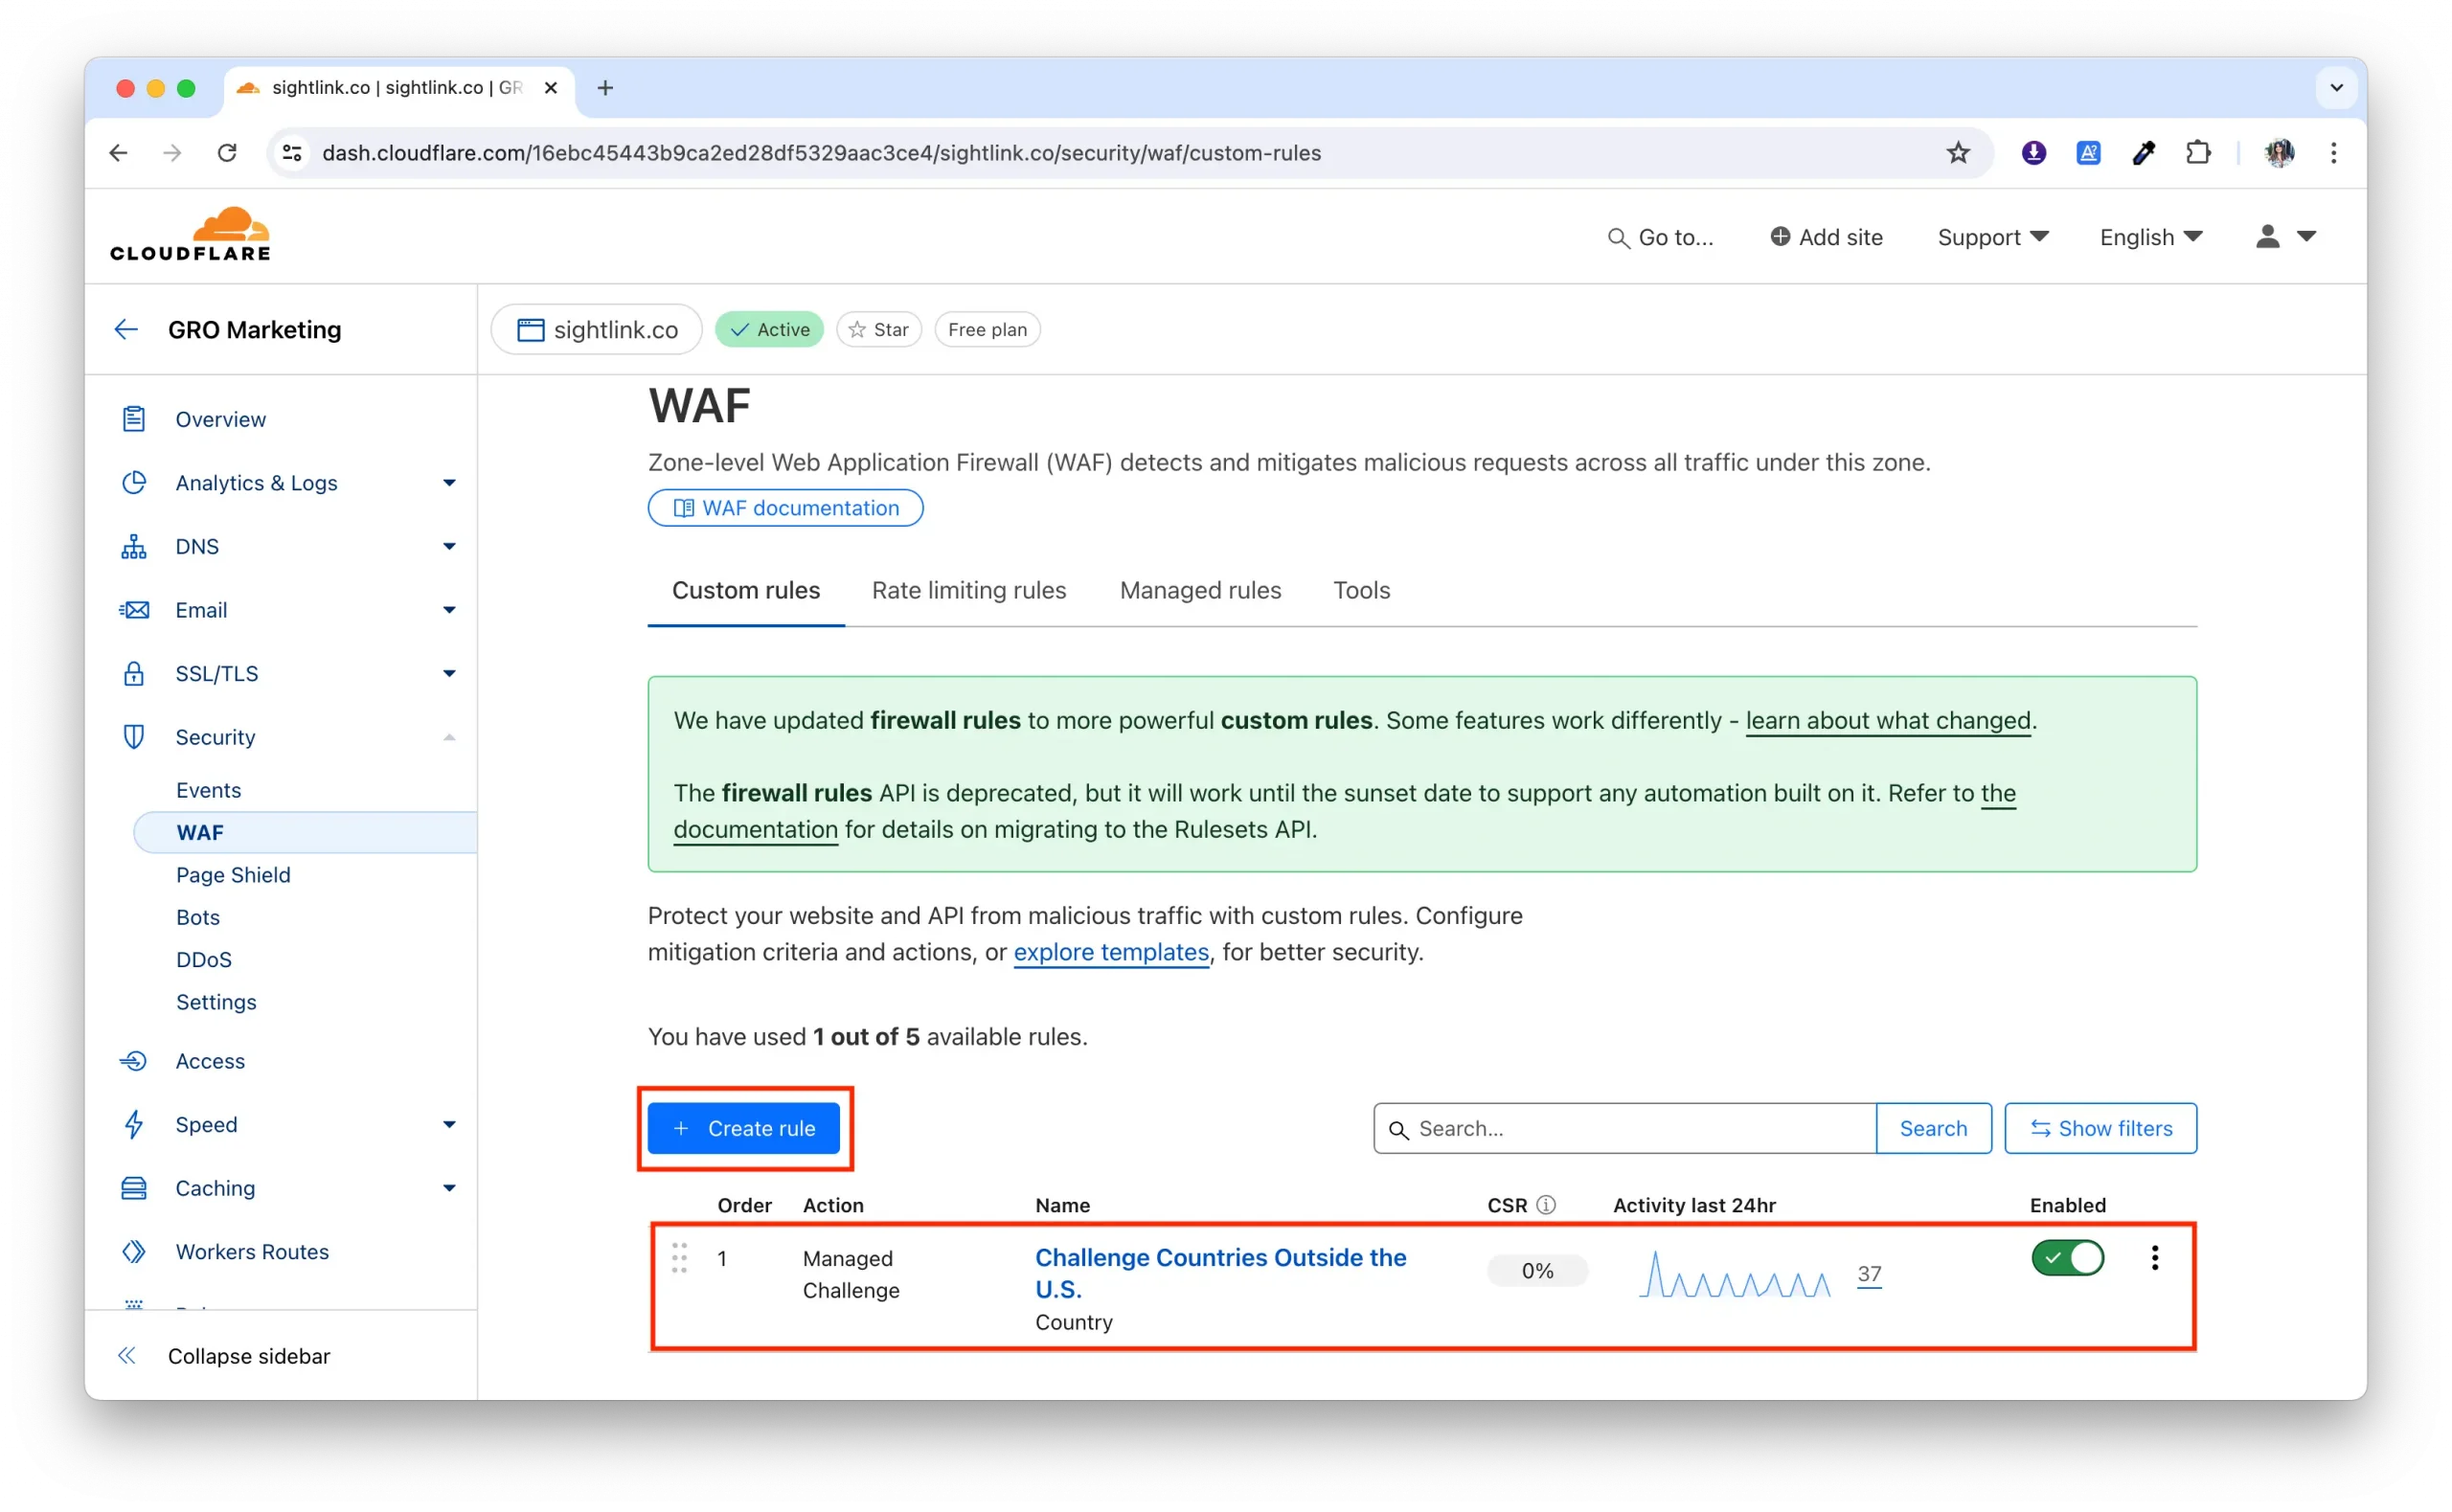
Security > WAF: Create and deploy a rule for countries outside the U.S. to be prompted with a Managed Challenge